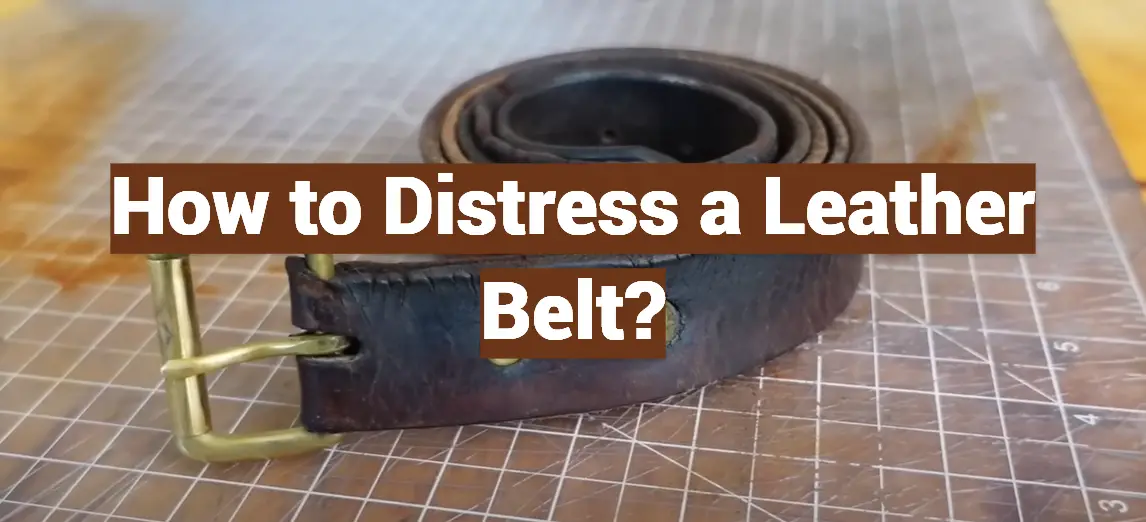
Leather belts are not just an essential part of any fashion-forward wardrobe; they are a statement piece that adds sophistication and style to your ensemble. When it comes to making a lasting impression, settling for any ordinary belt off the rack simply won’t cut it. That’s where distressing a leather belt comes in.
Now, you might think that distressing a leather belt is a daunting task, but fear not! With our simple and easy-to-follow guide, you’ll be able to effortlessly elevate your belt game. We’ll take you through each step, providing expert tips and techniques to ensure your leather belt gets the perfect amount of distressing, resulting in a truly remarkable accessory.
So, if you’re ready to take your fashion game to the next level, join us as we delve into the art of distressing leather belts. Get ready to make a bold statement and turn heads with your impeccably styled ensemble. Let’s get started!
Can you distress leather belts?
Certainly! Distressing leather belts is a fascinating and intricate process that entails using a range of tools to meticulously craft a desirable worn-in appearance. It involves carefully and skillfully manipulating the leather to achieve a soft and supple texture that exudes an authentic aged effect, reminiscent of a well-loved and cherished accessory.
To further enhance the uniqueness and character of the belt, one can experiment with adding subtle dyes or applying other finishes, such as burnishing or waxing, which add depth and dimension to the leather. Each step of the process is a delicate balance of artistry and craftsmanship, resulting in a truly distinctive and personalized accessory that tells a story of its own.
From the selection of high-quality leather to the precise distressing techniques, every detail is considered to create a belt that not only looks visually appealing but also stands the test of time. The end result is a piece that carries a sense of history and craftsmanship, making it a cherished accessory for those who appreciate the art of leatherwork.[1]
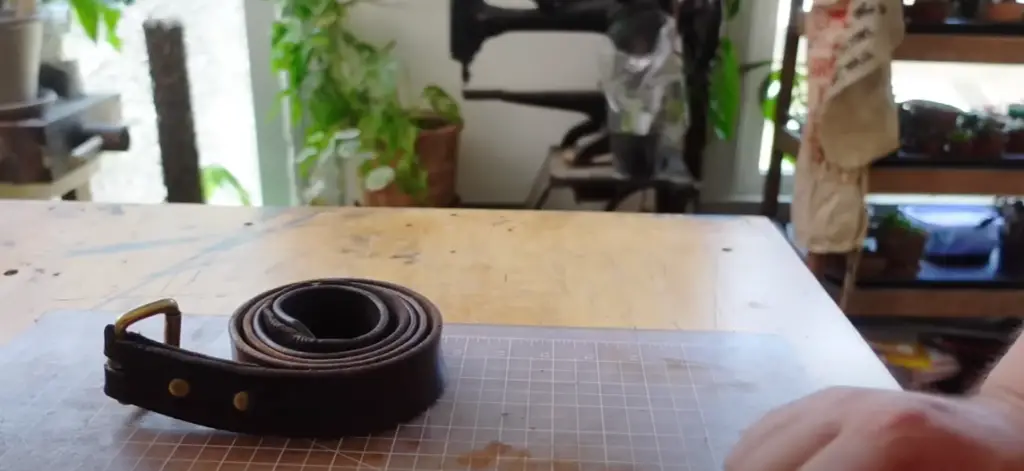
How To Distress A Leather Belt: A Simple 6-Step Guide
Step 1: Apply Rubbing Alcohol On the Leather Belt
To initiate the distressing process, you’ll need to carefully apply rubbing alcohol to the belt. This step is crucial as it prepares the leather by softening and prepping it for the subsequent stages. Take a soft cotton ball or cloth and dip it into the rubbing alcohol, ensuring it is adequately saturated. With gentle yet deliberate circular motions, proceed to rub the belt, covering the entire surface with the alcohol-infused cotton. This meticulous process ensures that every inch of the belt receives the necessary treatment. After completing this step, exercise patience and allow the belt to air dry for approximately 10 minutes. This waiting period is essential to ensure that the alcohol has evaporated completely before moving forward to the subsequent steps.[3]
Step 2: Crease Your Leather Belt
The next crucial step in the belt-making process is to carefully crease your belt. To achieve this, gather the necessary tools: a sturdy mallet or heavy-duty hammer, and a reliable wooden block or dowel rod for optimal support and precision.
Continue this meticulous process until you attain the desired level of distressing, ensuring each crease contributes to the overall aesthetic. Once satisfied, set the belt aside and allow it to air dry for approximately one hour, ensuring proper preparation for the subsequent step three.[3]
Step 3: Sand Your Leather Belt
Once your belt has been adequately creased, you can begin sanding the leather. To achieve this, gather a small block of fine-grit sandpaper and carefully proceed to rub it across the surface of the buckle and along each crease. The goal is to further soften the material, developing an authentically worn-in finish that showcases the belt’s character and history. Remember to take your time and pay attention to the details, ensuring that every corner and crevice receives the right amount of attention.
As mentioned before, be mindful of the pressure applied, as too much can cause irreversible damage to the belt. It’s important to strike a balance between exerting enough force to achieve the desired effect and being gentle and cautious to preserve the integrity of the leather.
Once you have completed the sanding process, set the belt aside and allow it to air dry for approximately one hour. This step is crucial in ensuring that the leather is properly prepared for the subsequent steps in the belt-making process. The drying time allows the leather to settle and regain its natural shape, setting the foundation for a successful and durable final product.
By taking the time to carefully sand and dry the belt, you are investing in its longevity and quality. These extra steps contribute to the overall craftsmanship and ensure that your belt will not only look great but also withstand the test of time.[3]

Step 4: Buff Your Leather Belt
Once the belt is completely dry, you can move forward to buffing. To do this, get out your small block of fine-grit sandpaper and rub it gently along each crease and across the surface of the buckle until a desirable worn-in finish has been achieved. Take your time and pay attention to the details, making sure to create a consistent and smooth texture that exudes an authentic aged effect.
Imagine the soft, supple feel of the belt, as if it has been lovingly worn and aged over time. Every crease and corner tells a story, showcasing the craftsmanship and attention to detail. The worn-in finish adds character, making it truly one-of-a-kind. As you embrace the art of sanding, let the belt speak for itself with its distinct charm and personality.
With each stroke of the sandpaper, the belt transforms, revealing its unique journey. The meticulous process of buffing reveals the hidden beauty, enhancing its allure. Your dedication to creating a consistent and smooth texture ensures that every inch of the belt is perfected.
So, take your time, savor the moment, and let your craftsmanship shine through. This belt will become a testament to your artistic skill and passion for creating something extraordinary. With its distinct charm and personality, it will capture attention and admiration wherever it goes.[2]
Step 5: Apply Finishing On Your Leather Belt
Once you are satisfied with the beautifully distressed finish of your belt, you can proceed to apply a finishing coat that will not only enhance its appearance but also ensure long-lasting durability. This crucial step plays a vital role in protecting the leather from external elements, such as moisture and dust, while adding an extra layer of resilience.
To achieve the desired result, take a foam brush or a soft cloth and gently rub in a thin layer of high-quality leather conditioner or wax onto the surface of the belt. As you do so, pay close attention to every small detail, including creases, corners, and edges, to ensure an even distribution of the coat. This meticulous approach will help maintain the belt’s overall aesthetic appeal while providing optimal protection.
After applying the coating, allow it to dry for approximately 15 minutes. This allows the conditioner or wax to penetrate the leather, nourishing it from within. Once dry, take a soft cloth and gently buff the surface of the belt. This step not only brings out the leather’s natural luster but also creates an appealing shine that adds dimension and depth to the distressed finish.
However, it’s important to exercise caution during the finishing process. Applying excessive pressure may cause damage to the delicate leather material. Instead, take your time, work methodically, and let the finishing coat work its magic. With proper care and attention to detail, your belt will not only look stunning but also stand the test of time, becoming a cherished accessory in your wardrobe.[2]
Step 6: Sand Your Leather Belt (Optional)
For an even more distressed effect, you can repeat steps three and four. Start by taking a small block of fine-grit sandpaper and gently rubbing it across the surface of the belt. As before, exercise caution as to not put too much pressure on the leather material. This will help prevent any irreversible damage that could occur due to excessive force.
Next, take a soft cloth and gently buff the belt’s surface. The goal is to create a lightly worn-in finish that is distinctively yours. This subtle approach adds character to your accessory without compromising the overall aesthetic appeal of the belt.
Finally, apply a thin layer of leather conditioner or wax onto the belt and allow it to dry. This step will protect the leather from external elements while adding an extra layer of resilience to the distressed finish.[2]
By taking the time to properly distress your belt, you are investing in its longevity and quality. With careful attention to detail, you can create a truly unique accessory that reflects your individual style and personality.

FAQ
How do you make leather look distressed?
The best way to distress leather is to use a small block of fine-grit sandpaper. Gently rub the sandpaper across the surface of the belt until a desirable worn-in finish has been achieved. Take your time and pay attention to the details, making sure to create a consistent and smooth texture that exudes an authentic aged effect. Once you are satisfied with the distressed finish, you can apply a finishing coat of wax or leather conditioner to protect the belt from external elements. Finally, buff the surface of the belt with a soft cloth to bring out its natural luster and create an appealing shine.
What is the best way to soften a leather belt?
The best way to soften a leather belt is to apply a high-quality leather conditioner. Use a foam brush or soft cloth and gently rub the conditioner onto the surface of the belt. Allow it to sit for 10-15 minutes, then buff with a soft cloth to bring out its natural luster and create an appealing shine. For added protection, you can also apply a protective layer of wax. This will help keep the leather material soft and supple while guarding against any damage caused by external elements, such as dirt and moisture.
How do you make leather rough?
If you want to make leather rough, take a small block of fine-grit sandpaper and rub it across the surface of the belt. This will create a worn-in finish that exudes an authentic aged effect. Pay close attention to every detail and work methodically, ensuring that each inch of the belt is evenly distressed. Once you are satisfied with the result, apply a thin layer of leather conditioner or wax and allow it to dry. Finally, buff the surface of the belt with a soft cloth for an added touch of shine.
How do you soften a cheap leather belt?
The best way to soften a cheap leather belt is to use a high-quality leather conditioner. Take a foam brush or soft cloth and gently rub in the conditioner onto the surface of the belt. Allow it to sit for 10-15 minutes, then buff with a soft cloth to bring out its natural luster and create an appealing shine. For added protection, you can also apply a protective layer of wax. This will help keep the leather material soft and supple while guarding against any damage caused by external elements, such as dirt and moisture.
What softens leather fast?
Leather can be quickly softened with a high-quality leather conditioner. Use a foam brush or soft cloth and gently rub the conditioner onto the surface of the belt. Allow it to sit for 10-15 minutes, then buff with a soft cloth to bring out its natural luster and create an appealing shine. For added protection, you can also apply a protective layer of wax. This will help keep the leather material soft and supple while guarding against any damage caused by external elements, such as dirt and moisture.
How do you soften a fake leather belt?
Fake leather belts can be softened with a high-quality leather conditioner. Take a foam brush or soft cloth and gently rub in the conditioner onto the surface of the belt. Allow it to sit for 10-15 minutes, then buff with a soft cloth to bring out its natural luster and create an appealing shine. For added protection, you can also apply a protective layer of wax. This will help keep the fake leather material soft and supple while guarding against any damage caused by external elements, such as dirt and moisture.
Useful Video: How To Distress Leather
Conclusion
References:
- https://buffalojackson.com/blogs/insight/how-to-distress-leather
- https://www.leatherskill.com/how-to-distress-leather-belts/
- https://www.bespokepost.com/field-guide/the-easy-way-to-distress-leather