Leather seats are a luxurious feature in any car. Over time, however, they can become stained and faded. If you’re not sure how to restore leather seats, don’t worry – this comprehensive guide will teach you everything you need to know! In this article, we will discuss the different methods of restoring leather seats, as well as the pros and cons of each method. We’ll also provide some tips on how to protect your leather seats from future damage. So if your leather seats are looking a little worse for wear, read on for the best ways to restore them!
Basics
The first step in restoring leather seats is to assess the condition of your seat. If the damage is minor and simply consists of dirt, dust, or light scuffing, you may be able to clean it up with a regular cleaning solution or an all-purpose cleaner. Make sure that whatever product you use is specifically designed for leather.
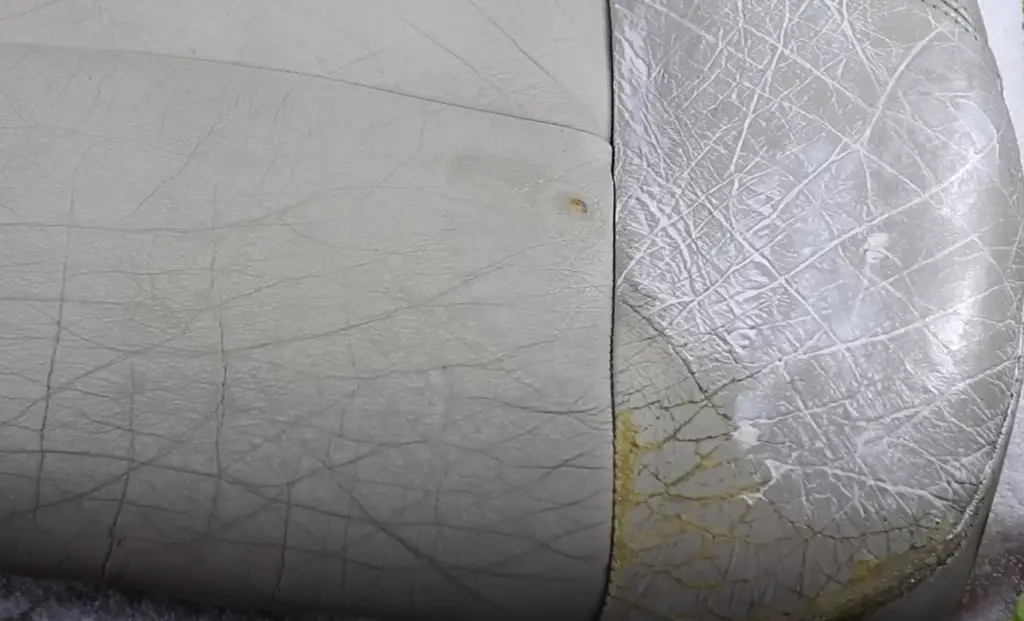
If the damage is more significant (e.g., cracking, peeling, or splitting), then you may need to invest in a leather repair kit. These kits usually include everything you need to clean and restore your leather seat – including special cleaners, conditioners, and dyes. Depending on the severity of the damage, you might even need to replace some parts of your seat such as the foam, springs, or frame. [1]
Safety
When restoring leather seats, safety is of the utmost importance. Before beginning any restoration project, make sure that you read and understand all instructions carefully. Wear protective gloves and use a dust mask to avoid inhaling any harmful fumes or chemicals. It’s also important to work in a well-ventilated area, away from open flames or flame sources.

Everything You’ll Need
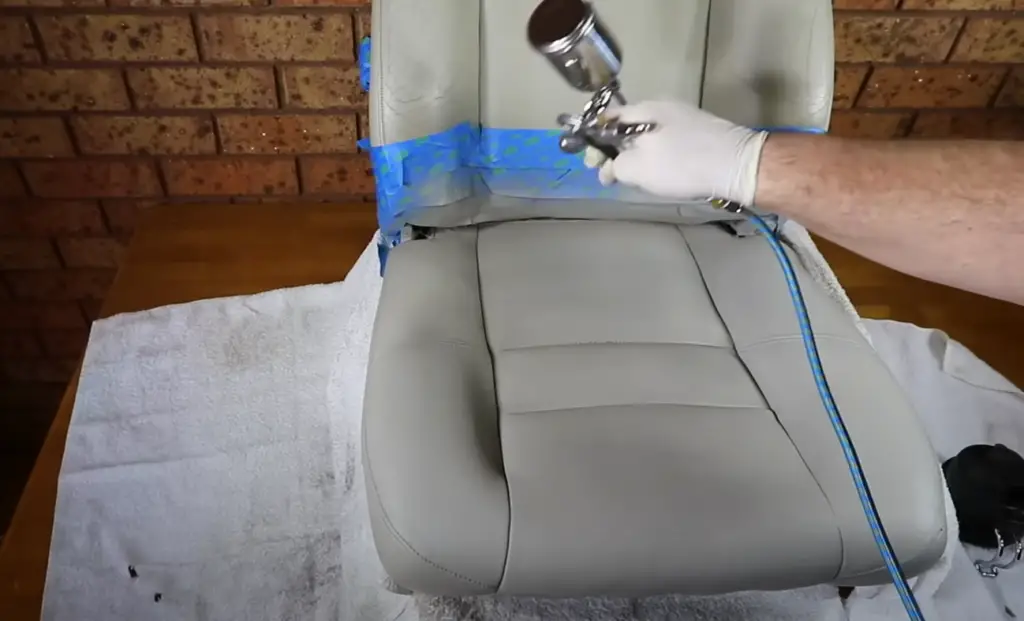
Before beginning the leather restoration process, make sure to have all of the necessary tools and supplies. These will vary depending on the type of leather seat you are restoring. Generally speaking, however, most restoration kits come with a cleaner, conditioner, filler or patching compound, dyes, and applicators (sponges). You may also need additional supplies such as cloth for cleaning and rags for polishing.
Tool List
For a comprehensive list of tools and supplies, here is what you’ll need for restoring leather seats:
- Leather cleaner;
- Leather conditioner;
- Filler or patching compound;
- Dyes (in various colors);
- Applicator sponges or cloth;
- Masking tape;
- Sandpaper (fine grit);
- Cloths for cleaning and rags for polishing [2];
Parts List
Depending on the type of leather seat you are restoring, there may be additional parts that you will need to purchase. This could include anything from springs and frames to foam padding and bolts.
Here’s How To Restore Your Leather Seats
Now that you have all of the necessary tools and supplies, it’s time to get started on your leather seat restoration project. The specific steps may vary depending on the type of leather seat you are restoring, but here is a basic guide.
Reconditioning Your Leather Seats
The first step is to recondition your leather seat. This involves cleaning the entire surface with a special leather cleaner and then applying a conditioner to help keep the leather supple and prevent cracking. Once you have finished conditioning, allow the seat to dry completely before moving on.
Recoloring Your Leather Seats
Once the leather has been conditioned, it’s time to start recoloring. Using a special dye, apply a thin coat of color in one direction. Don’t forget to use a cloth or sponge applicator for even coverage. Once you have applied the dye, allow it to dry completely before moving on.
Reupholstering Your Leather Seats
If your leather seat requires reupholstering, you will need to invest in a patching or filling compound. This is usually included in most repair kits and is designed to fill any gaps or cracks that may be present on the surface of the leather. Use a cloth applicator or brush to apply the compound evenly over the affected areas before allowing it to dry completely.

Tips From a Pro
When restoring leather seats, here are a few tips from the pros:
- Always use a special cleaner designed specifically for leather surfaces;
- Take your time with each step and make sure to give it ample time to dry before moving on;
- Use fine-grit sandpaper to create an even surface before applying any dye;
- When reupholstering, apply the patching compound evenly and wait until it has completely dried before using the seat again;
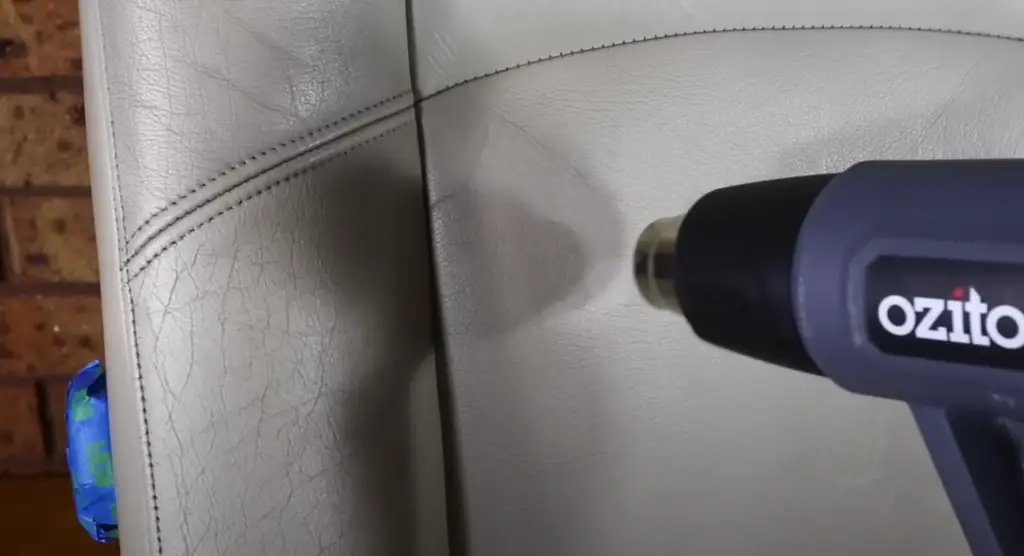
- Keep all tools and supplies away from open flames or flame sources at all times [3];
How Often Do You Need To Restore Your Leather Seats?
Leather seats need to be restored regularly to maintain their appearance and quality. Depending on the type of leather, how often you use your seat, and other factors, it is recommended that you restore your leather seats every one to three years. With proper care and maintenance, a well-restored leather seat can last for many years without needing any restoration work.
Life Hacks
Here are a few life hacks that you can use when restoring leather seats:
- Use baby wipes to clean the surface of your seat instead of a special leather cleaner;
- Make sure to use a soft cloth or sponge applicator when applying dye to achieve an even coat;
- Dab white vinegar on spots or stains before using any patching compound for easier removal;
- Avoid using harsh chemicals as they may damage the leather surface and cause discoloration;
- Apply a conditioner after each restoration job to keep the leather supple and prevent cracking;
How Much Does It Cost To Restore Your Leather Seats?
The cost of restoring leather seats can vary depending on the type of work that needs to be done. Generally, a full restoration job (including sanding, dyeing, and reupholstering) will cost approximately 0-0. However, you may find it more cost-effective to purchase specialized repair kits or tools rather than hiring a professional. [4]
FAQ
How can I make my leather seats look new again?
To restore the look of your leather seats, you can use a special cleaner and conditioner to clean the surface and apply a coat of dye to recolor any faded areas. Be sure to allow each step to dry completely before moving on.

How do you restore leather seats at home?
You can restore leather seats at home by following a few simple steps. First, use a specialized cleaner to clean the entire surface, and then apply a conditioner to keep the leather supple. Next, use dye to recolor any faded areas, and then reupholster any cracked or damaged spots with a patching compound. Finally, always apply a conditioner after each restoration job to keep the leather looking its best.
How do you rehydrate leather seats?
To rehydrate leather seats, start by cleaning the entire surface with a specialized cleaner. Next, apply a conditioner to nourish and hydrate the leather. Finally, use a cloth or sponge applicator to evenly apply dye over any faded areas. Allow each step to dry completely before moving on for the best results.
Useful Video: How To Correctly Repair Damaged & Cracked Car Leather Seats
Conclusion
Leather seats are a luxurious addition to any vehicle, but they require some upkeep to keep them looking their best. Luckily, restoring leather seats is not as difficult or time-consuming as you might think. By following the steps outlined in this blog post, you can have your leather seats looking like new again in no time. So what are you waiting for? Get started today and enjoy the satisfaction of a job well done!
References:
- https://www.thedrive.com/cleaning-detailing/33869/how-to-restore-leather-seats
- https://www.parkers.co.uk/car-advice/car-care/leather-car-seat-repair
- https://www.carsandmotorsonline.com/archives/3690
- https://www.libertyleathergoods.com/leather-car-seat-repair


Leave a Reply