Leather car seats are among the most popular types of upholstery, providing a luxurious look and feel to your vehicle’s interior. But with regular use over time, they can become damaged by accidental tears or cuts. Even if you’re vigilant about protecting your leather car seat from damage, a tear can sometimes occur. Fortunately, there are some tips and tricks that you can use to repair a tear in your leather car seat and restore its original beauty.
Leather Car Seat Repair Method
Step 1. Prepare The Leather Car Seat For Repair
Before beginning the repair process, it’s important to make sure that the leather car seat is clean and free of any dirt or dust. Start by vacuuming the area around the tear and then wiping down with a damp cloth. Allow it to dry before proceeding with any other steps.[1]
Step 2. Tidy The Area Around The Tear
Once the area is clean, it’s time to start tidying up around the tear. Use a pair of scissors to trim away any loose pieces of leather that may be hanging around the edges of the tear as these can prevent the repair from being successful.[1]
Step 3. Apply The Backing Patch
The next step is to apply a backing patch to the reverse side of the leather car seat. This will provide extra support and strength to the area around the tear. It’s best to use a material that matches the colour and texture of your leather as closely as possible, in order to ensure that it blends in with the rest of the upholstery when complete.[1]
Step 4. Fill The Hole
Once the backing patch is secure, it’s time to start filling the tear. Use a leather filler or adhesive that is suitable for use with leather and apply it into the hole, making sure to fill it completely. Allow this to dry before moving onto the next step.[1]
Step 5. More Layers Of Filler
Once the initial layer of adhesive or leather filler has dried, it’s time to start adding more. If you want to achieve a seamless finish, add layers of filler until the tear is completely filled and even with the rest of the leather car seat.[1]
Step 6. Add The Final Layer Of Filler
When the tear is completely filled and even with the rest of the leather car seat, it’s time to add a final layer of filler. This will help to seal the repair and ensure that no further damage occurs. Allow this final layer to dry before using your leather car seat again.[1]
Step 7. Apply An Initial Coat Of Colourant
Now that the tear has been repaired, it’s time to apply a coat of colourant in order to match the rest of your leather car seat. Choose a colourant that closely resembles the original shade and apply it evenly across the entire area. Allow this to dry before moving onto the next step.[1]
Step 8. Finish The Job With A Protective Coating
Finally, it’s time to finish the job with a protective coating. This will help to seal in the colourant and increase the overall durability of your leather car seat. Once applied, allow this final layer to dry before using your leather car seat again.
Follow these simple steps and you’ll be able to repair a tear in your leather car seat in no time. With a bit of patience and care, you can restore the original beauty of your upholstery and enjoy it for years to come![1]
How to Fix Sizable Tears on Leather Car seats
Use of a Leather Patch
If you have a sizable tear on your leather seat, the best and most effective way to repair it is by using a leather patch. These patches are designed to match the colour and texture of your car’s upholstery, allowing them to blend in naturally with the rest of the surface. Start by applying adhesive to both sides of the patch and then pressing it firmly into the tear. Allow it to dry before using your leather car seat again.[3]
Stitching Method
If you’re handy with a needle and thread, another method for repairing leather car seat tears is by stitching them together. Start by cutting a piece of thread that is twice the length of the tear and then tie a knot at one end. At the opposite end, use a needle to pull the thread through the leather and create a series of small stitches across the tear. When finished, tie off the other end with another knot and then trim away any excess thread.[3]
Installing Leather Tapes
If you don’t feel comfortable stitching or patching the tear, another option is to use leather tapes. These are self-adhesive pieces of leather that can be used to cover up any size hole or tear in your car seat’s upholstery. Start by cleaning the area around the tear and then measure out a piece of tape that is slightly larger than the tear itself. Peel away the backing and then press it firmly into place. Allow it to dry before using your leather car seat again.[3]
Following these tips and tricks can help you repair any size tear in your leather car seat, restoring it to its original beauty and protecting it from further damage.
How to fix leather car interior tears and holes
Material Required
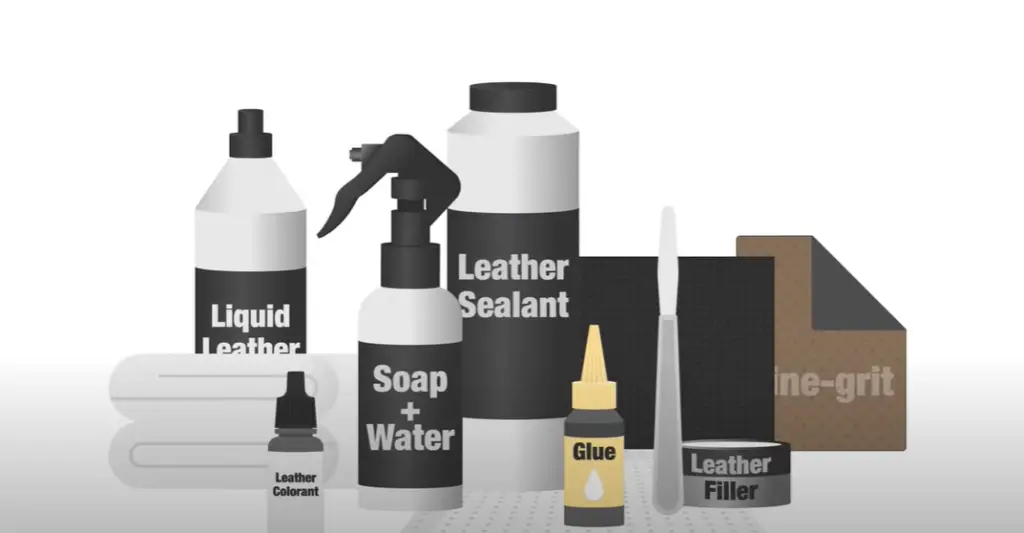
When it comes to fixing leather car interior tears and holes, there are a few materials you’ll need in order to complete the job. These include: a piece of leather that matches the colour and texture of the upholstery; leather adhesive; scissors; an awl or other sharp tool; sandpaper; and a protective coating. [3]
Preparing The Area
Before beginning the repair process, it’s important to make sure that the area around the tear or hole is clean and free of dirt or dust. Start by vacuuming the area and then wiping down with a damp cloth. Allow it to dry before proceeding with any other steps.[2]
Repairing The Tear/Hole
Once the area is clean, it’s time to start repairing the tear or hole. Depending on how large it is and the type of leather you’re working with, there are a few different methods you can use.
For larger tears/holes, you may need to use an awl or other sharp tool in order to make small cuts around the edges in order for the patch or adhesive to adhere properly. Once this is done, you can proceed with filling the gap in the same manner as described above.[2]
Start by cutting any loose threads with scissors
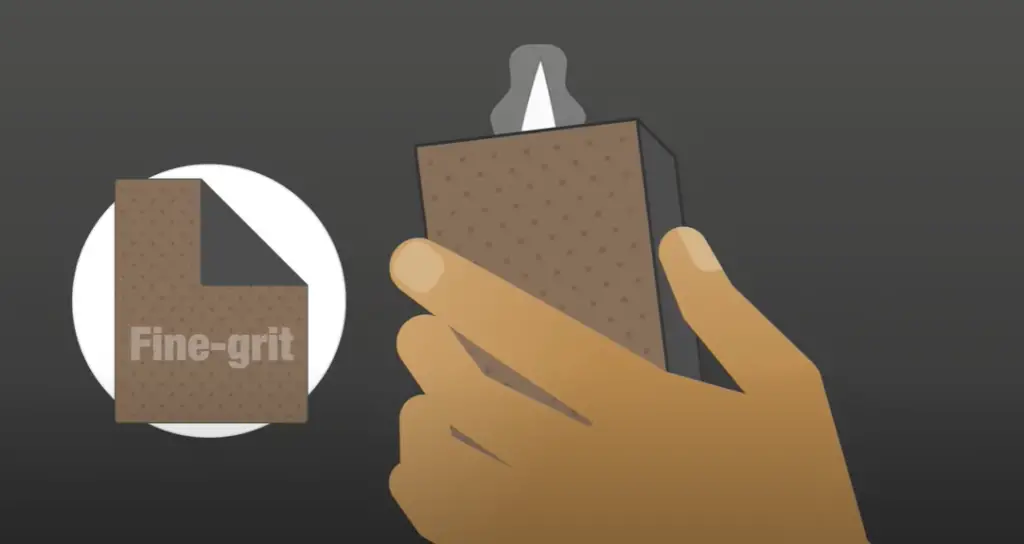
Once the patch or adhesive has dried, it’s time to finish off the repair. Start by cutting any loose threads with scissors and then use sandpaper to smooth out any rough edges. Finish off the job with a protective coating that is suitable for use with leather in order to seal in the repair and add extra durability.[2]
Cut off loose threads on the torn edges for the leather strip choice
If you’ve chosen to use a leather strip for your repair, start by cutting off any loose threads on the torn edges. This will help to ensure that the patch adheres properly and won’t easily come off. Once this is done, apply adhesive to both sides of the leather strip and press it firmly into place. Allow it to dry before using your leather car interior again.[2]
Use glue instead of adhesive in case of delicate leather
If the leather you’re working with is particularly delicate, it may be best to use glue instead of an adhesive. This will help to prevent any further damage and ensure that your repair lasts for years to come.
Follow these steps and you’ll be able to fix a tear or hole in your car interior’s upholstery in no time. By paying attention to the details and using the right materials, you can easily restore your leather car interior to its original beauty![2]
Fixing a Torn Leather Car Seat
Step One: Visual Inspection of the Damage
The first step to fixing a torn leather car seat is to visually inspect the damage. Take some time to assess the size and shape of the tear, and also note which parts of the material are still intact. This will help you determine what type of materials and techniques you’ll need in order to complete your repair.[1]
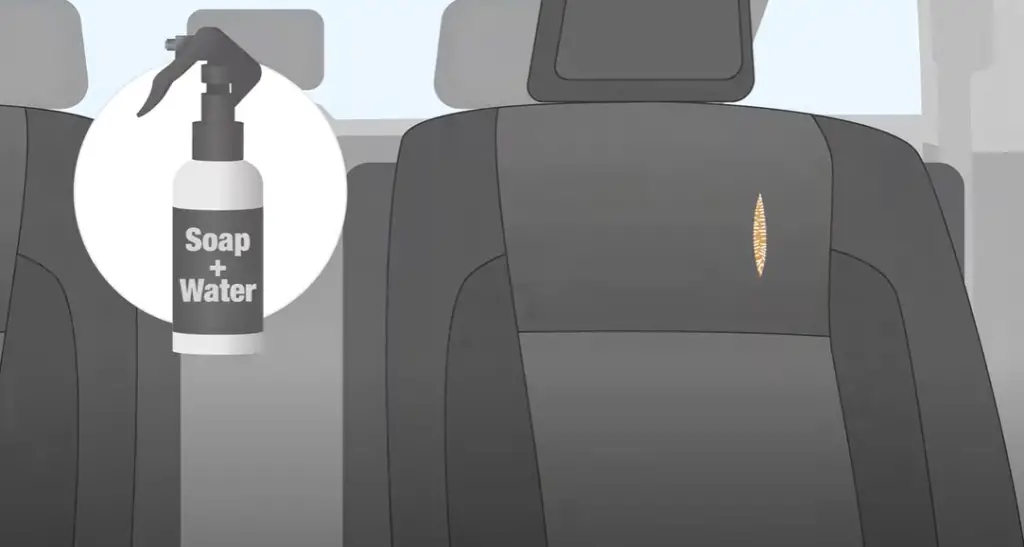
Step Two: Wipe the Seat Clean
Once you’ve inspected the seat, it’s time to give it a good wipe down. Use a damp cloth and some mild soap or leather cleaner to remove any dirt and debris from the surface. Allow it to dry before moving onto the next step.[1]
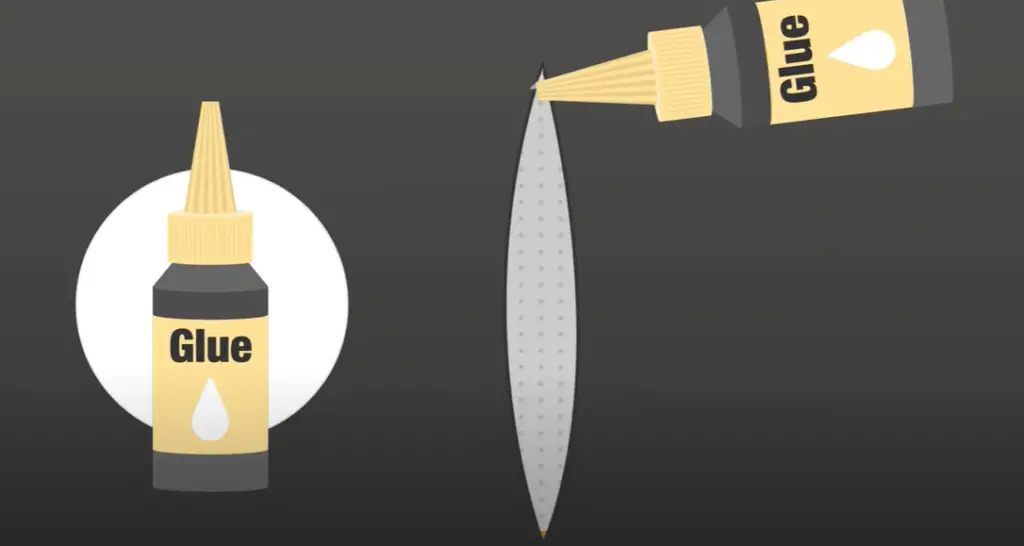
Step Three: Trim and Glue Edges Surrounding the Tear
Once the seat is clean and dry, it’s time to start repairing the tear. Start by trimming any frayed edges around the tear and then apply a thin layer of glue or adhesive to both sides. Allow this to sit for a few moments before pressing the two pieces together firmly.[1]
Step Four: Apply Leather Fillers
If the tear is particularly large, you may want to apply leather fillers before pressing the pieces together. These are specially designed products that can be used to fill in any gaps and strengthen the repair. Apply a thin layer of the filler around the edges of the tear and then press it into place with your fingers or a cotton swab. Allow it to dry before moving onto the next step.[1]
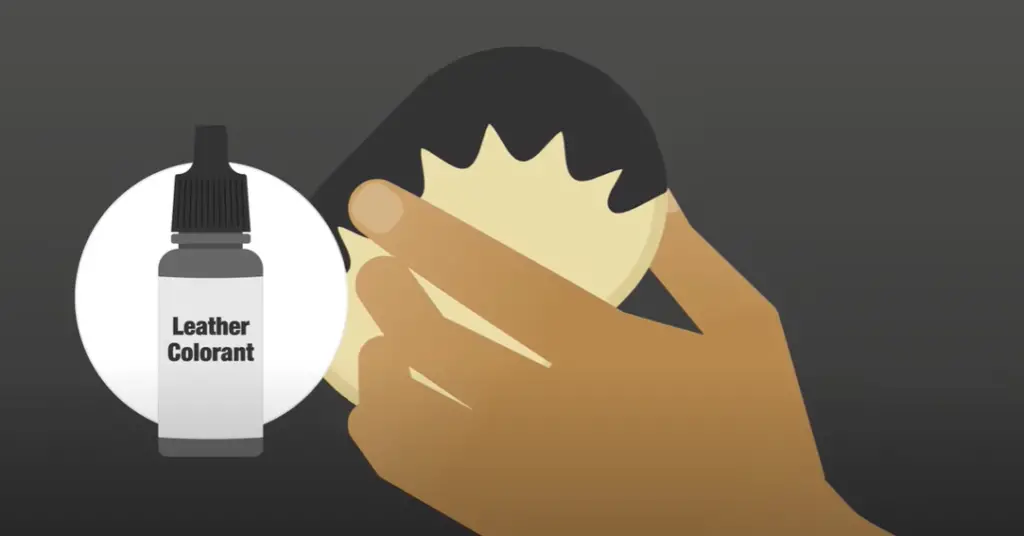
Step Five: Rub a Leather Colorant onto the Repair
Once the glue and filler have dried, it’s time to give your repair a finishing touch. Rub a small amount of leather colorant onto the area using a cotton swab or a clean cloth. This will help to match the shade of your car seat and create an even finish.[1]
Step Six: Set the Area with a Leather Sealant
Finally, it’s important to protect your repair by setting the area with a leather sealant. This will help to keep moisture out and ensure that your car seat is restored to its former glory.[1]
Tips for Preventing Damages in Future
Once you’ve fixed the tear or hole in your leather car seat, it’s important to take some steps to prevent similar issues from occurring in the future. Here are a few tips that can help keep your leather car interior looking like new for years to come:
- Always use a protective coating when wiping down your leather car interior. This will help keep the material clean and free of dirt or grime.
- Avoid using harsh cleaning products on your leather car seat as they can cause further damage. Stick to mild soaps or leather cleaners instead.
- If you’re going to be sitting on the seat for an extended period of time, make sure to use a cushion or pillow for extra support. This will help to prevent the leather from stretching or tearing.
- If possible, park your car in a shaded area or cover it when not in use. This will protect its interior from the sun’s harsh UV rays.
- Always use a leather conditioner on your car seat at least once a month, as this will help keep the material soft and supple.[3]
FAQ
Can tears in leather car seats be repaired?
Yes, tears in leather car seats can be repaired. With the right materials and techniques, you can easily fix a tear or hole in your leather car seat in no time.
How do you repair damaged leather car seats?
To repair damaged leather car seats, start by visually inspecting the damage and then wiping down the seat with a damp cloth and mild soap or leather cleaner. Next, trim any frayed edges around the tear and apply a thin layer of glue or adhesive to both sides. Fill in any gaps with leather fillers before pressing the two pieces together firmly. Finally, rub a leather colorant onto the repair and set it with a sealant.
How do you fix a rip in a car seat?
To fix a rip in a car seat, start by cutting off any loose threads on the torn edges. Apply adhesive to both sides of the leather strip and press it firmly into place before allowing it to dry. Then, use glue instead of an adhesive if the leather is particularly delicate. Finally, finish off the job with a protective coating that is suitable for use with car seats. This will help to keep the material clean and free of dirt or grime.
What causes leather car seats to rip?
Leather car seats can rip due to frequent use, age, and exposure to the elements. Other factors such as improper cleaning techniques or using harsh chemicals on the leather can also lead to tearing. It’s important to take care of your car seat by using a protective coating when wiping it down and avoiding products that are too abrasive. This will help keep your leather car seat looking its best for years to come.
Can you glue leather car seats?
Yes, you can glue leather car seats. If the tear or hole is small enough, you can use a strong adhesive to patch it up. However, if the area is particularly large, you may want to consider using a leather filler before applying any glue. This will help to strengthen the repair and make sure that your car seat looks as good as new!
How do you fix ripped leather?
To fix ripped leather, start by cutting off any loose threads on the torn edges. Then, apply adhesive to both sides of the leather strip and press it firmly into place before allowing it to dry. If the leather is particularly delicate, you may want to use glue instead of an adhesive. Finally, finish off the job with a protective coating that is suitable for use with the leather material. This will help keep your car seat looking its best for years to come.
What is the best glue for torn leather?
The best glue for torn leather will depend on the type of material you are working with. For delicate leather, consider a water-based contact adhesive like Barge All Purpose Cement. This glue is strong and flexible and won’t damage your leather car seat. However, for more heavy-duty repairs, it may be necessary to use a solvent-based glue such as E6000. This type of glue is more resistant to heat and moisture and can handle heavier weights.
Useful Video: Vinyl Leather Tear Repair DIY Kit Demonstration Video
Conclusion
Fixing a tear or hole in your leather car seat doesn’t have to be a difficult task. With the right materials and techniques, you can easily repair any minor damage and restore your car seat to its former glory. Just make sure to take extra care when cleaning or wiping down the area, as harsh products can cause further damage. Finally, use a protective coating to help keep your leather car seat looking like new for years to come.
By following these steps, you can ensure that your car interior is kept in top condition and free from any unsightly tears or holes! Good luck with your repair!
References:
- https://www.furnitureclinic.co.uk/e-learning/how-to-fix-a-hole-in-a-leather-car-seat/
- https://leatheradvice.com/how-to-repair-torn-leather-car-seat/
- https://www.way.com/blog/how-to-fix-a-tear-in-a-leather-car-seat/