Leather is a popular choice for dog collars because it is strong and durable. It can also look very stylish on your pup. In this article, we will teach you how to make a leather dog collar from scratch. We’ll answer some common questions, like what type of leather to use, how to cut it, and how to put it together. Follow these steps, and you’ll have a beautiful new collar for your furry friend in no time!
How Are Self-made Leather Collars Better than Commercially Available Ones?
Making a leather dog collar from scratch has several advantages over buying one off the shelf.
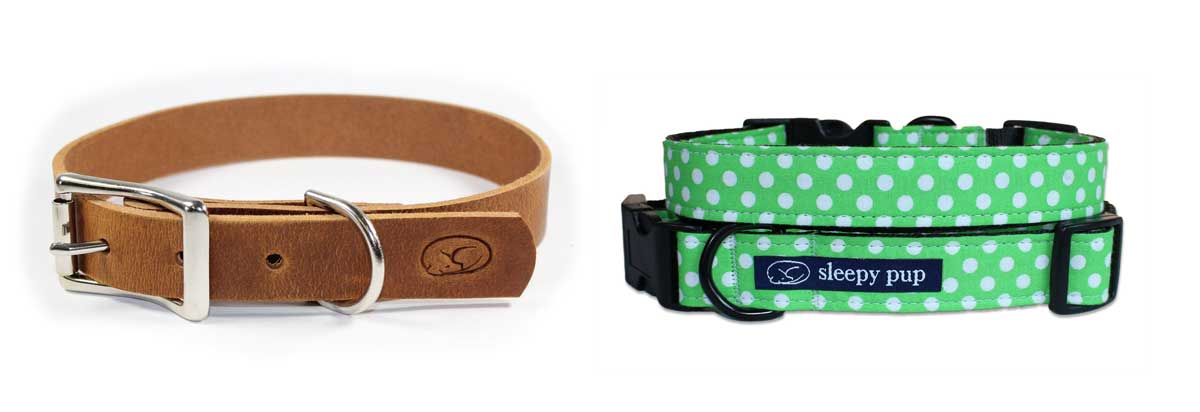
One advantage is that you can customize the size, shape, and color of your collar according to your pup’s unique needs. This means that it won’t be too tight or too loose, and you won’t have to settle for a design that isn’t quite right.
Additionally, self-made collars tend to last much longer than store-bought ones because they are made with higher-quality materials and crafted more carefully. Plus, crafting a leather collar from scratch can be an enjoyable experience – it’s a great way to bond with your pup while expressing your creativity!
Finally, making a leather collar yourself can be much more cost-effective than buying one.
Although you may need to purchase some specialty tools, the cost of materials is generally quite low and you’ll get a lot more bang for your buck.
Best Designs & Customization
When it comes to making a leather dog collar, the possibilities are endless. You can choose to make a simple yet stylish classic design or get creative with different shapes and colors, depending on your pup’s preferences.
If you want to keep things traditional, a 1-inch wide collar with buckle closures is a great choice. For more adventurous pups, try adding some extra flair – consider using contrasting colored leather pieces for an eye-catching look, or using multiple layers of leather for durability and style.
You can also customize the collar further by adding decorations such as metal studs or charms.
Embossing your pet’s name onto the leather is another popular option that will give them something truly unique!
Cost-effective (If You Already Have the Required Tools)
Making your leather dog collar doesn’t have to be expensive – in fact, it can be quite affordable. Generally, the only tools you’ll need are a leather punch and some cutting tools. Many of these items can be found at craft stores or online for relatively low prices.
Overall, if you’re willing to invest some time and effort into creating a personalized collar for your pup, it can be cost-effective!
Steps to Make Your Own Leather Dog Collar
Gather Materials and Tools
Before you can get started, make sure you have all the materials and tools you need. You’ll need some leather, leather punch, scissors, cutting mat or board (optional), ruler or measuring tape, needle, thread (or rivets), buckles or clasps, and decorations of your choice (optional).
Once you’ve gathered everything together, it’s time to start crafting! [2]
Cut and Prepare Leather in a Generous Length
Using a ruler or measuring tape, measure the size of your pup’s neck and add about two inches for extra room. Cut the leather to that length to make sure it fits properly.
If you’re using multiple pieces of leather for your collar, use the longest piece as the base and then cut shorter strips to layer on top. Make sure all edges are smooth before continuing with the next step.
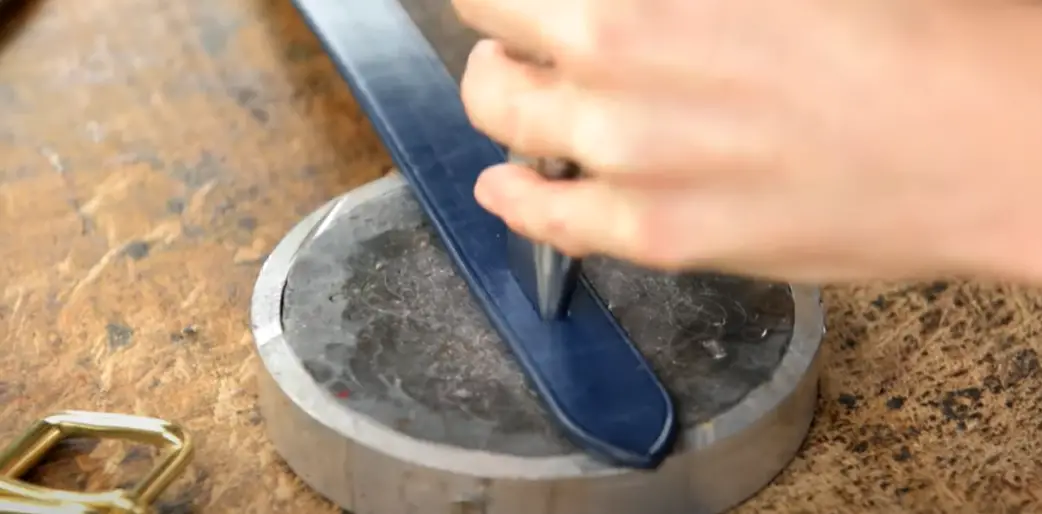
Cutting the Leather
Using a leather punch, cut two holes in the leather for the buckle or clasp. Ensure that each item is of equal size and arranged with precise spacing (roughly 1 inch apart). Once you’re done cutting, attach the buckles or clasps to the leather by either sewing them on with thread or using rivets.
If you want to add decorations such as metal studs or charms, use a leather punch to make small holes in the strips of leather and then attach them with glue or rivets.
Preparing the Leather
Once all of your pieces are cut and attached, it’s time to prepare the leather for finishing. This involves sanding down the edges to make them smooth and even, as well as buffing and polishing them.
This step is important for making sure your finished leather collar looks neat and professional – so don’t skip it!
Mark the Holes, and Punch Holes in the Collar
Once you have finished prepping the leather, it’s time to mark and cut the holes for your pup’s neck. Use a ruler or measuring tape to measure their neck size and then mark where the holes should go on the collar.
Using a leather punch, make two holes in the leather at those marked points. Make sure they are even and spaced properly (about 1 inch apart).
Cleaning, Dyeing, and Sealing the Collar.
Once all of the holes are cut and the collar is ready, it’s time to clean it with a damp cloth before dyeing or staining. Choose a color that will complement your pup’s fur and personality!
When you’re done dying, use a leather sealant to protect the surface from wear and tear. This will also help keep the color looking vibrant for years to come. [3]
Add the Buckle, D-Rings, and Rivets.
Now it’s time to add the final touches to your pup’s new leather dog collar! Attach the buckle or clasps with either thread or rivets, and then add any other hardware such as D-rings or charms.
Decorate the Collar (Optional)
Finally, if you want to add some extra pizzazz to your pup’s collar, there are plenty of ways to do so!
You can add metal studs or charms with a leather punch and glue, or even paint on designs like stripes or paw prints. No matter what design you choose, your pup will be sure to look its best in its new custom collar.
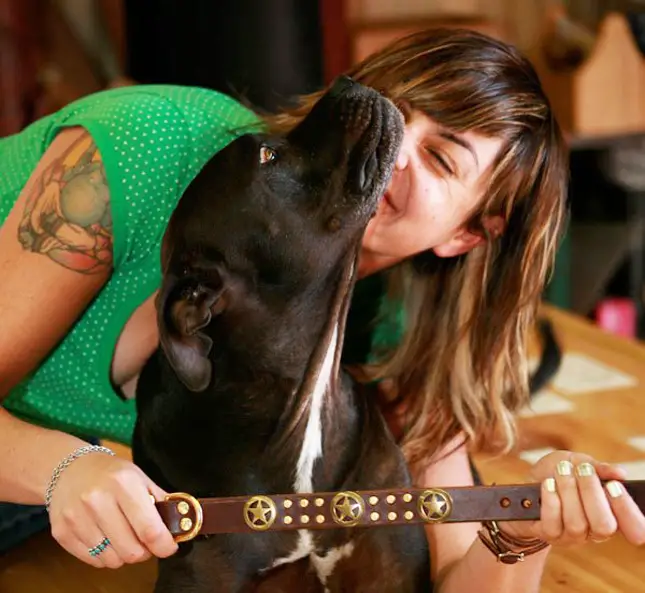
And that’s it – you’re done! You’ve now made a high-quality leather dog collar that is tailored specifically for your pup. Now go out and show off your pup’s style!
FAQ
What Kind of Leather Is Used for Dog Collars?
Several types of leather can be used to make dog collars, including full-grain leather, top-grain leather, and faux leather. Full-grain is the highest quality and most durable type of leather, while top-grain is a bit softer and more pliable. Faux leather is made out of synthetic materials and is often more affordable than genuine leather. [4]
How Thick Should a Leather Dog Collar Be?
The thickness of your dog’s leather collar should depend on the size of your pup. Generally, a thicker collar (1/4 inch or more) is recommended for larger dogs and a thinner collar (1/8 inch or less) is better suited for smaller breeds.
Is leather good for dog collars?
Yes, leather is a great material for dog collars because it is durable, comfortable, and stylish.
It also looks better with age and will last much longer than cheaper materials like nylon or canvas. However, some dogs may have sensitive skin so be sure to do a patch test before using the collar to make sure there are no allergic reactions.
How do you make a simple leather dog collar?
Making a simple leather dog collar is relatively easy and requires just a few basic tools. Start by measuring your pup’s neck size and then cutting two strips of leather to the correct length.
Attach them using rivets or glue, sand down the edges, mark and punch holes for the buckle or clasps, clean, dye or stain, seal with a leather sealant, attach any hardware such as D-rings or charms, and you’re done! If desired, you can also add decorations like studs or paint designs onto the collar for an extra touch of style. [5]
Useful Video: Make Your Own: Leather Dog Collar – Beginner Tutorial
Conclusion
It’s now time to put the finishing touches on your own homemade leather dog collar. Remember to make sure the design complements your pup’s personality, as well as prioritizing quality materials and supplies; this will help produce a durable collar that will last for years. With these steps in mind, you’ll have no trouble creating your own handmade leather dog collar! As a final tip, always measure twice – cut once – as this will ensure an accurate fit that won’t create any painful chafing or discomfort for your pup. Don’t forget to take lots of pictures along the way, so you can marvel at your handiwork and share them with friends and family. If in doubt, feel free to enlist the help of an experienced leatherworker who can guide you through this exciting project from start to finish. With their help and dedication, you’ll be able to make a unique, special collar that your dog will love forever!
References
- https://worldanimalfoundation.org/dogs/make-a-leather-dog-collar/
- https://liagriffith.com/leather-dog-collar-leash/
- https://www.instructables.com/Leather-Dog-Collar-1/
- https://worldanimalfoundation.org/dogs/make-a-leather-dog-collar/
- https://www.weaverleathersupply.com/blogs/leathercrafting/diy-leather-dog-collar-lead-learn-how