Leather journals are a popular item for people who like to write. They can be used for a variety of purposes, such as recording your thoughts and ideas, taking notes during meetings, or even drawing sketches. If you’ve been thinking about making your own leather journal, this is the article for you! In this comprehensive guide, we will answer all of the most common questions about how to make a leather journal.
Step 1: What you need
The most important items you’ll need to make a leather journal are:
- Leather of your choice
- Bookbinding board
- Needle and thread
- Fabric for the cover
- Eyelets and washers (optional)
- Awl or some kind of pointed tool (optional)
Other tools that may be useful include scissors, an awl, a hole puncher, waxed thread, and a mallet. You will also need glue for assembling the journal. [1]
Step 2: Gathering the paper
You’ll need paper for the inside of your journal. You can choose a variety of sizes, colors, and types depending on what you plan to use them for. Make sure the paper is thick enough so that it won’t easily tear when used often. You may also want to consider using acid-free papers if you plan to keep any writings or sketches in the journal for a long time.
Step 3: Make a template
Now that you have the supplies, it’s time to make a template for your journal. This will help ensure that all of the pieces fit together nicely when you assemble them. You can either draw out the template on paper or use something like cardboard to create a sturdy base. The template should include both the front and back covers, as well as any other flaps or pockets that you want to include in your design.
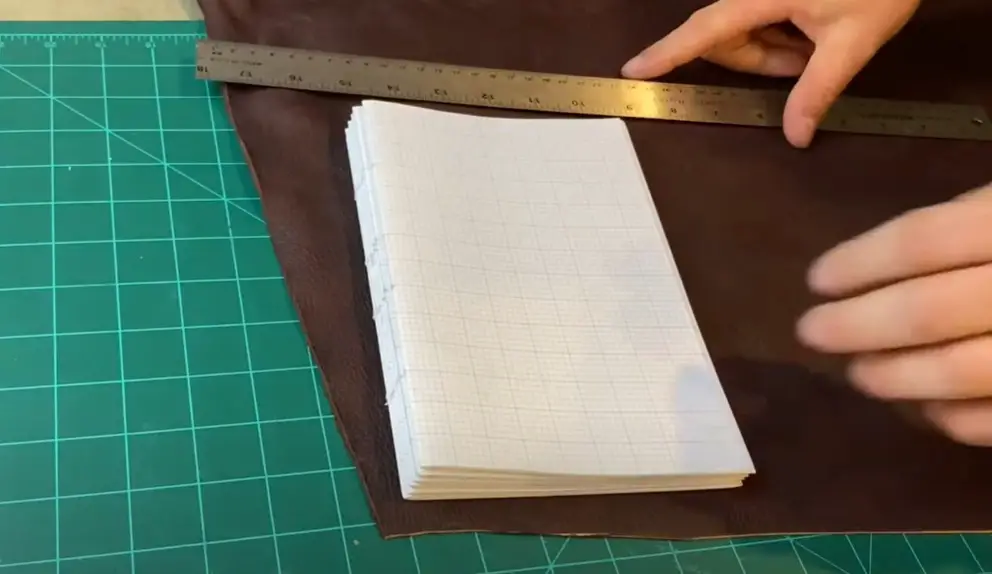
Step 4: Cut the paper
Use the template to cut out the paper and leather for the journal. Make sure to leave extra room so that you can stitch and fold it together properly. You may also want to use an awl or other pointed tool to punch holes along the edge of the leather for sewing.
Step 5: Fold the pages
Once all the pages have been printed on one side of the paper, it is time to fold each sheet.
Step 6: Make holes in the pages
Now that you have your book assembled, it’s time to make holes in the pages. Punching holes in the pages of a book is necessary to ensure that all the pages stay securely in place when the book is bound. You’ll need an awl or a hole punch for this step.
If you’re using an awl, simply press it through each page at regular intervals near the spine of your book. If you’re using a hole punch, position it over the center spine and carefully punch out two holes on each page. Make sure not to damage any of the edges of your papers as you work!
Once you’ve punched two holes in every page, move on to the next step: binding your book
Step 7: Make the folder
Now that you have all your pages ready, it’s time to make a folder. This will provide extra protection and stability for the journal when it is closed. Cut out a piece of leather or fabric that is slightly larger than the size of the book.
Fold the fabric in half and stitch along the edges with waxed thread. Make sure to leave some openings at the top and bottom so that you can insert your book into the folder. Once finished, attach eyelets and washers to each side of the folder if desired.
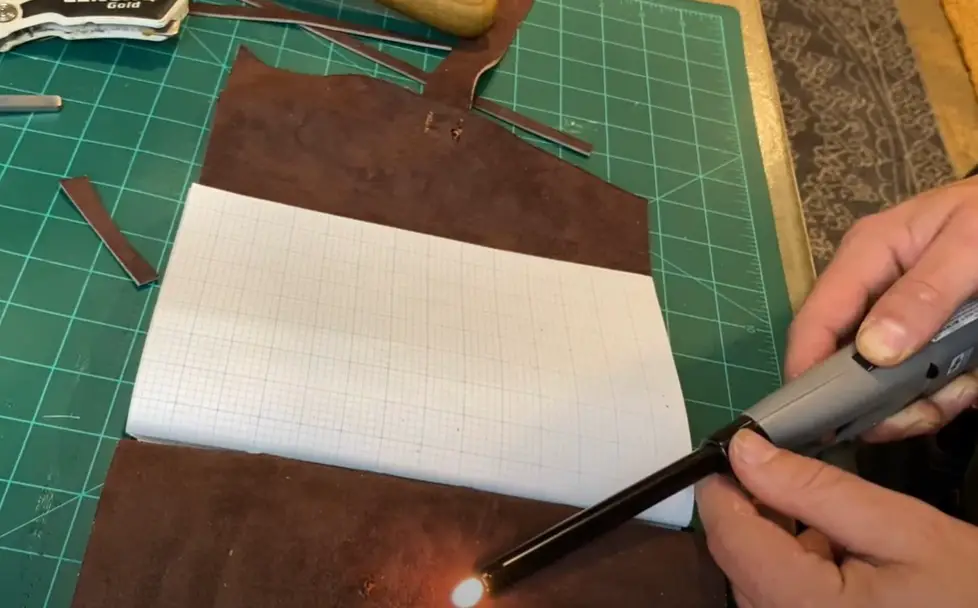
Step 8: Cut the leather
Once you’ve finished sewing the leather, it’s time to cut it. To do this, you’ll need a sharp knife or other cutting instrument that can handle leather. Start by marking where you want to make your cuts, then carefully cut along the marked lines. Make sure to be precise and avoid damaging any of the stitching that you previously completed. Once all of your pieces are cut, they’re ready for assembly!
Step 9: Poke holes in the leather
Now that you have all your pieces cut and ready, it’s time to poke holes into the leather. This step is necessary for making sure that the pages are securely held together when the book is bound. Use an awl or other pointed tool to make two holes in each piece of leather. Make sure to leave enough room between them so that when you thread the waxed linen through, it won’t be too tight.
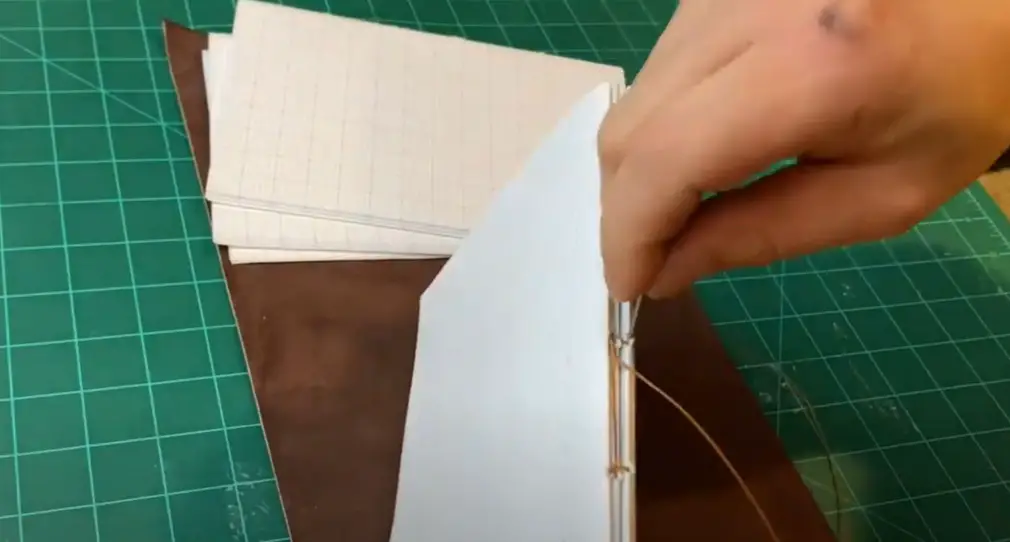
Step 10: Sew
Now that the leather is prepped, it’s time to sew everything together. Start by threading the waxed linen through each of the holes in the leather pieces and tying a knot at one end. Then begin stitching along the spine of your journal, making sure to keep an even tension as you go. Once you’ve finished sewing, your journal is ready to use!
Step 11: Attach the string
Now that your journal is assembled, it’s time to attach the string. Start by looping a long piece of waxed linen around the spine and tying a knot at the end. Then, tie one end of the string to each eyelet or washer you previously attached to the folder. This will help keep your journal securely closed when not in use!
Step 12: Done!
Congratulations! You’ve successfully created a beautiful, homemade journal. Now all you need to do is fill it up with your thoughts, ideas, and stories. Enjoy!
FAQ
What kind of leather is used for journals?
Leather is a popular material to use for journals because it is strong and durable, while also looking stylish. Many people prefer to use full-grain cowhide leather or goatskin leather for their Journals, as they are both long-lasting materials that provide good protection. [2]
How do you make a homemade leather notebook?
To make a homemade leather notebook, you’ll need to start by gathering the materials and tools necessary. Then, prepare your papers and bind them together with waxed linen thread. Once that’s done, cut out pieces of leather to fit over each page and sew them together. Finally, attach eyes or washers to the folder and tie the string around it to keep everything securely closed when not in use!
Do leather journals last?
Leather journals are highly durable and can last for years with proper care. Leather is an especially good material to use for notebooks because it provides good protection while also being stylish. With the right maintenance, a leather journal can last you many years!
What are the 4 types of leather?
The four main types of leather are full grain, top grain, genuine leather, and bonded leather.
Full-grain is the most durable type of leather and is usually considered to be the highest quality. Top grain has been sanded down to remove imperfections and make it more uniform in appearance. Genuine leather refers to any type of hide that has not been processed or split into multiple layers. Finally, bonded leather is a blend of different materials such as plastic or fabric mixed with some real animal hide for durability. [3]
How do I attach a leather cover to a journal?
To attach a leather cover to a journal, start by measuring the size of the journal and then cutting pieces of leather that will fit over each page. Next, use an awl or other pointed tool to poke holes into the leather pieces. Then thread waxed linen through each of the holes and tie a knot at one end. Finally, begin stitching along the spine of your journal with even tension until it is all securely bound together!
What leathers are illegal?
The use and trade of certain species of leather are illegal in some countries. Examples of these include alligators, caiman, Nile crocodiles, and python skins. In addition to these, there are also restrictions in place on the import or export of different types of leathers including elephant hide and sea turtle shells. It’s important to research the laws where you live before buying any type of exotic leather product. [4]
Useful Video: Handmade Leather Journal
Conclusion
Crafting a beautiful leather journal can be a rewarding experience that not only produces something of true value, but also helps to cultivate creative and technical skills. The process starts with choosing the right leather, gathering the necessary supplies, choosing an adequate size for your project, cutting and sewing the leather, preparing it with various treatments, then finally completing the design by adding decorations and personal touches. Taking your time to carefully craft a unique journal should result in a personalized feel and its timeless style will surely be admired by all those who view it. So now that you know how to make a truly special leather journal, why not go out and create one of your own? It’s sure to become an object you will treasure for years to come! Good luck!
References
- https://www.septemberleather.com/blogs/sp/how-to-make-a-leather-journal
- http://top10leatherjournals.com/guide-buying-leather-journal-online/
- https://bosca.com/blog/types-of-leather-a-glossary/
- https://www.countryviewwestern.com/blogs/western-wear-tips/what-exotic-boots-are-banned-in-certain-states