Leather, with its durability and timeless appeal, is a popular choice for various items, including bags, jackets, shoes, and furniture.At times, you might find yourself wanting to eliminate embossing from a leather item. This could be to attain a sleeker appearance or to erase an undesired mark. This process, while meticulous, can be done at home with the right tools and a bit of patience. This guide will walk you through the step-by-step procedure to effectively remove embossing from leather.
Understanding Embossing on Leather
Embossing is a widely used technique that adds texture and dimension to leather. By applying heat and pressure, a design is pressed onto the surface, creating a raised imprint. This method not only enhances the visual appeal of the material but also adds interest and depth to its overall look.
Embossing, a technique that has stood the test of time, has been employed in diverse ways throughout the centuries. From meticulously carved stamps to cutting-edge machinery, it has left its mark on a myriad of leather goods. Be it on bags, shoes, furniture, or book covers, the art of embossing adds a touch of sophistication and elegance.
If you possess a piece of leather adorned with embossed detailing that you no longer desire or has shown signs of wear over time, you might be contemplating the process of removing it. There exist various techniques for eliminating embossing from leather, each differing in terms of complexity and efficacy.
Common Methods for Removing Embossing from Leather
a. Using Heat and Pressure Method
One popular method for removing embossing from leather is using heat and pressure. This involves heating the leather with a heat gun or iron, then placing it between two flat boards and pressing down firmly with a heavy object.
This method can be effective for smaller embossed areas, but may not work as well for larger designs or deeply imprinted patterns. Proper handling of heat and pressure is crucial when working with leather to prevent any potential damage. It is important to exercise caution and control to avoid subjecting the material to excessive heat or pressure, which could otherwise result in detrimental effects. [1]
b. Sanding Method
Another method for removing embossing from leather is sanding it down. This involves using a fine-grit sandpaper to gently rub away the raised portions of the design until it is no longer visible.
While this method can be effective, it may also leave the leather looking rough and uneven. It is best used for smaller areas or as a last resort if other methods have failed.
c. Chemical Stripping Method
Chemical stripping is a more aggressive method for removing embossing from leather. It involves using a chemical solution, such as acetone or alcohol, to dissolve the embossed design.
This method should be used with caution, as the chemicals can also damage the leather if not used properly. It is important to test a small, inconspicuous area first and follow all safety precautions when using chemical solutions.
Precautions to Take Before Removing Embossing from Leather
Before embarking on the task of removing embossing from leather, it is crucial to exercise caution and take necessary precautions to prevent any potential damage or harm.
- Make sure the leather is genuine and not faux or bonded leather, as these materials may not react well to certain removal methods.
- Check for any care instructions on the leather item – some products may be sensitive to certain chemicals.
- Before beginning the removal process, ensure that any excess dust or dirt is carefully removed from the leather.
- If possible, disassemble any parts of the leather item (such as removing hardware) to avoid damaging them during the removal process.
- To preserve the embossing on your leather, safeguard areas like stitching or seams by using tape or a protective cloth. [2]
- Keep children and pets away from the work area to avoid any accidents or exposure to chemicals.
- If using chemicals, make sure to read and follow all safety instructions on the product label.
- Have proper ventilation in the work area to avoid inhaling fumes or dust particles.
- Use caution when working with sharp tools or chemicals – wear appropriate protective gear and handle them carefully.
- If you have any doubts or concerns about removing embossing from leather, it is always best to consult a professional for assistance.
Step-by-Step Guide to Removing Embossing from Leather
Now that you have some general tips and precautions, here is a step-by-step guide for removing embossing from leather:
Gather all necessary tools and materials – depending on the method you choose, this may include chemicals, heat source (such as a hair dryer), sandpaper or other abrasives, and protective equipment.
Test the method in a small, inconspicuous area first to ensure it does not cause any damage to the leather.
If using a chemical method, apply the product according to its instructions and let it sit for the recommended amount of time.
If using abrasives, gently sand down the embossed area with fine-grit sandpaper until the embossing is removed.
Be patient and work slowly, checking your progress regularly.
If necessary, repeat the process or try a different method for stubborn embossing.
Once the embossing is removed, clean the area with a leather cleaner and conditioner to restore its appearance and texture.
Let the leather dry completely before using or storing it.
Dispose of any used chemicals or tools properly according to their instructions. [3]
Tips and Tricks for Success
When it comes to removing embossing from leather, there are a few tips and tricks that can help ensure success. Whether you’re dealing with an old piece of furniture or a favorite leather jacket, these techniques will help you achieve the best results possible.
Tip #1: Be Patient
Removing embossing from leather is not a quick process. It may take multiple attempts and some time before you see results. Be patient, and remember that rushing the process may cause damage to your leather.
Tip #2: Test in a Small Area First
Before attempting to remove embossing from the entire surface of your leather, it’s important to test it on a small, inconspicuous area first. This will allow you to see how the leather and embossing react to the removal process without risking damage to the entire piece.
Tip #3: Use Gentle Products
When it comes to removing embossing from leather, it’s important to use gentle products. Avoid harsh chemicals that can strip or discolor your leather. Opt for natural, gentle solutions such as rubbing alcohol, vinegar, or a mixture of lemon juice and cream of tartar.
Tip #4: Be Mindful of Heat
Applying heat to the embossed area can help loosen the embossing, but be careful not to overdo it. Too much heat can cause discoloration or damage to the leather. Always test the temperature on a small area first, and use caution when applying heat. [4]

Tip #5: Work in Small Sections
Instead of trying to remove the embossing from the entire surface at once, work in small sections. This will allow you to focus on one area at a time and ensure that you don’t miss any spots or damage your leather.
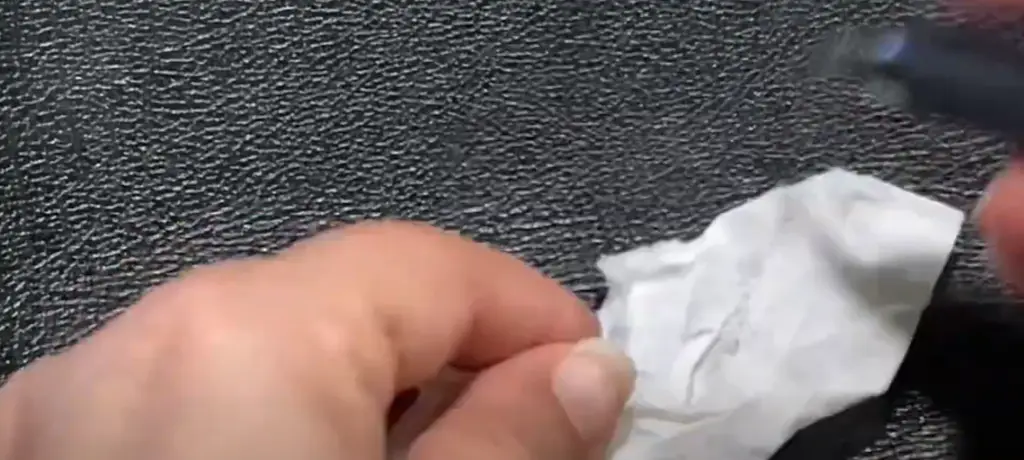
Tip #6: Use a Soft Cloth or Brush
When scrubbing the embossed area, be sure to use a soft cloth or brush. Harsh scouring pads or brushes can scratch or damage your leather. Opt for a gentle approach and work in small circular motions.
Tip #7: Rinse Thoroughly
After applying any solution or scrubbing the leather, be sure to rinse thoroughly with clean water. This will help remove any remaining residue and prevent discoloration or damage to the leather.
Tip #8: Condition Your Leather
Once you’ve successfully removed the embossing from your leather, be sure to condition it. This will help restore moisture and keep your leather looking its best. Use a high-quality leather conditioner and follow the instructions carefully for best results. [5]
By following these tips and tricks, you can successfully remove embossing from leather without causing damage. Remember to always be patient and test in a small area first, and your leather will thank you with a clean and smooth surface. So go ahead and give it a try – the results may surprise you!
Reasons for Removing Embossing from Leather
When leather is embossed, a design or pattern is pressed into the surface of the leather, creating an indentation. This can be done in various ways, such as heat pressing or stamping. However, there are times when you may want to remove this embossing from your leather items. Here are some reasons why:
Incorrect or Unwanted Design
Sometimes, the embossed design on your leather may not turn out as expected or desired. This can happen due to human error, a malfunctioning machine, or simply because you change your mind about the design after it has been embossed. In such cases, removing the embossing is necessary to correct this mistake.
Personalization
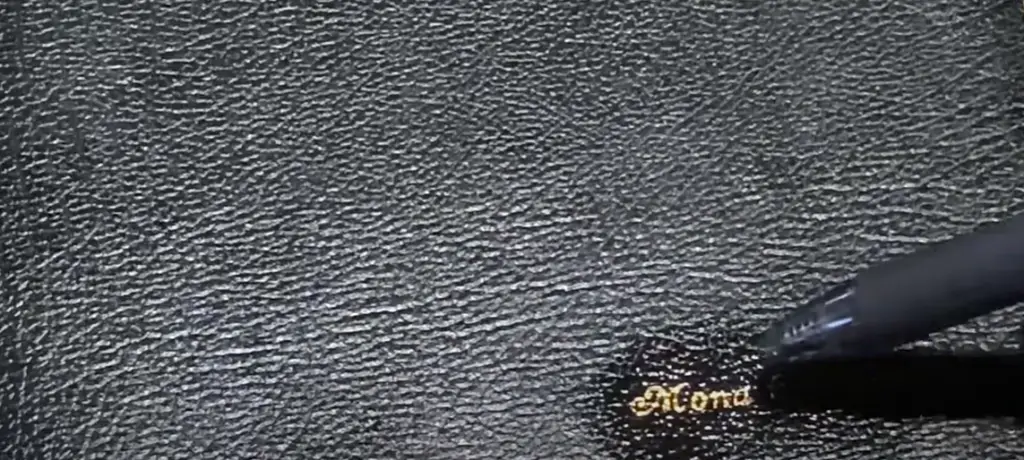
Embossed designs are often used for personalization, such as monograms or logos. However, if you have purchased a second-hand item with someone else’s initials embossed on it, you may want to remove the design and replace it with your own personalization.
Restoring Old Leather Items
If you have vintage leather items that have embossing on them, you may want to restore them to their original state. This is especially true if the embossing has faded over time or if you want to sell the item and prefer it without any markings.
Customization
Some leather items may have an embossed design that does not match your style or taste. In such cases, removing the embossing allows you to customize the item according to your preferences.
Types of Leather for Embossing
There are two main types of leather that are commonly used for embossing: vegetable-tanned and chrome-tanned. [6]
Vegetable-Tanned Leather
Vegetable-tanned leather is a type of leather that is treated with natural materials, such as tree bark or plant extracts, to give it its color and finish. This type of leather is known for its durability and strength, making it a popular choice for embossing. It is also more environmentally friendly as it does not contain harsh chemicals.
Chrome-Tanned Leather
Chrome-tanned leather, on the other hand, is treated with chromium salts to give it its color and finish. This type of leather is softer and more flexible than vegetable-tanned leather, making it a popular choice for clothing and accessories. However, it is not as durable as vegetable-tanned leather and may require more maintenance over time.
How Embossing Affects Leather
Embossing involves pressing a design or pattern onto the surface of leather to create a raised impression. This can be done using heat, pressure, or both. The process of embossing can change the texture and appearance of the leather, making it smoother or more textured depending on the design. It can also add a personalized touch to leather items.
FAQs
What materials do I need to remove embossing from leather?
To remove embossing from leather, you will need rubbing alcohol, cotton balls or pads, a clean cloth, and leather conditioner.
Can I remove embossing from any type of leather?
Yes, you can remove embossing from any type of leather. However, the process may vary depending on the type of leather and the intensity of the embossing.
Is it possible to re-emboss leather after removing the previous embossing?
Yes, it is possible to re-emboss leather after removing the previous embossing. However, keep in mind that repeated embossing can weaken the leather over time. It is recommended to only re-emboss if necessary and with caution.
How long does it take to remove embossing from leather?
The process of removing embossing from leather can vary in time depending on the type of leather and intensity of the embossing. It may take anywhere from 30 minutes to a few hours.
Is there a risk of damaging the leather while removing embossing?
There is a small risk of damaging the leather if not done carefully. It is important to follow the instructions and use gentle techniques when removing embossing from leather.
Is it possible to remove embossing from all types of leather?
Yes, it is possible to remove embossing from all types of leather. However, some types may require more time and effort than others due to their durability and texture. It is always best to do a test patch before attempting to remove embossing on the entire piece of leather. Overall, with the right materials and techniques, you can successfully remove embossing from most types of leather. So go ahead and give it a try on your next leather project!
What precautions should I take when removing embossing from leather?
When removing embossing from leather, it is important to handle the leather delicately and avoid using harsh chemicals or abrasive materials. It is also recommended to start with a small area and test your technique before working on larger sections. Remember to always use gentle movements and monitor the process closely to prevent any damage to the leather. If in doubt, seek professional help for more difficult embossing removals.
What are some alternative ways to remove embossing from leather?
Some alternative methods for removing embossing from leather include using a hairdryer on low heat, sandpaper or a pumice stone, and acetone (only recommended for chrome-tanned leather). Keep in mind that these methods may not be suitable for all types of leather and may require additional precautions. It is always best to consult a professional if unsure about the proper method for removing embossing from your specific type of leather. Overall, with careful handling and the right tools, you can successfully remove embossing from leather without causing damage. So don’t be afraid to experiment and try out different techniques!
Will the removal process damage the leather?
If done carefully and with the correct techniques, the removal process should not cause any damage to the leather. However, it is important to monitor the process closely and take precautions to prevent any potential damage. In case of any doubt or uncertainty, it is best to seek professional help for removing embossing from leather.
How long does it take to remove embossing from leather?
The process of removing embossing from leather can vary in time depending on the type of leather and intensity of the embossing. It may take anywhere from 30 minutes to a few hours.
Can I restore the leather after embossing removal?
Yes, you can restore the leather after embossing removal by using a leather conditioner to moisturize and soften the leather. This will help restore its natural oils and prevent it from drying out or cracking. Make sure to follow the instructions on the conditioner for best results.
What is the best way to store leather items after removing embossing?
After removing embossing from leather, it is important to properly store the items to maintain their appearance and prevent damage. Store them in a cool, dry place away from direct sunlight or heat sources. Avoid storing leather items in plastic bags as this can trap moisture and cause mold growth. Use a dust bag or wrap the item in a soft cloth to protect it from dust and scratches. This will also help the leather retain its natural oils and prevent it from drying out or cracking.
Can I remove embossing from a vintage leather item?
It is not recommended to remove embossing from vintage leather items as they may have a sentimental or historical value. The process of removing embossing can also weaken the leather and alter its appearance. If you are unsure, it is best to consult a professional for advice on whether or not to remove embossing from a vintage leather item.
What should I do if the leather discolors during the embossing removal process?
If the leather discolors during the embossing removal process, stop immediately and consult a professional. This may be a sign that the leather is not suitable for embossing removal or that you are using incorrect techniques. Do not continue with the process as this could cause further damage to the leather.
Can professional leather-care services remove embossing?
Yes, professional leather-care services have the knowledge and expertise to safely remove embossing from leather items. They also have access to specialized tools and products that may not be available to consumers. If in doubt or if the embossing is difficult to remove, it is best to seek professional help for a successful outcome. So don’t hesitate to reach out for assistance from a trusted leather-care service provider.
Useful Video: How to EASILY remove Gold Embossing on Leather without damage
Conclusion
Removing embossing from leather may seem like a daunting task, but with the right materials and techniques, it can be done successfully without causing damage to the leather. However, it is important to handle the leather delicately and take necessary precautions to avoid any potential damage. If unsure or if working with a valuable vintage item, it is always best to seek professional help for a safe and successful removal process. Remember to properly store your leather items after embossing removal to maintain their appearance and prolong their lifespan. So go ahead, give it a try on your next leather project and enjoy the satisfaction of restoring its original appearance!
References:
- https://glytterati.com/blogs/articles/how-to-remove-embossing-from-leather
- https://pickypens.com/how-to-remove-embossing-from-leather/
- https://caligraphist.com/how-to-remove-embossing-from-leather/
- http://bushcraftusa.com/forum/threads/de-embossing-leather-questions.69505/
- https://diyquickly.com/how-to-remove-embossing-from-leather/
- https://www.ehow.com/how_12063947_removing-gold-lettering-leather.html