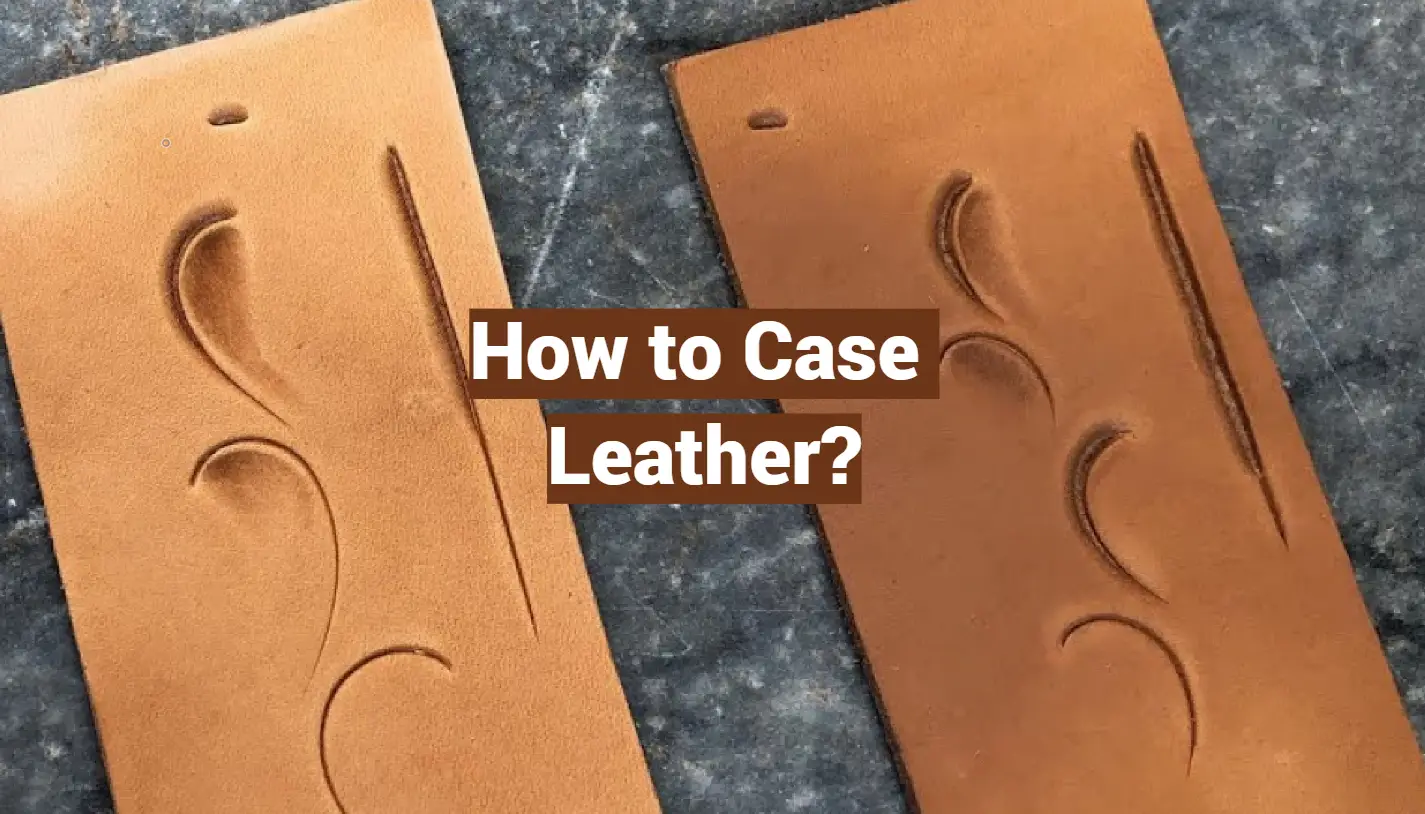
Leatherworking is an ancient art form that still has a lot of relevance in the modern world. There are many different ways to work with leather, but one of the most important techniques is called casing. This involves treating the leather with various compounds and oils to make it more pliable and durable. In this article, we will teach you how to case leather the right way!
What is casing leather?
Casing leather involves treating the hide with waxes, oils, and other compounds to help form it into desired shapes. This process gives the leather its unique texture, color, and luster. It also helps make the material more durable and resistant to water and sunlight damage. [1]
Traditional Casing of Leather
Drop a Dab of Dish Soap or Mouthwash onto the Water (Optional)
In traditional leatherworking, the hide is soaked in a solution of water and soap for about 30 minutes. This helps to soften up the material and make it easier to work with. It also helps to remove any dirt or oils from the surface of the leather. [2]
Submerge the Piece of Leather Until the Bubbles Subside
When casing leather, the next step is to submerge the piece of leather into a container filled with cold water. The water should be deep enough to cover the entire piece of leather. Once submerged, you will notice that some bubbles form on the surface of the leather and this is normal. Keep it in the water until all of these bubbles have disappeared completely before taking it out – this will ensure that the leather has been properly cased throughout.
Pull Out the Leather from the Water
Once the bubbles have completely gone, it is time to remove the leather from the water. To do this, connect two hands in front of your chest and grab hold of both sides of the piece of leather. Pull it out gently and be sure not to rip or tear any part of it while doing so.
Case the Leather in a Closed Container
Once you have pulled out the leather from the water, it is time to case it. To do this, you will need a closed container such as a Tupperware box or even an old mason jar. Place the piece of leather in the container and fill it up with enough wax, oil, and other compounds to completely saturate the hide. Close the lid tightly and let sit for at least 12 hours before moving on to the next step.
Let the Leather Sweat or Case Overnight
After 12 hours, the leather should be sufficiently cased and ready to proceed. To help ensure that it has been properly cased throughout, let it sweat or case overnight. This will allow any remaining wax or oils to fully penetrate the hide and make it even more durable. After this process has been completed, you can now use your new piece of leather for whatever project you have in mind!
Store the Bagged Leather in the Refrigerator (Optional)
If you are done casing the leather and do not plan on using it right away, it is best to store it in a tightly sealed bag in the refrigerator. This will help keep the material from warping or cracking over time.
Allow the Leather to Air Dry
Leather is a natural product, and it needs to be allowed to air dry for it to case properly. This can take anywhere from one hour to 24 hours depending on the thickness of the leather. If you try to rush the drying process by using artificial heat sources or other methods, you run the risk of cracking or discoloring your leather. Be patient and allow nature to take its course! It’s worth the wait!
Quick Casing Leather:
Dampen the Leather Using Your Sponge and Water
To quickly case leather, start by dampening the hide with a sponge and some cold water. You do not need to soak it or submerge it in water – just lightly dampening the surface will do. This will help make the material more pliable and easier to work with. [3]
Make Sure that the Leather is Not Too Wet and Too Dry
Once the leather has been dampened, it is important to make sure that it is not too wet and not too dry. You want it to be just right – moist enough so that you can work with it, but not too wet so that it becomes soggy.
Wait for the Leather to Almost Return to Its Original Color
Once the leather has been dampened and is not too wet or too dry, it needs some time to almost return to its original color. This will indicate that it is just right for the casing.
Re-wet the Leather Once it Feels Dry
Once the leather feels dry to touch again, you can re-wet the material once more. This will help it case better and provide a longer-lasting result.
Casing for other Tasks
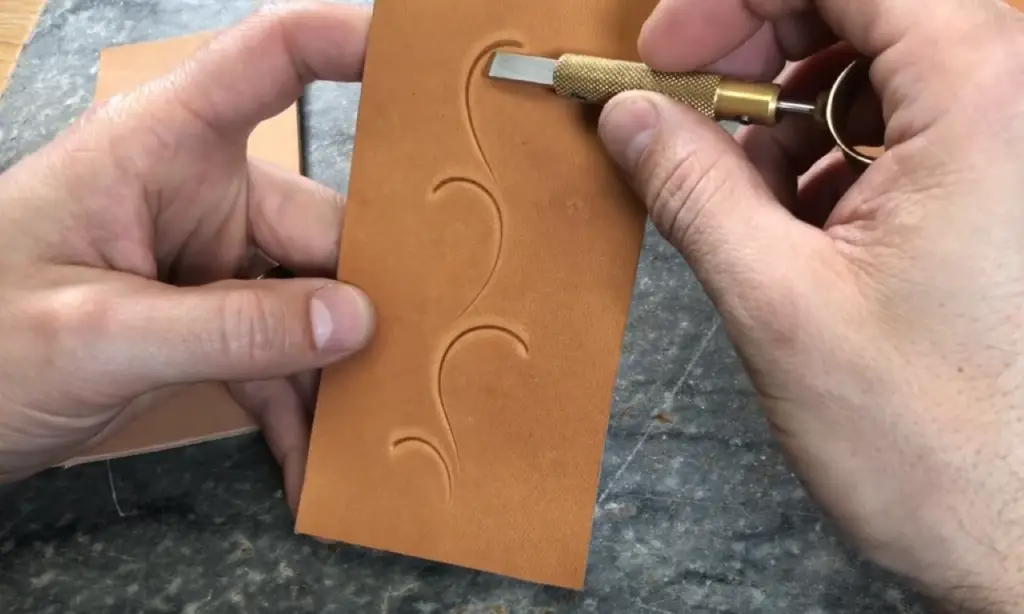
Skiving
Once you have cased the leather, it is important to skive or cut off any excess material that could be causing bulk in your project. Skiving involves using a special knife to carefully trim and remove any extra material from the hide so that it can be used for other purposes.
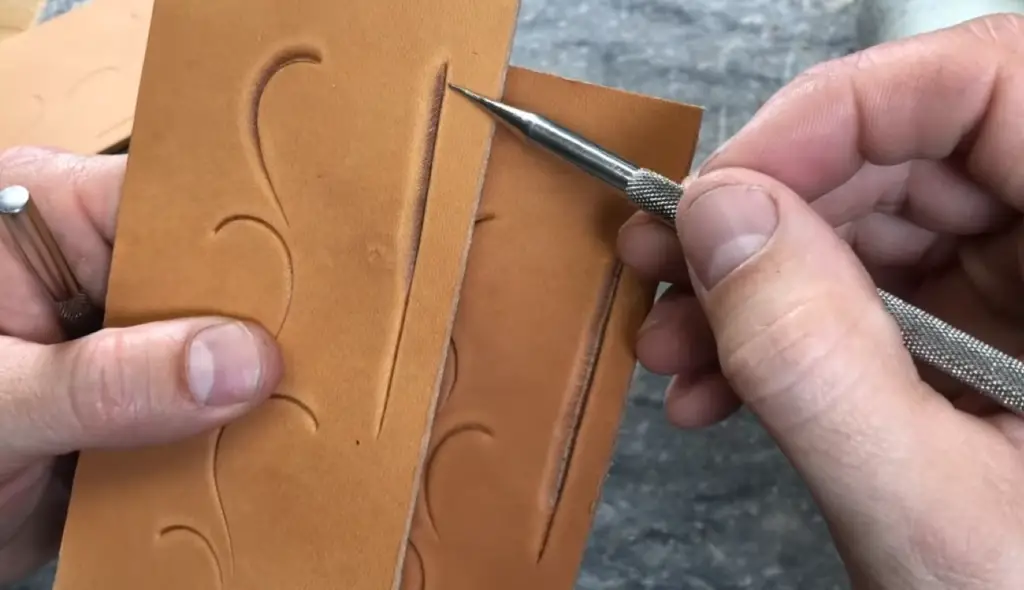
Forming Leather
Once the leather has been cased and skived, it is time to form it into whatever shape you are looking for. This can be done by using either a hammer or mallet and an anvil to help mold the material into the desired shape.
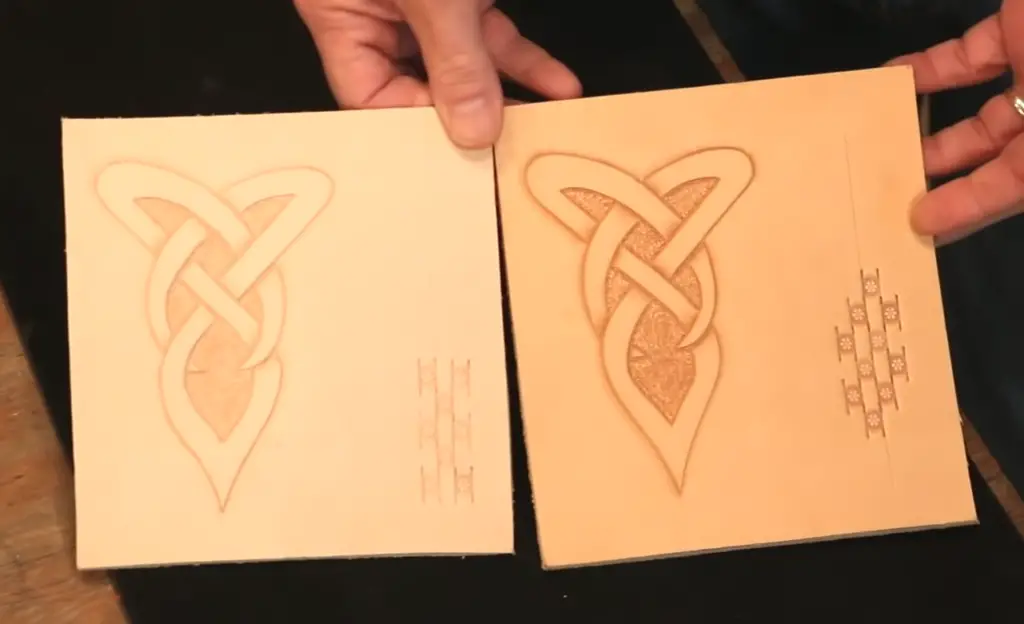
Stretching Leather
Finally, once the leather has been cased, skived, and formed into whatever shape you need it to be in, it is time to stretch the material. This helps make sure that any wrinkles or gaps are filled in and that the leather fits perfectly for your project.
FAQ
Should I wet the leather before cutting it?
It is always best to dampen the leather before cutting it. This will help make sure that the edges are clean and that they do not fray or tear as you are working with them.
How do you keep leather from stretching when tooling?
One of the best ways to keep leather from stretching when tooling is by using adhesive spray or wax on the back side of the material. This will help create a barrier between your tools and the leather, preventing it from shifting or stretching while you work.
Useful Video: The Leather Element: Casing Leather
Conclusion
You’ve now hopefully gained a better understanding of how to case leather. The casing is an important process in the leather industry as it not only hydrates the hide but also makes it more pliable for the tanning process. If you’re interested in learning more about this topic or other aspects of the leather industry, be sure to check out our blog for more informative articles. Thanks for reading!
References:
- https://dgsaddlery.com/properly-casing-leather
- https://tinkerstoolbox.com/how-to-case-leather-the-proper-way-to-do-it
- https://dgsaddlery.com/properly-casing-leather