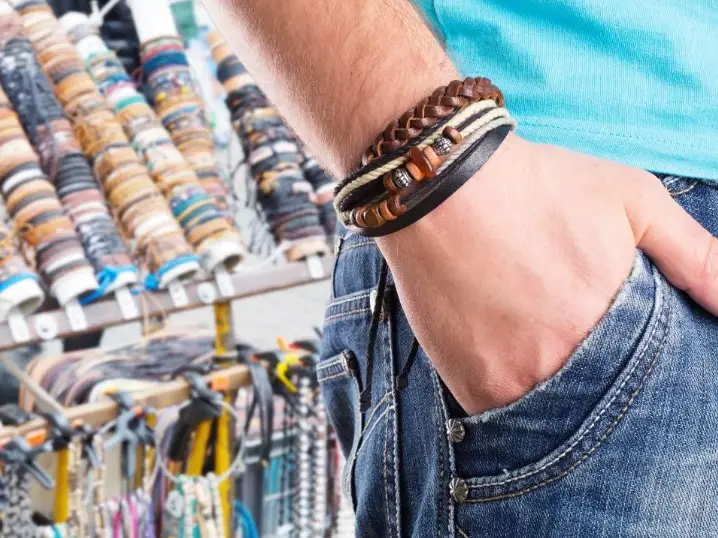
Leather bracelets are a great way to add a unique and stylish touch to any outfit. Whether you’re looking for something subtle or something bold, there’s sure to be an option that fits your style!
Making your own leather bracelet is easy and fun, allowing you to customize it however you like. With just a few simple materials and tools, anyone can make their very own handmade leather bracelet in no time at all. This guide will provide a step-by-step process for creating a leather bracelet, starting from the beginning and ending with the finished product. So grab your supplies and let’s get started!
Tools And Materials
To get started, you’ll need a few tools and materials. Here is a list of what you will need:
- Leather strips in the colors of your choice
- Measurement tape or ruler
- Scissors
- Hole punch
- Snap fasteners (optional)
- Needle and thread (optional)
- Leather glue (optional)
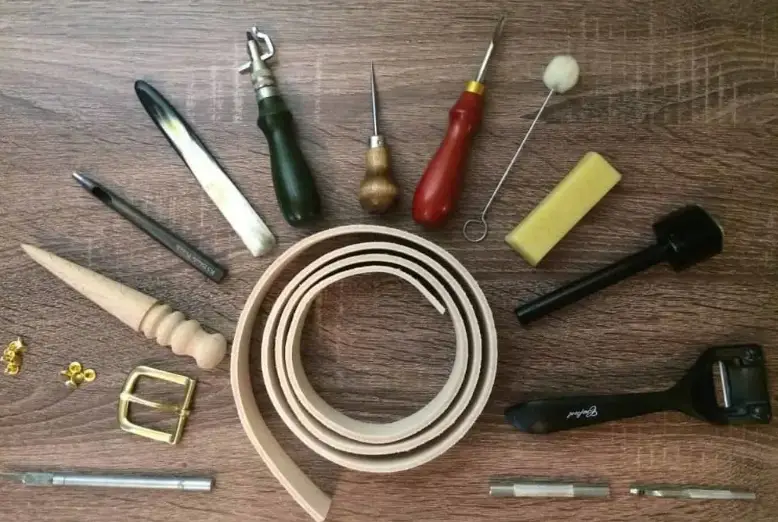
Get The Following Inputs
- Leather strips of the desired color and thickness.
- A buckle clasp of your choice.
- Hammer for punching holes in the leather strip.
- An awl or thick needle for making holes in the leather strip.
- Scissors for cutting off excess parts of the leather strip.
- Ruler to measure size and length of the bracelet before closing it using the buckle clasp.
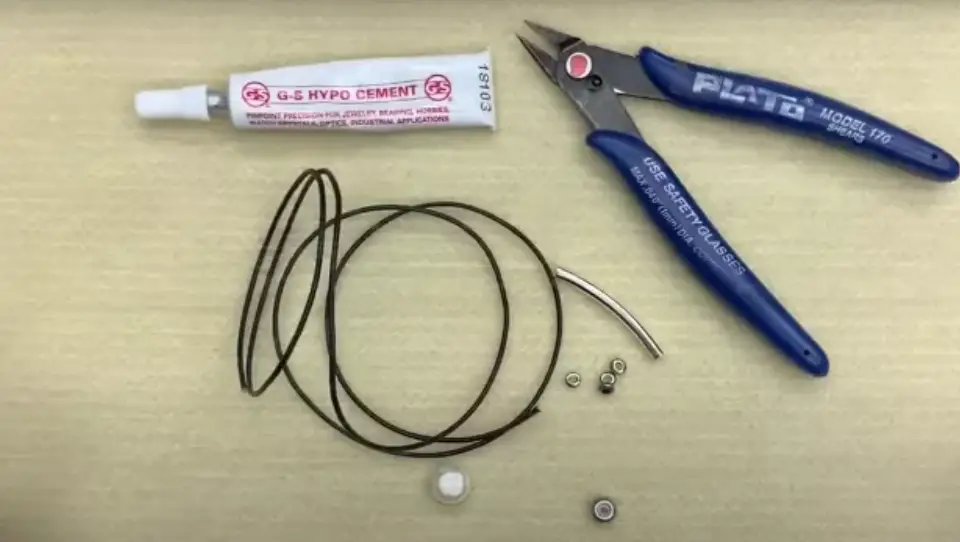
Cut The Cords
Cut two pieces of leather cord that measure twice the length of your wrist plus one inch. The width of the cords should be around 2mm. You can use a ruler to help you measure and keep both pieces even.
Thread each piece of cord through an eye pin in opposite directions, creating a loop at the top. Pull the cords through until they are pulled taut and even in length. Trim off any extra cord at the bottom if needed.
Next, you’ll need to create a knot with both pieces of leather cord. First, tie an overhand knot on one side of the looped eye pin, making sure that the two loose ends are facing the same direction.
Then, tie an overhand knot on the other side of the eye pin using the same technique. Tighten the knots and cut off any extra cord hanging at the bottom. [1]
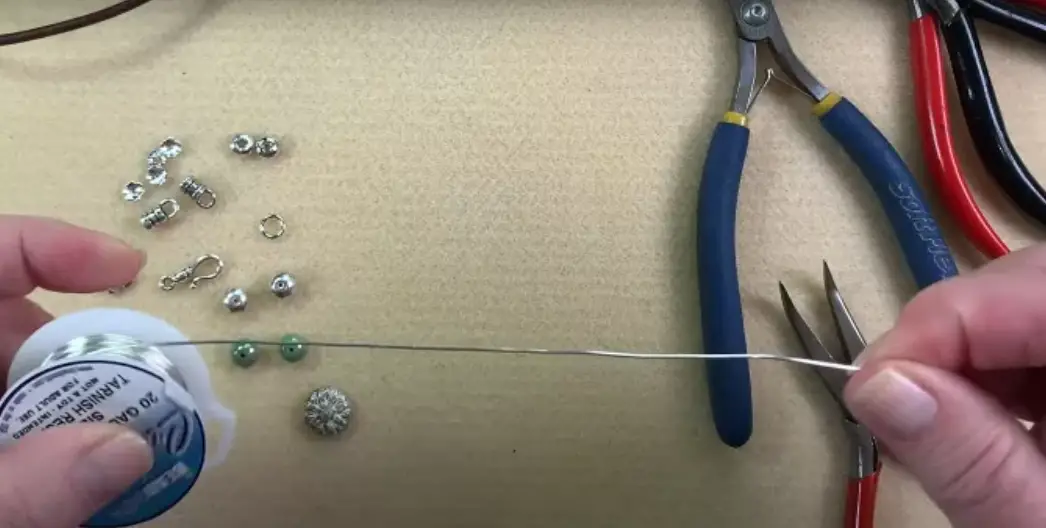
Link The Cords Together
Once the desired pattern is achieved, each cord needs to be linked together. To do this, thread a beading needle with a thin strand of jewelry string or elastic cord. Thread the needle through all the cords in a zigzag pattern and create knots at each end so that it is secure. Once knotted, slide the beads onto the bracelet.
After all the beads are attached, tie another knot on either side of the beads to finish off the bracelet. With some practice, creating unique leather bracelets can become easier and more enjoyable!
Stick The Bound Strands To A Surface
After the ends are bound together, you may want to stick the strands to a surface – such as a table or a flat board. Using this technique will simplify the process of beginning the braiding of your bracelet and keep all the threads in place while you weave. You can use either adhesive tape or binder clips to secure the leather strips to the surface. Once the leather strands are securely attached, you can start braiding your bracelet!
To braid a leather strip bracelet, begin by creating two loops at either end of the strands. Then, take one of the outermost strips and pass it over and under each of the other two strands in sequence. Make sure to keep tension on the strands so that they stay in place during the weaving process. Once you have passed one strand over and under, take the opposite strand and repeat this process.
Start Off With Braiding
The first step in creating a leather bracelet is to braid the strips of leather together. It’s best to use pre-cut strands, as this will make the process much easier and faster. Cut three equal-length pieces of leather, then pinch them together at one end so that they form a loop.
Begin braiding by passing the right side the middle strand, then passing the left side over it. Continue this process until you get to the end of the strands, then secure with a leather knot or loop. [2]
Bind The Ends
Once your leather strands are tightly secured to the buckle, it’s time to bind them together. Begin by threading a single strand of waxed thread through a jump ring and then looping it around both strands of the leather. Wrap excess floss around the leather 2-3 times before tying a knot at the end.
Use scissors or a craft knife to trim any loose ends. The leather bracelet has been finished. Wear it proudly and enjoy your new handmade accessory.
Attach The Clasp
Once you have the desired length of your bracelet measured and cut, it’s time to attach the clasp.
To begin, use a needle or tweezers to thread one end of the cord through the clasp opening. Then tie several knots along the same cord close to the clasp to make sure that it does not come off once you wear it. Finally attach the second clasp in the same manner and you have completed your leather bracelet!
You can also add some charm beads or other decorations to the bracelet by attaching them with a jump ring. To attach the beads, simply open up one of the jump rings with pliers, thread it through holes of each bead and then close it back together. Then attach the jump ring to one of the clasps and you have a beautiful, customized leather bracelet!
Cut The Additional Strands Of Leather Wire
The next step is to cut the additional strands of leather wire that will be used in the bracelet.
Depending on the size and thickness of your bracelet, you can use anywhere from one to four strands of leather wire. Once you’ve finished cutting the additional strands, measure them against your existing piece to make sure they fit well together.
Use Extra Metallic Or Floral Pieces For Ornamentation
Once the bracelet is complete and ready to be worn, it can be further embellished with extra pieces of leather or other materials. One way to accessorize the band is by adding metallic beads or threading thin strips of fabric through the loops.
For a more elaborate look, you could add some floral elements like tiny roses made from felt or paper flowers. There is no limit to the number of creative possibilities when it comes to decorating a leather bracelet. Have fun and experiment with different looks until you come up with one that reflects your own unique style.
The finished product can be worn proudly or given as a special gift to someone who appreciates handmade items. [3]
Tips For Making Leather Bracelets
Choose a good quality leather material to make your bracelet. Make sure the leather is thick enough to be able to hold its shape when worn and not easily break or tear.
Cut out the desired length of leather for your bracelet, leaving an extra half-inch at either end for attaching clasps or buckles.
Decorate your leather bracelet with charms or beads, or use colorful stitching or a simple pattern to make it look different.
Ensure that you attach the clasps to the leather bracelet securely. Use pliers and metal rivets to ensure a tight fit and durable connection.
Once all the pieces have been attached, you can apply a thin coating of beeswax or petroleum jelly to the surface of the leather to protect it and add shine.
Before wearing the bracelet, ensure that it is properly fitted to your wrist. If necessary, make adjustments to the size or shape of the bracelet for a better fit.
Pros And Cons Of Handmade Leather Bracelet
Handmade leather bracelets offer a unique look and feel that can be hard to find in store-bought jewelry. Not only are they stylish and fashionable, but they also make great gifts. If you are thinking of making a leather bracelet, it’s a good idea to think about the advantages and disadvantages first.
Pros:
- Uniqueness: Handmade leather bracelets offer a one-of-a-kind look that you won’t find in many other pieces of jewelry.
- Quality: Bracelets that are handmade with leather tend to use better quality materials, which results in a longer-lasting and more attractive product compared to ones purchased in stores.
- Comfort: Because they are handmade, you can customize the fit of your leather bracelet to ensure it’s comfortable.
- Cost: Creating a leather bracelet by hand is a cost-effective alternative to purchasing one from a shop.
Cons:
- Time: Handmade bracelets take much longer to make than store-bought versions so it may not be the best option if you need something quickly.
- Skill: It takes skill and experience to make a good quality handmade leather bracelet, so it may be difficult for a beginner or someone with little experience in working with leather.
- Risk of Injury: Working with leather can be dangerous if proper safety precautions are not taken, so it’s important to wear protective gear and be aware of your surroundings.
- Limited Design Options: Because handmade leather bracelets are unique, there is less flexibility in design options compared to store-bought jewelry. [4]
FAQ
How do you make a leather cord bracelet?
You can easily and affordably create personalized jewelry at home by making a leather cord bracelet. You will need a piece of leather cord, a pair of scissors, glue or double-sided tape, and some clasps for the ends. First, measure your wrist to determine the length of leather cord you need.
Then, cut the cord to size and secure one end with a dab of glue or double-sided tape.
Next, thread the clasp onto the cord and secure it with more glue or double-sided tape. Securely close the remaining clasp by threading the other end of the cord through it. Now your bracelet is ready to wear! For a more personalized look, you can add beads or charms to the cord before securing the clasp.
What is the first step in making a leather bracelet?
To begin making a leather bracelet, you need to get your materials ready. To complete this project, gather the following materials: thin strips of leather, scissors, beads, glue, and a clasp. Select the beads you wish to use and ensure they fit comfortably on the leather strips. You can enhance the design by adding decorative thread to provide additional details or color.
How do you cut leather for bracelets?
Making sure the ends of leather bracelets are even and flush can be challenging when cutting them. To measure the leather, you should prepare a ruler and a pair of sharp scissors. Start by measuring the length of your desired bracelet size, then mark along the leather with a marker or pen.
Next, use your scissors to cut along the marked line. To maintain an even edge, ensure that you apply consistent pressure when cutting leather.
After obtaining two pieces of leather, utilize sandpaper for smoothing out any rough edges.
How do you tie the ends of a leather bracelet?
Once you have cut your pieces of leather to the desired length, it is time to tie the ends together.
To complete the task, you will need to use a half-hitch knot. The simplicity and strength of this knot make it ideal for tying leather bracelets. To create the knot, take one end of the leather and thread it through the other end at a 90-degree angle.
First, wrap the first piece around the second one and then loop it through the hole that was created. To secure the knot, pull it tight. To achieve optimal results, please repeat this process multiple times while alternating the wrapping direction each time.
Using this technique will produce a durable and safe knot that is less likely to unravel rapidly.
Depending on the style you want to achieve, you can use alternative knots like the overhand knot or square knot to fasten your leather bracelet. Make sure to tie the chosen knot firmly and then use scissors to remove any extra leather.
How do you braid a 4 strand leather bracelet?
To make a four-strand leather bracelet, you’ll need leather cord, scissors, tape measure, and a clasp. Luckily, braiding it is a simple process. To create your own stylish leather bracelet, follow these steps:
- Cut four pieces of leather cord, each measuring approximately one foot in length.
- Make sure to tie the four pieces of cord together at one end while leaving a loop at the top.
- Start braiding the strands after you have separated them. To create a simple four-strand braid, first take a single cord and lay it over the remaining three strands. Next, take the second cord and position it underneath the other three strands. Continue repeating this pattern until you reach the end of the bracelet.
- To secure the braid, tie an overhand knot at its end and trim off any extra cord.
- To ensure the right fit, wrap the bracelet around your wrist and cut off any excess cord.
- Use jewelry pliers to attach a clasp to both ends of the bracelet.
- I hope you enjoy your new bracelet with its stylish design! To create a distinctive and visually appealing design, you may consider embellishing your leather bracelet with beads. To do this, add a few beads to each strand of cord before you begin braiding.
How do you braid 3 strands of leather?
To make a three-strand braided leather bracelet, first cut three pieces of leather cord to the length that you want. Ensure that the cords are of the same length. After cutting the pieces to the desired size, bring them together and use all three strands to tie a knot at one end. Next, separate the cords into three even sections and hold them between your fingers.
Begin by taking the cord on the right side and crossing it over the cord in the center, then move it towards the left side.
Next, take the cord and cross it over the cord that is the furthest left. Then, bring the same cord back to the center. Proceed by repeating this process with the remaining two cords, switching between them alternately. Keep braiding until the bracelet reaches the length you want. In the end, tie a knot at the end of the braid and cut off any extra leather.
How do you make leather strings?
The foundation of any leather bracelet is made up of leather strings. Creating your own leather strings is an ideal method to personalize your bracelet and guarantee it appears flawless.
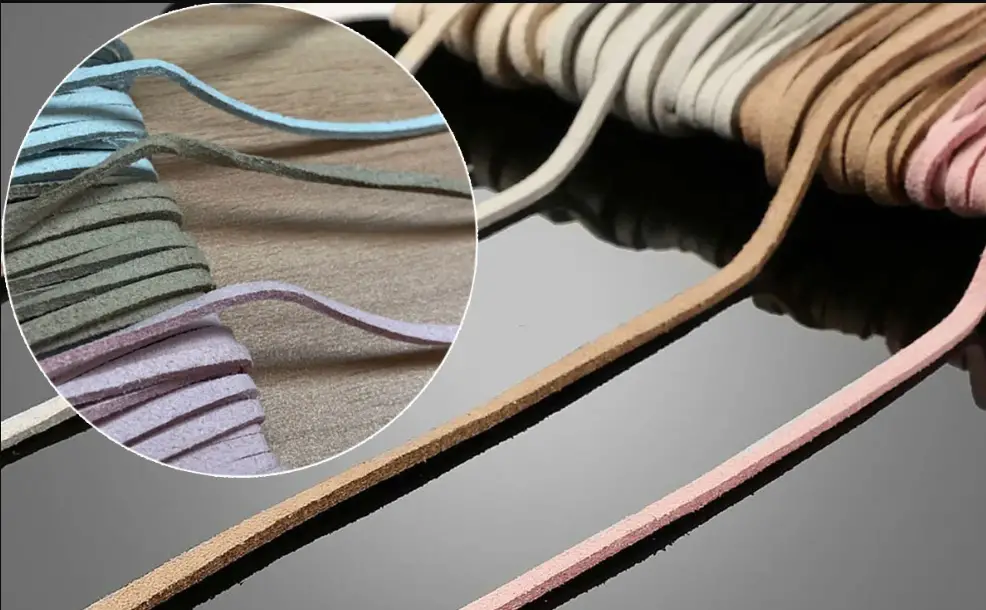
To create leather strings, you will require some essential tools such as scissors, a ruler, and a hole punch to make holes in the leather. To make strings of desired length and width, begin by cutting the leather into strips.
After obtaining your strips, determine the length you desire and then use a hole punch to create holes on each end. To secure the holes, pass a piece of thread or string through them and tie a knot at each end. The leather strings are now prepared for use in your bracelet.
How do you make a leather beaded bracelet?
Creating a bracelet with leather and beads can be a simple and enjoyable method of adding a unique touch to your outfit. Here’s how you can get started on creating your own leather beaded bracelet.
Prepare the materials you need to make the bracelet: a piece of leather, a ruler, scissors, a hole punch, jump rings or rope ends and beads.
Measure the leather piece to your desired length, and mark the area with a pen or marker. Measure the leather piece and then cut it to the appropriate size.
Using the hole punch, add evenly spaced holes along the top edge of the leather.
Thread the jump rings or rope ends onto the leather piece, and add beads in the pattern of your choice. Once you are satisfied with the design, thread the jump rings or rope ends through each hole to secure them in place.
Lastly, secure the ends of the bracelet with a clasp or tie them off into knots for an adjustable fit. Your unique leather beaded bracelet is now ready to show off!
Why do people wear leather bracelets?
Both men and women like to wear leather bracelets as a common fashion accessory. These can be worn for both formal and casual occasions, enhancing the overall look of any attire.
Leather bracelets not only look great but also possess a unique, timeless quality that makes them a perfect choice for anyone wanting to make a fashion statement.
Leather bracelets can also be used as a symbol of self-expression or to commemorate a special event, like a graduation or anniversary. Wearing them is an excellent way to express your personality and leave a lasting impression.
Do leather bracelets wear out?
Leather is an incredibly strong and durable material that can last for years if properly cared for. Over time, however, leather bracelets will wear out due to environmental factors and everyday use. To keep your leather bracelet in its best condition, it’s important to clean and condition it regularly. Also, if you notice any signs of wear, don’t wait to repair it—the longer you wait, the worse the damage can become.
Useful Video: How To Make a Beautiful and Easy Faux Suede and Czech Glass Bracelet
Conclusion
After going through the steps of making a leather bracelet, you can wear your new piece of jewelry with pride. Making your own jewelry is not only fun, but it also gives you the opportunity to create something unique that you won’t find anywhere else. Whether you plan on your handmade leather bracelet as a gift for someone special or are simply looking to build your own accessory collection, you will get satisfaction from knowing how to make your own bracelet from start to finish.
References
- https://www.wikihow.com/Make-Leather-Bracelets
- https://www.selectmensjewelry.com/blogs/blog/how-to-make-a-round-braided-leather-bracelet
- https://www.thecraftaholicwitch.com/how-to-make-a-braided-leather-bracelet/
- https://bestbeads.com/diy-leather-bracelets