Making your own leather choker is a fun and easy project that can be completed in just a few hours. Not only will you save money, but you’ll also have the satisfaction of knowing that you created something unique and special. In this article, we’ll discuss the supplies you’ll need, the steps involved in making a choker, and some tips for ensuring a perfect finished product. So what are you waiting for? Let’s get started!
How to Make a Spiked Collar, Necklace, or Choker
Supplies Needed
Before beginning your leather choker project, you’ll need to gather the right supplies. Making sure you have all the necessary materials on hand before you start will help ensure that your finished product is perfect. Here is a list of what you’ll need:
- Leather strip or piece of leather (purchased from a craft store);
- Leather punch tool (for making holes);
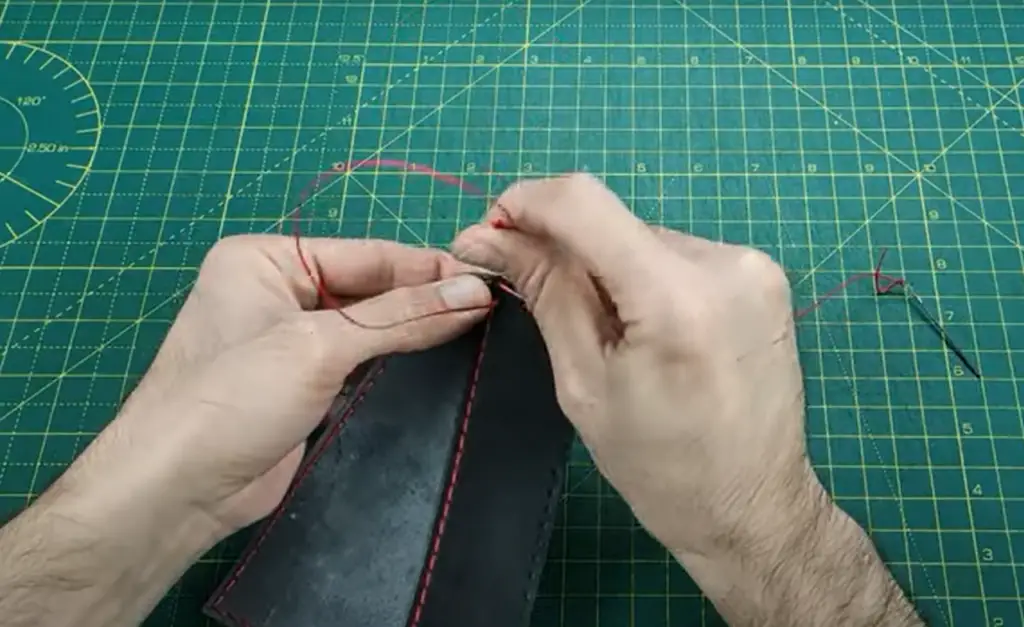
- Thread and needle for stitching;
- Hammer and anvil for flattening spikes (if using spikes);
- Spikes or other decorations such as charms and beads (optional) [1];
Instructions:
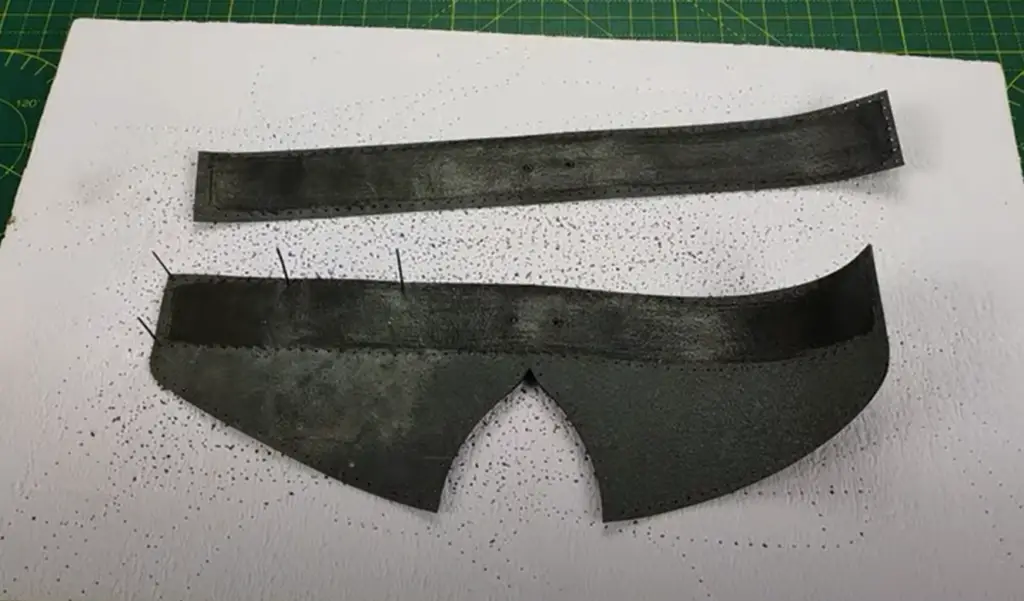
Step 1: Cut a leather strip
The first step in making your choker is to cut the leather strip. Measure and mark out with a pencil where you’d like the choker to sit, then use sharp scissors or a cutting blade to cut it from the piece of leather.
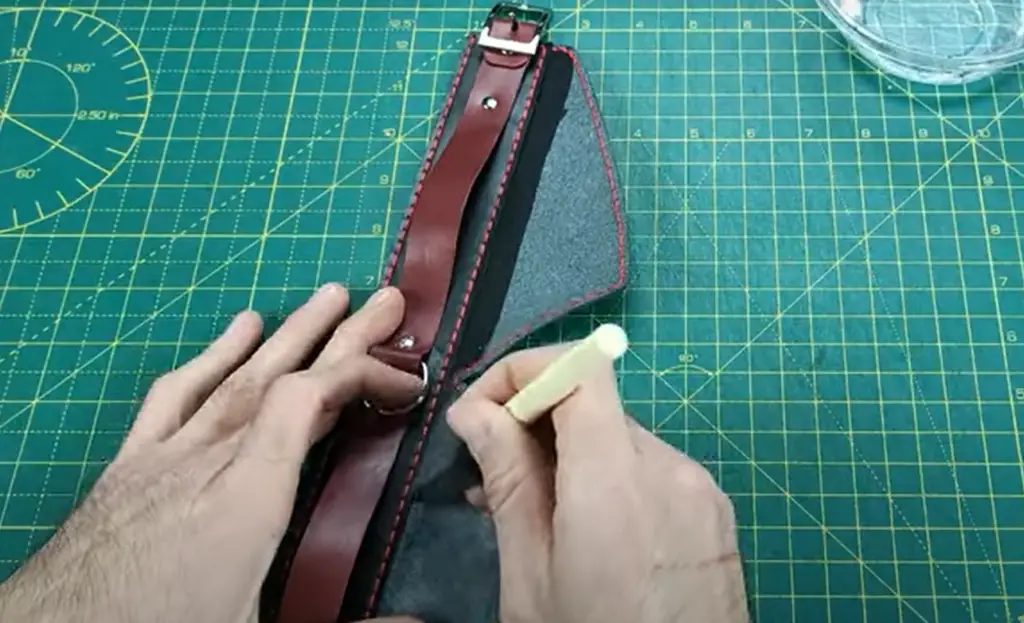
Step 2: Add ribbon clamp
Once the leather strip has been cut, you’ll need to add a ribbon clamp. This will help secure the choker around your neck and keep it in place. Use a leather punch tool to make two holes at either end of the strip and then attach the ribbon clamp using a needle and thread.
Step 3: Complete with chain
The final step is to add the chain and any other decorations. You can use a small link chain or something more decorative, such as beads or charms. If you’d like to add spikes to your choker, you’ll need to flatten them out first using a hammer and anvil before attaching them with thread.
Step 4: Add an opposite clasp
Once all the decorations are in place, you’ll need to add a clasp at either end of the strip. This will help secure the choker around your neck and ensure that it doesn’t come undone while wearing it.
Step 5: Make a hole in the middle
Finally, you’ll need to make a hole in the middle of the leather strip. This will be used to thread the chain through so that it fits around your neck comfortably. Use a leather punch tool or a needle and thread for this step.
Step 6: Add a geometric charm
Once the chain is threaded through, you can add a charm or bead at the front of the choker for a more decorative look. This is entirely optional, but it will help give your leather choker an extra unique touch.
More About Application Depending on Types of Spikes and Studs
When adding spikes or studs to your choker, it’s important to make sure you get the right type of spike for the job. Some leather punches are designed specifically for this purpose and come in a variety of sizes and shapes to choose from. You’ll also want to make sure that the spikes are securely attached so they don’t pop off when you’re wearing the choker.
Notes About Supplies
Be Creative!
Making a leather choker can be a fun and creative project for anyone who loves working with their hands. With the right supplies and some patience, you’ll have a stunning finished product that will turn heads no matter where you go. So get creative and have fun – it’s your choker after all!
FAQ
How do you make a choker look good?
The key to making your choker look good is to choose the right decorations and make sure they are securely attached. If you’re using spikes or studs, use a leather punch tool to make sure they stay in place and don’t come loose. You can also add charms and beads for an extra decorative touch.
How do you put charms on a choker?
Charms can be added to a choker by threading them onto a piece of chain and then attaching the chain to the leather strip with a needle and thread. Make sure the charms are secure so they don’t come off while wearing the choker.
Do chokers make your neck look shorter?
Chokers can make your neck look shorter depending on the design. For example, a choker with long dangling chains will tend to make the neck look shorter than one with a single chain that fits snugly around the neck. [2]
How tight should a choker feel?
A choker should feel snug but comfortable. It shouldn’t be too tight or cause any discomfort, so make sure the chain is adjusted correctly before wearing it.
Useful Video: How to make Elegant Leather Choker and Cuff – DIY
Conclusion
If you’re looking for a unique and stylish accessory, look no further than a leather choker! In this post, we’ve shown you how to make your very own leather choker with just a few supplies. With these easy-to-follow instructions, you’ll be able to create a beautiful piece of jewelry that’s sure to turn heads. So what are you waiting for? Get started today and show off your new handiwork the next time you go out!
References:
- https://feltmagnet.com/crafts/Spike-Collar-Necklace
- https://www.brownsfamilyjewellers.co.uk/advice-and-guides/necklace-length-guide