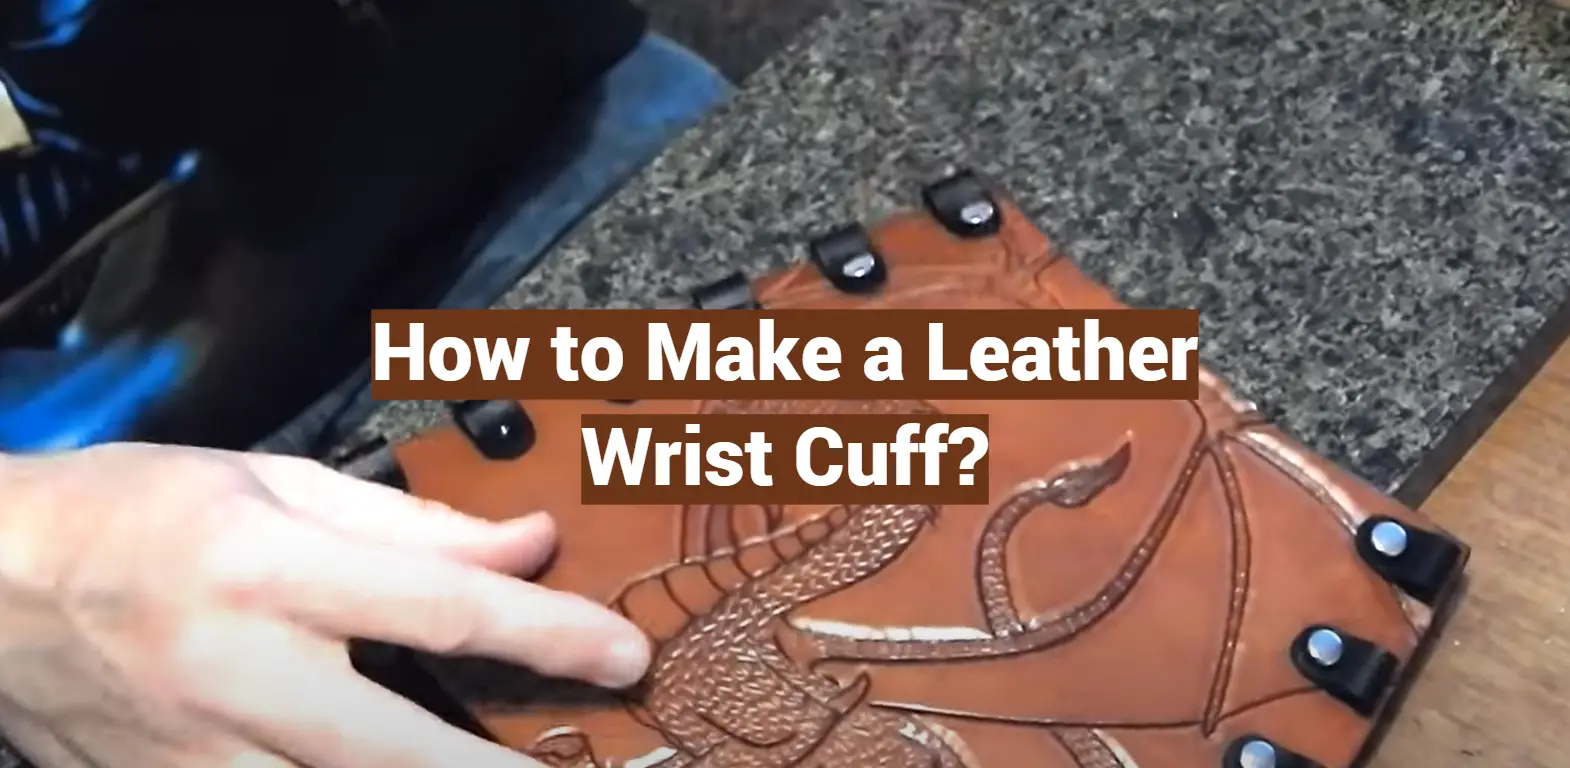
Making a leather wrist cuff is a fun and easy project that can be completed in just a few hours. Not only will you end up with a stylish new accessory, but you’ll also have learned a valuable new skill.
In this comprehensive guide, we’ll answer all of your questions about how to make a leather wrist cuff. So whether you’re a beginner or an experienced DIY-er, this guide has everything you need to make a beautiful leather wrist cuff.
What You Need to Make a Leather Cuff Bracelet
- A strip of leather
- Leather hole puncher
- Snaps or rivets (optional)
- Needle and thread (optional)
- Scissors
There are a few things to keep in mind when making your own leather cuff bracelet.
- First, the width and length of the strip of leather will determine the size of the finished product, so make sure to measure twice and cut once.
- Second, if you want to be able to adjust the size of your cuff, you can add snaps or rivets to the holes. This will give you some wiggle room when putting it on and taking it off.
- And finally, don’t forget to have fun with it! You can experiment with different widths and lengths of leather, different hole placements, and even different stitching patterns. The possibilities are endless. So get creative and show us what you come up with!
Making your own leather cuff bracelet is a great way to add a personal touch to your style. And it’s not as difficult as you might think. With just a few supplies and some time, you can make a cuff that’s uniquely you. So why not give it a try? You might be surprised at how much you enjoy it.
Here is How to Make it
Assuming you have all of the materials, the first thing you need to do is cut the leather into strips. You’ll want these to be about an inch wide and long enough to wrap around your wrist comfortably with a bit of overlap. Once you have your strips cut, it’s time to start stitching them together.
To do this, you’ll need to thread your needle and tie a knot at one end. Then, take the strip of leather and start feeding it through the needle, making sure to keep the stitches tight but not too tight. You can space them out however you like, but we recommend keeping them about a half-inch apart.
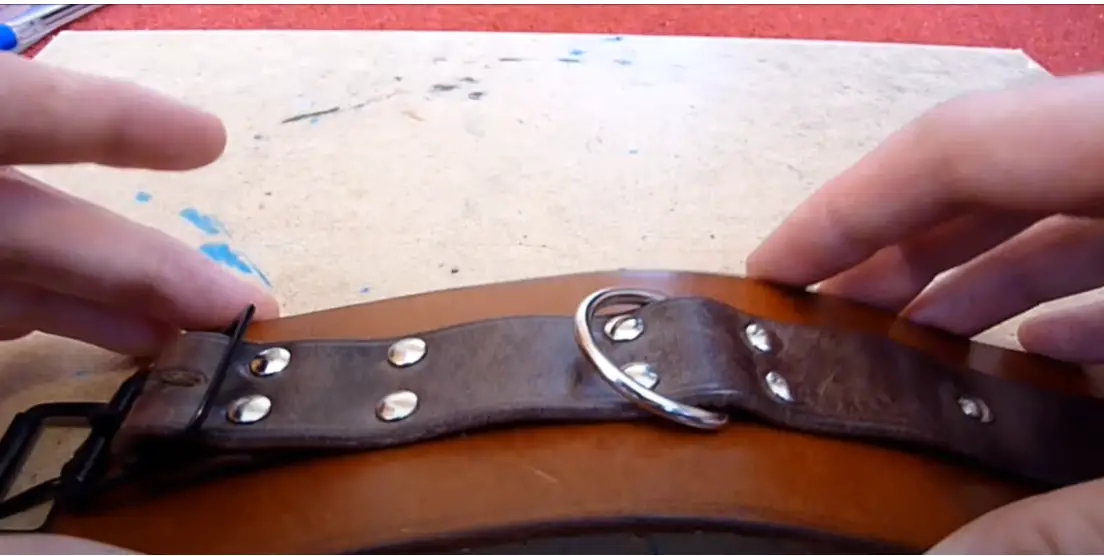
Once the leather is dry, you can trim off any excess and then punch holes for the snap closures. To do this, you’ll need to use a leather punch or a sharp knife to make two small slits in the leather. Then, insert the snaps and secure them in place.
More Ideas
Once you have the basic steps down for how to make a leather wrist cuff, you can start to get creative with your designs. Here are a few more ideas to get you started:
- Try using different colors of leather or even multiple colors in one cuff.
- Experiment with different stitching techniques.
- Add embellishments like beads, charms, or rhinestones.
- Create a multi-strand cuff by braiding multiple strips of leather together.

With a little practice, you’ll be able to create beautiful and unique leather wrist cuffs that are perfect for any occasion. So get out your supplies and give it a try!
You now know the basics for how to make a leather wrist cuff. [1]
Useful Tips
To make your own leather wrist cuff, you’ll need a few supplies.
- First, you’ll need some leather. You can find this at most craft stores, or online. Second, you’ll need a template. I like to use an old t-shirt for this, but you can also find templates online or in crafting books.
- Third, you’ll need a rotary cutter and cutting mat. This will make cutting the leather much easier.
- Finally, you’ll need some glue and rivets.
Now that you have your supplies, it’s time to get started! Begin by tracing your template onto the leather. Then, use the rotary cutter to cut out the shape. Next, apply glue to the edges of the leather and attach the rivets. Be sure to leave enough space between the rivets so that you can adjust the size of the cuff. [2]
Crafting a Stylish Leather Wrist Cuff: A DIY Guide
Creating a leather wrist cuff can be a fun and fashionable DIY project. To help you get started, we’ve compiled a table with multiple columns outlining the steps and considerations for making your leather wrist cuff.
| Steps | Procedure | Materials and Tools | Time Required | Difficulty Level |
|---|---|---|---|---|
| 1 | Design Your Cuff | Paper for sketching, ruler | Varies | Easy |
| 2 | Choose Leather | Leather piece, leatherworking tools | 1-2 hours (research time) | Intermediate |
| 3 | Measure and Cut | Leather scissors or rotary cutter, cutting mat | 1-2 hours | Intermediate |
| 4 | Add Fasteners or Snaps | Snaps, rivets, hole punch, prong punch | 2-3 hours | Intermediate |
| 5 | Decorate and Finish | Leather dye, stamps, decorative elements | Varies | Intermediate |
Explanation of the Table:
- Steps: Lists the sequential steps for crafting your leather wrist cuff.
- Procedure: Provides a brief description of what to do in each step.
- Materials and Tools: Lists the necessary materials and tools for each step of the process.
- Time Required: Indicates the estimated time needed for each step.
- Difficulty Level: Rates the difficulty of each step, with “Intermediate” indicating moderately challenging tasks.
By following these steps and considering the materials required, time involved, and the intermediate level of difficulty, you can embark on a creative journey to craft your leather wrist cuff, personalized to your style and preferences.
FAQ
How Do You Make Leather Arm Cuffs?
Making a leather wrist cuff is a fairly simple process that only requires a few materials and tools.
- First, you’ll need to gather your supplies. You’ll need a piece of leather, scissors, a ruler or measuring tape, and an adhesive such as glue or double-sided tape.
- Once you have all of your supplies, you can begin cutting your leather to size. Measure the circumference of your wrist and add a few inches for wiggle room. Cut your leather strip to this length and width.
- Next, you’ll need to adhere your leather strip together at the ends so that it forms a loop. You can do this by using glue or double-sided tape. Once your adhesive is in place, allow it to dry completely.
- Once your leather strip is dried and secure, you can begin embellishing it however you’d like. You can add beads, charms, or other decorative elements. Get creative and have fun with it!
- After you’ve finished embellishing your cuff, it’s time to wear it. Just slide it onto your wrist and enjoy.
You can also find a wide variety of ready-made leather cuffs online or at your local craft store.
How Do You Make a Wrist Cuff?
There are a few different ways that you can make a wrist cuff, but the most common way is to use a piece of leather. You can either buy a pre-made piece of leather, or you can cut your own from a larger piece.
Once you have your leather, you will need to punch holes around the edge so that you can lace it up. You can either use a needle and thread, or you can use a leather punch. Once you have your holes punched, you will need to lace up your cuff using either a string or a piece of leather cord. Once it is laced up, you can trim the excess cord and then wear your cuff!
How Do You Make a Leather Wristband?
The first step is to gather your supplies. You’ll need a strip of leather, a piece of suede cord, and a snap closure. Next, you’ll need to cut the strip of leather to size. Once you have your desired length, use a hole punch to create two holes at each end of the strip.
Now, thread the cord through the holes and tie a knot at each end. Once you’ve done that, it’s time to attach the snap closure. To do this, you’ll need to sew one half of the snap onto the strip of leather. Once that’s in place, you can line up the other half of the snap and sew it on. And that’s it! You’ve now made your very own leather wrist cuff.
How Do You Make a Leather Cuff Pattern?
There are a few different ways that you can make a leather cuff pattern. One way is to use a pre-made template or stencil. You can find these online or in craft stores. Another way is to trace an existing piece of jewelry, like a bracelet or watch strap. Or, you can freehand draw your own design onto a piece of paper.
Once you have your pattern, use it to trace the shape onto a piece of leather. Then, cut out the leather using a sharp knife or a pair of scissors.
Now that you have your leather cuff cut out, it’s time to add some embellishments. You can do this by painting, stamping, or adding beads or other decorations. Get creative and have fun.
What materials do I need to make a leather wrist cuff?
To make a leather wrist cuff, you’ll need a piece of leather, typically about 6-8 inches long and 2-3 inches wide, a leather punch or hole punch, a snap fastener kit or buckles, leather dye or finish, a craft knife or scissors, and a ruler.
Can I make a leather wrist cuff without specialized leatherworking tools?
Yes, you can make a leather wrist cuff without specialized tools. You can substitute a leather punch with a hammer and nail for creating holes, and instead of leather stamps, you can hand-carve or paint designs using basic household items. The key is creativity and resourcefulness.
What type of leather is best for crafting wrist cuffs?
Vegetable-tanned leather is an excellent choice for crafting wrist cuffs. It’s durable, easy to work with, and readily accepts dyes and finishes. You can also use different types of leather, like cowhide or suede, depending on your desired look and feel.
Are there any safety precautions to consider when working with leather?
When working with leather, it’s essential to use caution with sharp tools like craft knives or scissors. Always cut away from your body and keep your fingers clear of the cutting path. Additionally, use proper ventilation when applying leather dyes or finishes in a well-ventilated area.
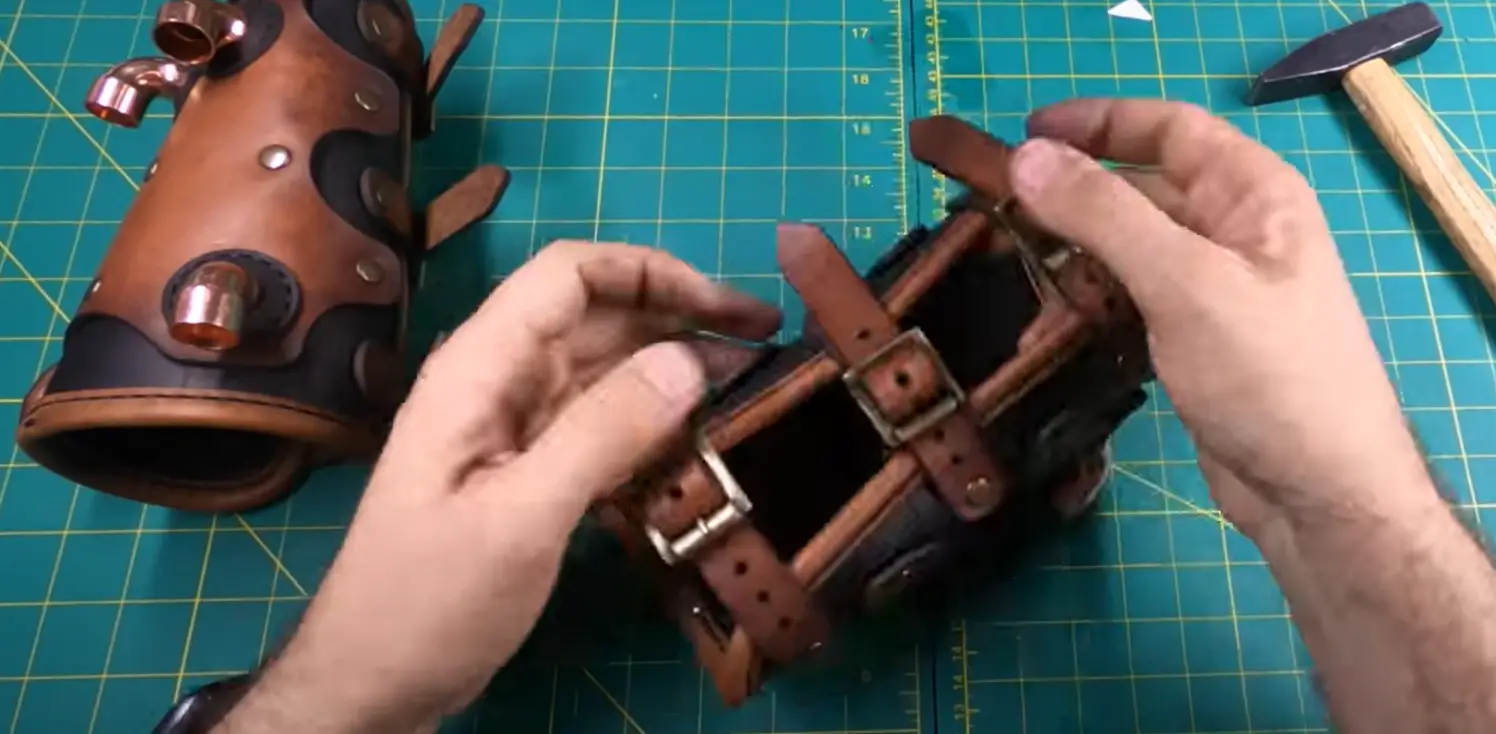
Can I personalize my leather wrist cuff with unique designs?
Absolutely! Leather wrist cuffs are a fantastic canvas for personalization. You can use leatherworking tools, stamps, paints, or even etching techniques to create unique designs, patterns, or symbols that reflect your style and personality.
What are some creative ideas for decorating leather wrist cuffs?
You can decorate leather wrist cuffs in numerous ways, such as tooling intricate designs, embossing patterns, painting custom artwork, attaching studs, or even sewing on fabric or decorative elements. Let your creativity run wild to make your cuff truly one-of-a-kind.
Useful Video: Restraint crafting tutorial – Buckling cuffs
Conclusion
So there you have it, our step-by-step guide on how to make a leather wrist cuff. We hope you found this tutorial helpful and that you will be inspired to try out this project for yourself. Have fun with it and don’t forget to share your finished product with us!
References
- https://secondskinblog.com/making-leather-cuff-bracelets/
- https://www.lifeisaparty.ca/how-to-make-a-leather-cuff-bracelet/