Leather watch straps are a popular way to add a touch of luxury and individuality to your timepiece. Not only do they look great, but they also feel comfortable and secure on the wrist. If you’re looking to make your own leather watch straps, you’ve come to the right place! In this article, we’ll answer some common questions about how to make leather watch straps, and provide some useful tips that will help you create a high-quality finished product. Let’s get started!
Why You Should Consider DIY Leather Watch Straps
If you’re anything like me, you love the idea of being able to make your own stuff. And there’s something really satisfying about being able to make something that you can wear and use every day. That’s why I think DIY leather watch straps are a great option for anyone who wants to add a personal touch to their style.
Not only are leather watch straps generally more affordable than their store-bought counterparts, but they also offer a level of customization that you just can’t get with mass-produced straps. You can choose your own materials, colors, and designs to create a strap that is truly unique to you.
It is also satisfying to create something with your own two hands, but you’ll also end up with a one-of-a-kind strap that perfectly fits your style. Plus, it’s relatively easy to do once you get the hang of it.
Tools You’ll Need
Before you get started, you’ll need a few supplies. For the leather, you’ll need to decide what kind of leather you want to use. I prefer vegetable-tanned leather because it’s more durable and ages well, but you can also use chrome-tanned leather, which is softer and more pliable.
You’ll also need a few tools to cut and punch the leather. A sharp knife will work fine for cutting, but a rotary cutter will make the job go much faster. For punching holes, you’ll need an awl or a leather hole punch.
And finally, you’ll need something to finish the edges of the leather. You can either use a rotary tool with a beveling bit or a handheld edge slicker. [1], [2]
Choose the Leather
The choice of leather is personal and depends on many factors such as the buckle, the watch case and of course your own style. But there are a few pointers that will help you make the right decision.
The first thing to consider is the thickness of the leather. This will determine how stiff or soft your strap will be. If you want a softer, more pliable strap, go for a thinner leather. If you want a stiffer strap that will hold its shape better, choose a thicker leather.
The second thing to consider is the grain of the leather. The grain refers to the way the fibers in the hide are aligned. Full-grain leather has fibers that run parallel to each other, giving it a smooth surface. Top-grain leather has a smooth surface as well, but the fibers are not aligned as perfectly.
Finally, consider the texture of the leather. Do you want a smooth strap or one with a more rugged look? The texture of the leather can also affect how comfortable it is to wear. A smoother leather will be more comfortable against your skin, while a rougher leather will be more durable. [1], [2]
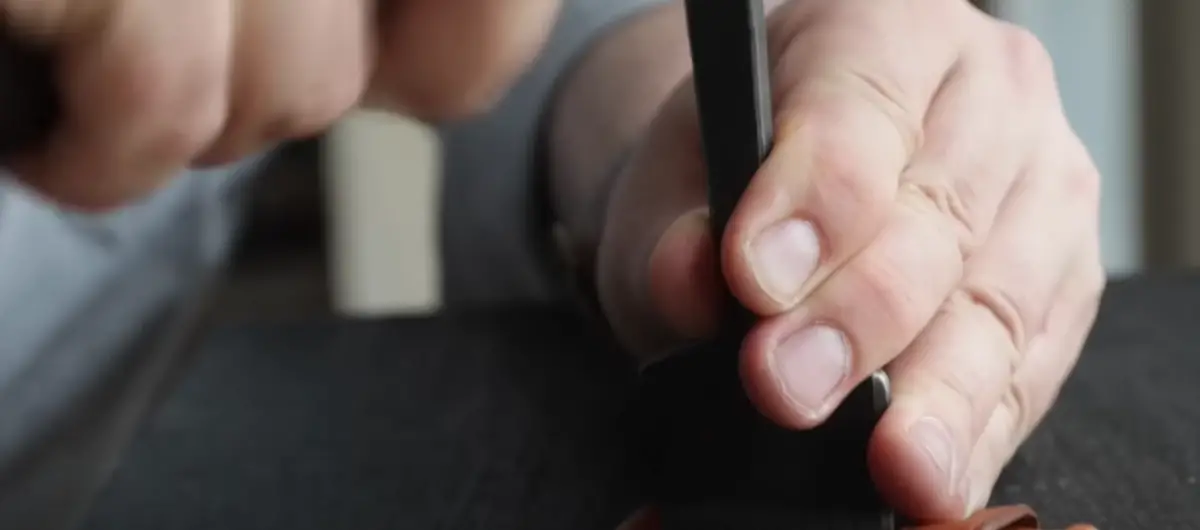
Cutting the Initial Strap
Once you have your supplies gathered, you’re ready to start cutting the leather for your strap. I like to use a rotary cutter for this because it’s much faster than a knife, but you can use whatever you’re comfortable with.
Start by cutting a strip of leather that is about 1-2 inches wide and as long as you need it to be. Then, use an awl or a leather hole punch to create evenly spaced holes along one edge of the strap.
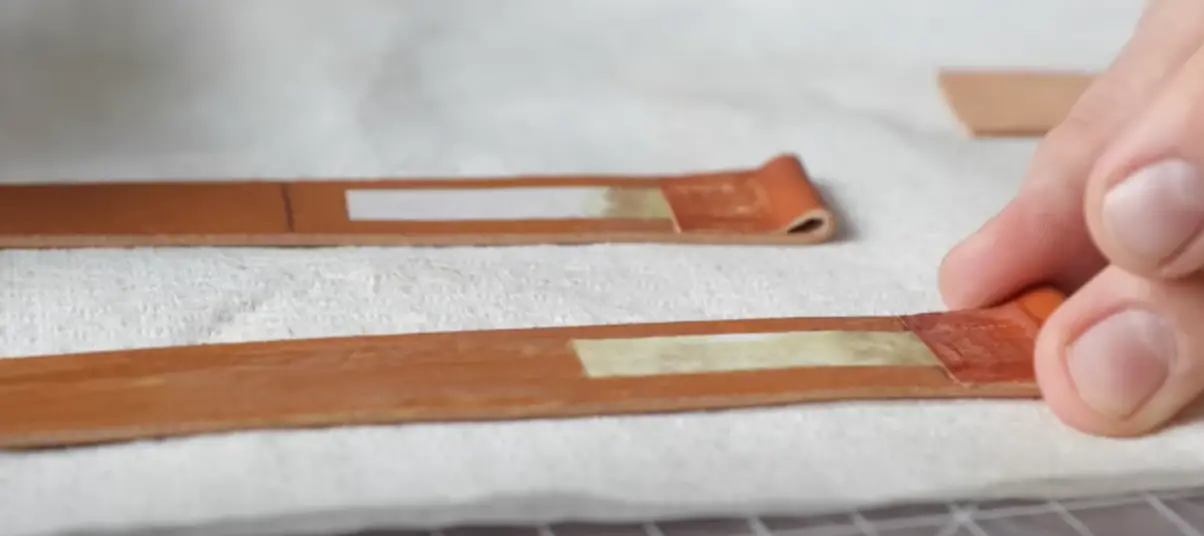
Thinning
Once you have the basic strap cut out, it’s time to start thinning it down at fold points and ends. This is a crucial step in the process because it will make the strap much more flexible and comfortable to wear.
There are a few different ways that you can thin leather, but my preferred method is to use a xacto knife. Start by making a series of shallow cuts parallel to the grain of the leather. This will quickly remove large amounts of material without damaging the leather.
You don’t need to cut all the way through, just enough to loosen up the fibers. Then, use a sharpening stone or a leather strop to smooth out the edges of the cuts. You want to remove some thickness of the leather but be careful not to cut too deeply or you’ll damage the strap. This process can be time-consuming, but it’s worth it to end up with a strap that is comfortable and looks great.
Once you’ve thinned all the fold points and edges, burnish the thinned areas with a bone folder or similar tool. This will help smooth out the edges and make the leather more pliable. [1], [2]
Customizing the Ends of the Strap
After you’ve cut and thinned the strap to your liking, it’s time to start customizing the ends. This is where you can really make the strap your own by adding different details or colors.
One option is to add some contrast stitching. This can be done with a sewing machine or by hand, depending on your preference. I like to use a contrasting thread color for added visual interest.
You can also make some cuts in the leather to create a tassel effect. This is a bit more challenging, but it can really make your strap stand out. Just be careful not to cut too deeply or you’ll damage the strap.
And finally, you can simply leave the ends plain. This is a great option if you want a clean and simple look. [1], [2]
Stitching Holes
The next step is to stitch the holes that you punched earlier. This will give your strap a more finished look and make it much more durable.
To stitch the holes, you’ll need a needle and some thread. I prefer to use waxed thread because it’s stronger and less likely to break, but you can use any type of thread that you like. Start by threading the needle and tying a knot at the end of the thread.
Then, insert the needle through the first hole from the back side of the strap. Pull it all the way through until the knot is tight against the leather. Next, insert the needle through the second hole, making sure to go over top of the first hole.
Pull the thread all the way through and then insert the needle through the first hole again. Continue this process until you’ve gone all the way around the strap. When you get to the end, make sure to go over top of the first hole one more time and then tie a knot to secure the thread.
Now, turn the strap over and trim off any excess thread. You may also want to use a leather burnisher to smooth out the edges of the holes. [1], [2]
Proceed to Customizing the Inside of Your Strap
Besides the outside, the inside of your strap is just as important. After all, it’s the part that’s going to be in contact with your skin, so you want to make sure it’s comfortable.
There are a few different ways that you can customize the inside of your strap. One option is to add some padding. This will make the strap more comfortable to wear and can also help prevent sweat from building up. However this isn’t the most durable option.
Another option is to line the inside of the strap with a different material. This is a great way to add a bit of color or pattern to your look. I like to use contrasting colors for an added pop.
We suggest using a more durable material for the inside of your strap. The back of the strap will be constantly exposed to friction and moisture, so it’s important to choose a material that can withstand these conditions. [1], [2]
Glue the Strap
To improve the durability of the strap, you can glue the layers together. This is especially important if you’ve added any padding or lining to the inside of the strap.
To glue the strap, you’ll need some leather adhesive and a brush. Apply a thin layer of adhesive to the folded sections of the strap and then use the brush to spread it evenly along the edges. Be careful not to use too much adhesive or it will seep through the leather and be visible on the outside of the strap.
Next, clamp the strap together and allow it to dry for at least 24 hours. This will give the adhesive time to set and will ensure that the strap is securely glued together. [2]
Create a Buckle Hole
The next step is to create a hole for the buckle. This can be done with a punch or a knife, depending on the size of the hole you need.
I like to use a small rotary punch for this step because it gives me more control and creates a clean hole. But, if you don’t have a punch, you can use a sharp knife to carefully cut out a small triangle. Just be sure not to cut too deeply or you’ll damage the strap.
Once you’ve created the hole, insert the buckle and make sure that it fits snugly. If it’s loose, you can use a bit of glue or leather cement to secure it in place. Let the glue dry completely before continuing. [1]
Sew the Holes
While we already stitched the holes to hold the strap together, it’s a good idea to sew them again for extra durability and a much better look. Just like before, a needle and thread are all you need. Start from the bottom and work your way up, making sure to go through each hole. When done correctly, your stitches should be barely visible from the top. If they’re too big or too small, it will look sloppy. [1], [2]
Finish the Edges
The last step is to finish the edges of the strap. This will help prevent the leather from fraying and keep it looking sharp.
There are a few different ways that you can finish the edges of a leather strap. One option is to use a leather burnisher. This tool will smooth out the edges of the leather and give them a nice, polished look.
Another option is to use beeswax. This natural product will also help to smooth out the edges and protect the leather from moisture. Simply rub a small amount of beeswax onto the edges of the strap and buff it until it’s shiny.
You may also dye the edges of the strap for a more finished look. This is a great way to add a pop of color or to match the strap to your watch dial. To do this, simply apply a thin layer of leather dye with a brush and allow it to dry. [1], [2]
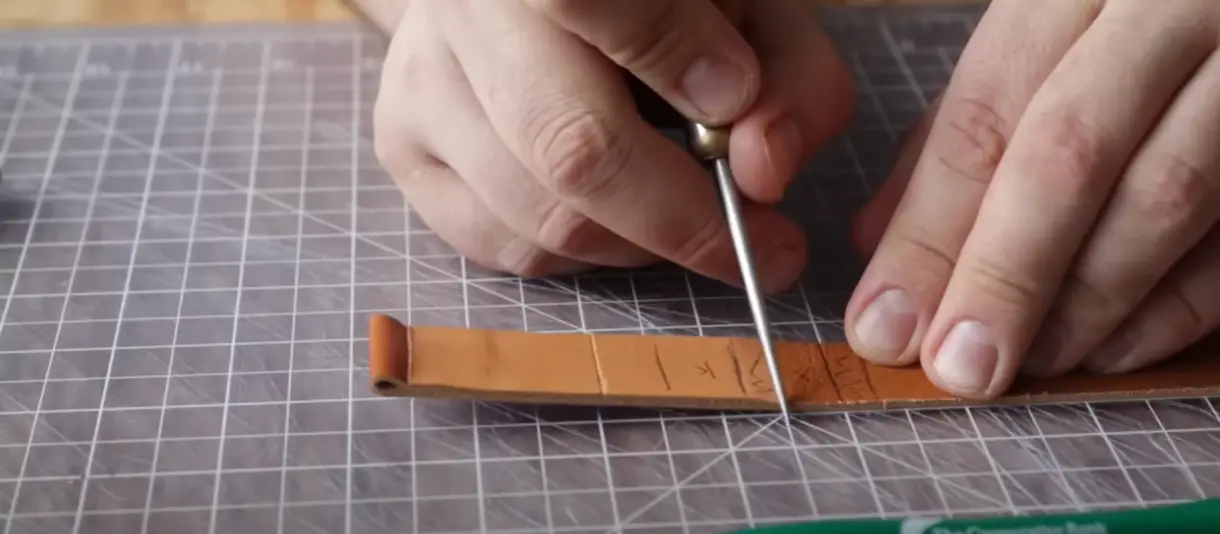
Cut the Pin Holes
Next, cut the pin holes. These are the small holes that the watch pins will go through to attach the strap to the watch. Traditionally, you would use a hole punch for this, but you can use a sharp knife instead.
When making the holes, make sure there’s an equal amount of space between them. For example, if you’re using a 3 mm hole punch, then space the holes 3 mm apart.
It’s also important to make sure that the holes are big enough for the watch pins. If they’re too small, then the pins won’t be able to grip the leather properly and the strap will eventually come loose.[1]
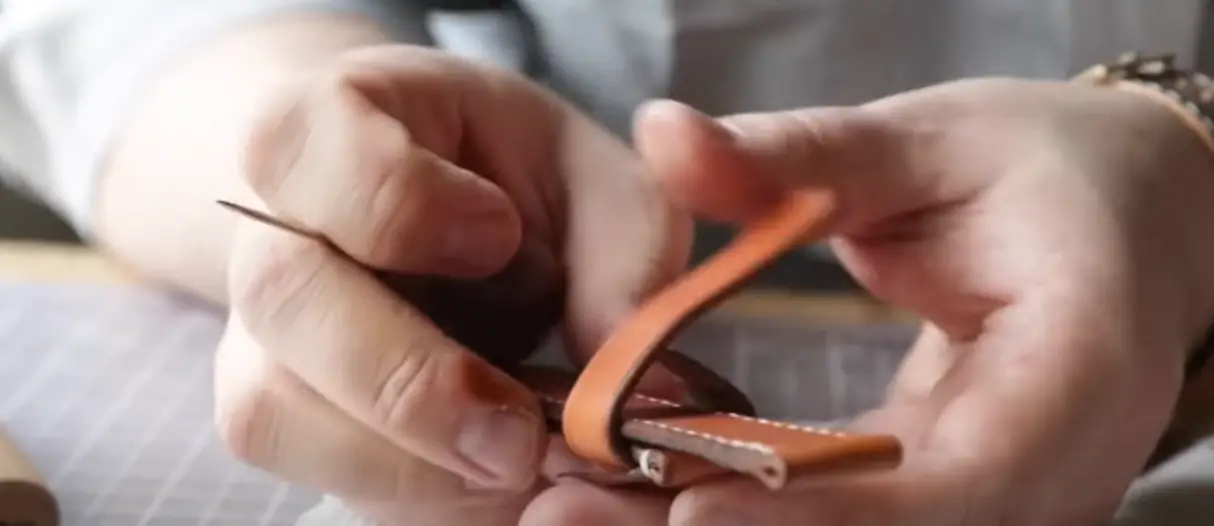
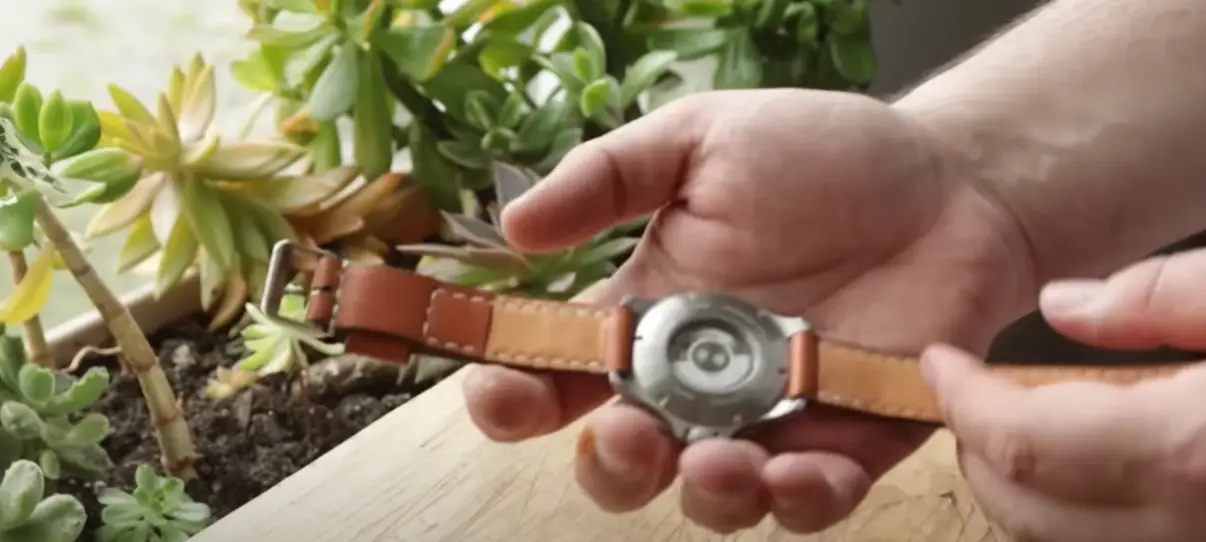
Attaching the Strap to the Watch
Now that your strap is complete, it’s time to attach it to the watch. If you’re using a watch with a metal band, you’ll first need to remove the band. To do this, simply unscrew the back of the watch and slide the band off.
To secure the strap, you’ll need to use a watch pin or other type of fastener. Simply insert the pin through one of the holes in the strap and then through the loop on the watch. To secure it, you can either use a clasp or a knot. For a more permanent attachment, you can also glue the pin in place.[1]
Crafting Your Own Leather Watch Straps
If you’re interested in creating your own leather watch straps, there are various methods and materials you can use. In the table below, we’ll compare different approaches, their complexity, and the tools and materials required.
| Method | Complexity | Tools and Materials |
|---|---|---|
| Hand-Stitching | Moderate | Leather, stitching awl, waxed thread, needle, edge beveler, hole punch, ruler, cutting mat |
| Machine Sewing | Advanced | Leather, sewing machine with leather needle, thread, edge beveler, hole punch, ruler, cutting mat |
| Vegetable Tanning | Advanced | Veg-tanned leather, carving tools, water, dye, finish, edge beveler, hole punch, ruler, cutting mat |
| Cuff Style | Easy | Leather, snaps, setting tool, hole punch, ruler, cutting mat |
Explanation of the Table:
- Method: Lists different methods for making leather watch straps.
- Complexity: Rates the complexity of each method, from “Easy” for beginner-friendly to “Advanced” for more experienced crafters.
- Tools and Materials: Lists the essential tools and materials needed for each method, enabling you to choose the one that aligns with your skills and available resources.
Creating your own leather watch straps can be a rewarding craft project, but it’s essential to select a method that matches your skill level and goals. Whether you opt for hand-stitching, machine sewing, vegetable tanning, or cuff-style straps, each approach offers a unique way to craft personalized watch straps.
FAQ
What leather is used to make watch straps?
The most common type of leather used to make watch straps is cowhide. However, there are many other types of leather that can be used, including calfskin, ostrich, alligator, and lizard.
When choosing a type of leather for your watch strap, it’s important to consider both aesthetics and durability. For example, calfskin is a popular choice for its smooth texture and elegant appearance. However, it’s not as durable as cowhide and is more susceptible to scratches and scuffs.
How are leather straps made?
Leather watch straps are made in a traditional way that has been used for centuries. The process begins with the cutting of the hide into thin strips. These strips are then sewn together to form the strap. The edges of the strap are then beveled and burnished to create a smooth, finished look.
How do you mold a leather watch band?
It is possible to mold a leather watch band using a variety of methods. The most common method is to use pressure to mold the leather into the desired shape. Another common method is to use a dremel tool or other rotary tool to cut the leather into the desired shape.
How do you sew leather straps?
To sew leather watch straps, you’ll need a heavy-duty needle and thread, as well as a few other tools. Start by cutting the leather strap to the desired length, then use a leather punch to make holes for the stitching. Next, thread your needle and begin sewing the strap together using a whipstitch or saddle stitch. Finally, finish off the ends of the strap with either a knot or a rivet.
What tools and materials do I need to make leather watch straps?
To make leather watch straps, you’ll need leather (preferably vegetable-tanned), a strap template, a cutting mat, a rotary cutter or craft knife, edge beveling and burnishing tools, hole punches, a stitching awl, waxed thread, needles, and a ruler. You may also need a strap cutter if you’re not using pre-cut leather strips.
How do I choose the right leather for my watch strap?
Selecting the right leather is crucial for your watch strap. Look for full-grain or top-grain leather that is durable and has the desired texture and color. Vegetable-tanned leather is often preferred for its ability to age beautifully.
What’s the process for dyeing leather watch straps?
To dye leather watch straps, you’ll need leather dye in your desired color. Apply the dye evenly using a sponge or cloth, allowing it to dry between coats. You can add multiple coats for a deeper color. Finish by conditioning the leather to prevent it from becoming too dry.
How can I create a unique design on my leather watch strap?
To create unique designs on your leather watch strap, consider techniques like tooling or stamping. You can use various leather stamps, carving tools, and a mallet to create patterns and designs on the leather surface before assembling the strap.
What’s the best way to ensure a comfortable fit for my leather watch strap?
To ensure a comfortable fit, measure your wrist accurately and design the strap accordingly. Make sure to account for the thickness of the watch case and the desired length of the strap. A well-fitted strap will have multiple holes for adjustability.
How do I finish the edges of my leather watch strap for a professional look?
To achieve a professional finish, use edge beveling and burnishing tools to round and smooth the edges of your leather watch strap. Apply edge dye or paint for a polished appearance. Proper edge finishing enhances both the aesthetics and longevity of the strap.
What’s the best method for stitching leather watch straps?
Stitching leather watch straps is typically done using a saddle stitch. This involves two needles and waxed thread. Pre-punch holes along the strap’s edges, and then use a stitching awl to create holes for the needles to pass through. Pull the thread tight for a secure and durable stitch.
How do I attach the watch hardware to my leather strap?
To attach watch hardware, such as a buckle and keepers, use small screws, Chicago screws, or spring bars depending on the design of your watch. Ensure that the hardware is securely fastened to the strap to prevent it from coming loose during wear.
Useful Video: Hand Sewn Leather Watch Strap Tutorial (Follow Along!)
Conclusion
Leather watch straps can add a touch of style and sophistication to any outfit, but they can be tricky to make. However, with a little bit of patience and the right tools, you can easily make your own leather watch straps at home. This guide provides some useful tips on how to make leather watch straps that will last long and look great.
If you’re looking for a new hobby or just want to save money on watch strap replacements, then learning how to make leather watch straps is a great idea. With a few simple tools and supplies, you can produce high-quality leather watch straps that will impress anyone who sees them. So, what are you waiting for? Start crafting your own leather watch straps today!
Now that you know how to make leather watch straps, it’s time to get creative and add your own personal touch to them! Try different colors, textures, and patterns to create unique straps that reflect your personality. Have fun and experiment until you find the perfect combination for you. Thanks for reading!
References
- https://www.instructables.com/Leather-Watch-Strap/
- https://www.strapcode.com/blogs/the-latest-watches-news/the-making-of-a-miltat-handmade-leather-watch-band