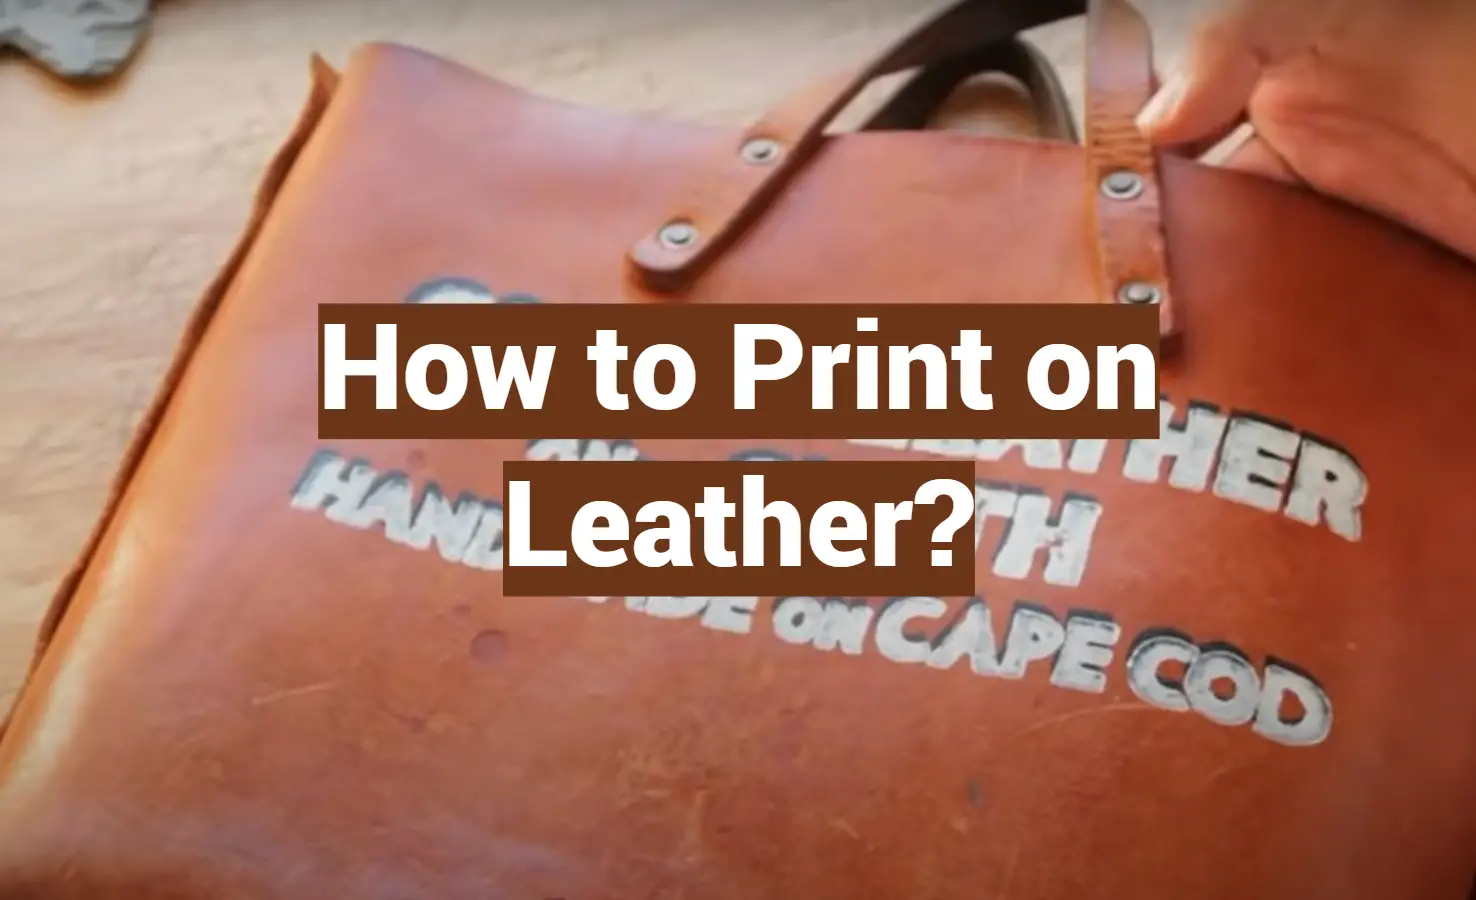
Leather is a luxurious and sturdy material that has been used for centuries to create products that are both beautiful and long-lasting. If you’re looking for a unique way to add some personality to your next project, consider printing on leather. In this guide, we will answer common questions about how to print on leather and provide some tips to help you get the best results. Let’s get started!
Why Printing on Leather is a Great Idea
If you’re looking for a way to add a unique touch to your products, printing on leather is a great option. Leather is a luxurious and durable material that can give your products a high-end look. Printing on leather also allows you to create intricate designs that wouldn’t be possible with other materials.
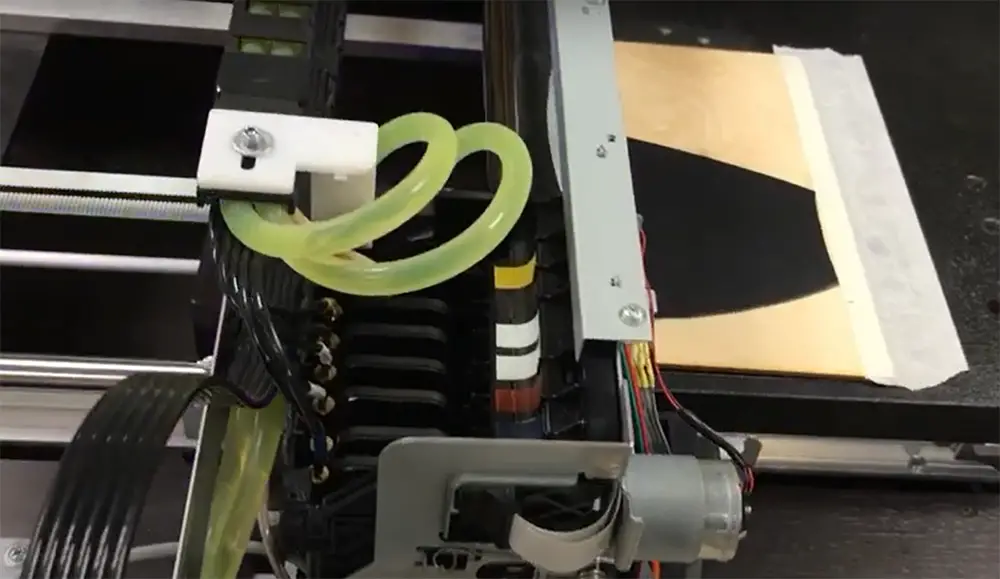
Use a Specialized UV Printer
If you want to get the best results when printing on leather, you’ll need to use a specialized UV printer. These printers are designed to print on non-porous materials like leather without damaging them. UV printers use ultraviolet light to cure ink, so it bonds with the leather surface. This results in a durable and long-lasting print. You can find these printers online or at your local print shop.
There are a few things to keep in mind when using a UV printer:
Make sure your design is mirrored before printing, as the print will be reversed on the leather.
Use vector files for the best results. Vector files are made up of lines and curves instead of pixels, so they can be scaled up or down without losing quality. This is important because leather can stretch or shrink depending on how it’s used.
UV printers offer plenty of advantages for printing on leather. They’re fast, efficient, and produce high-quality prints. Applying white ink prints to the leather manually is tough but with the UV printer it can be easily done. [1], [2]
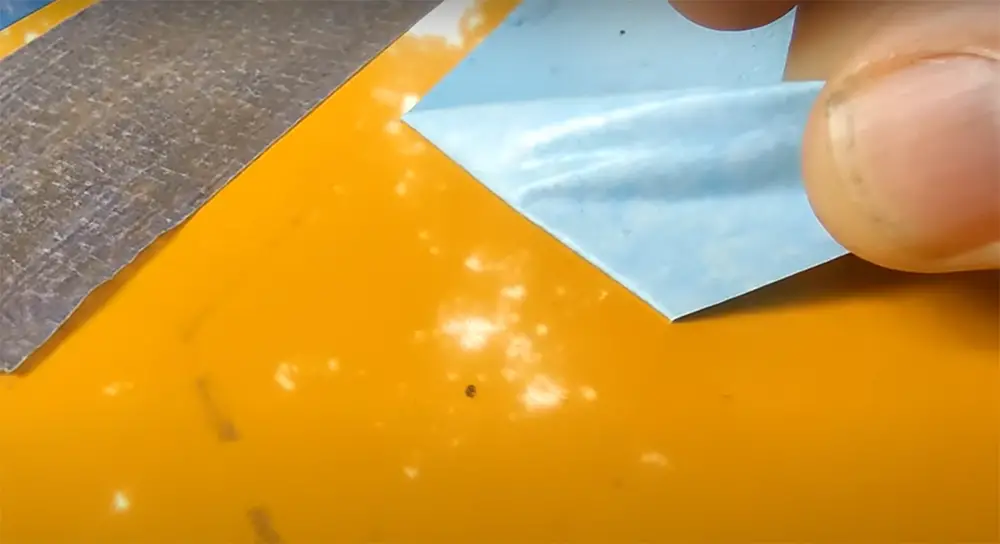
Transferring the Image Using Transfer Paper
If you don’t have access to a UV printer, you can use transfer paper to print on leather. Transfer paper is a type of paper that has a special coating that allows it to bond with the leather surface. To use transfer paper, simply place a transfer paper on top of the leather, secure it with tape if you want to.
Transferring an image using transfer paper is a great way to print on leather if you don’t have access to a UV printer. However it works only for the simpler designs.
Transferring the Image Manually Using Citra Solv
If you have a thinner leather and transfer paper didn’t work on it too well, you can transfer your design onto leather.
Gather the supplies
If you want to transfer your design onto leather, you’ll need a few supplies.
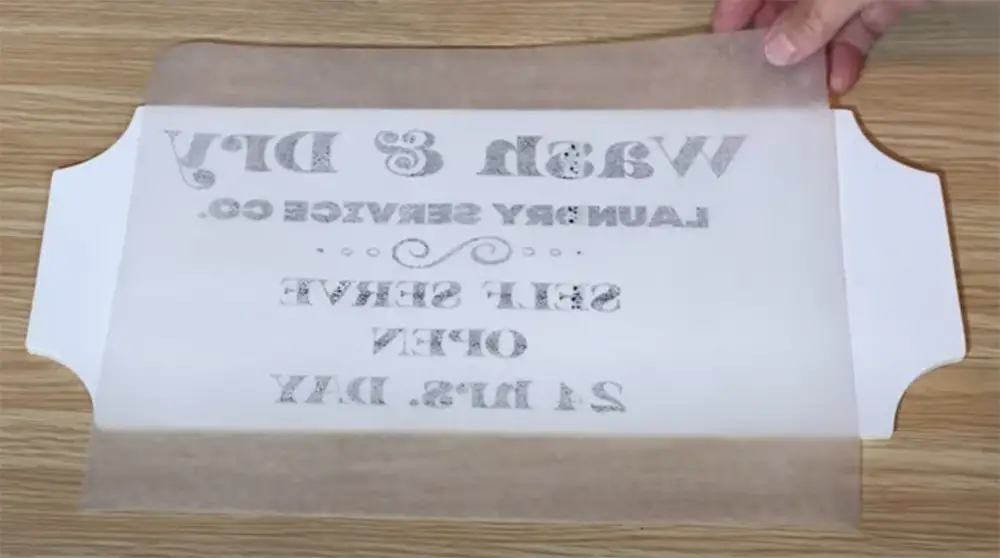
Prints of your image
You can either use an inkjet or laser printer. We recommend using a laser printer because the toner will adhere to the leather better. Make sure your image is mirror-inverted before printing.
Bone folder
A bone folder is a handy tool that can be used to crease paper and leather. It will come in handy when you’re folding the leather around your printouts.
Masking tape
Masking tape is a type of adhesive tape that’s commonly used in painting and crafting. It’s ideal for this project because it’s easy to remove and won’t damage the leather.
Citra Solv
Citra Solv is a citrus-based solvent. It will help to transfer the printed image onto the leather.
Cotton swabs
Cotton swabs will be used to apply the Citra Solv to the leather.
Scissors
You’ll need a pair of sharp scissors to cut out your printouts.
Now that you have all of your supplies, you’re ready to start transferring your image onto the leather.
Cut the leather
If you want to create something from scratch, you’ll need to cut the leather into the desired shape and size. We recommend using a rotary cutter or scissors for this step. Make sure the leather is clean and dry before you start. Otherwise, your image will not transfer correctly.
Once you have your piece of leather, it’s time to proceed with printing.
Tape the image print face down onto the leather
Now, take your printout and tape it face down onto the leather. Make sure the image is positioned where you want it to be.
Use masking tape or washi tape to secure the paper in place but be careful not to use too much tape as it can be difficult to remove later on.
Dip the cotton swab in Citrasolv
Next, take a cotton swab and dip it in the Citra Solv. Make sure the cotton swab is saturated but not dripping.
Swipe the cotton swab over the paper
Apply a generous amount of Citra Solv to a cotton swab. Gently rub it over the entire back of the printout. Be sure to saturate the paper so that the solvent can penetrate through to the toner, yet you don’t want to soak the paper, just dampen it. The citrasolv will act as a transfer agent and help to release the ink from the paper onto the leather.
Use bone folder to burn the print into the leather
Now that your image is transferred, you need to burnish it into the leather. This will help to set the ink and prevent it from smudging or running.
Use the bone folder to firmly rub over the entire surface of the print. You want to apply enough pressure to make sure that the ink is embedded into the leather, but not so much that you damage the leather.
Once you’ve applied the Citra Solv and burnished the entire back of the printout, you can check to see if the transfer is working by gently peeling back a corner of the paper. You should see the print start to transfer onto the leather. Continue until the entire image has been transferred. If you see no transfer, repeat the burnishing process again.
After you get the result you were looking for, leave the leather to dry for 24 hours. Once it’s dry, you can use a soft cloth to buff away any excesses. And that’s it! You’ve successfully transferred your image onto leather. [4]
Transfer Image to Leather Using Wax Paper Method
If you’re looking for an alternative method to transfer your image onto leather, you can also use the wax paper method.
To do this, you’ll need:
- Wax paper
- Inkjet printer
- Roller
- Leather
First, you’ll need to print your image onto the wax paper. Make sure to use an inkjet printer and toner-based ink for this step. Otherwise, the ink will smear when you try to transfer it. Before printing, flip your image so that it’s reversed. This will ensure that your image is transferred correctly onto the leather.
Now, take your piece of leather and place it on top of the wax paper, image side down. Use a roller to go over the back of the leather so that it’s firmly attached to the wax paper. [5]
FAQ
What kind of printer do you need to print on faux leather?
To print on faux leather, you’ll need an inkjet printer. Any type of inkjet printer will do, as long as it has the ability to print on glossy or semi-gloss paper.
You’ll also need a piece of software that allows you to print mirror images, for example a Photoshop. This is because when you transfer the image onto the leather, it will be flipped over. For this reason, you need to mirror your image before you print it out.
How do you transfer prints to leather?
There are a few ways to do this, but the most common is to use a wax paper transfer. This is a two-step process that involves first printing your image onto wax paper, and then using a roller, or a bone folder to transfer the wax paper image onto your leather piece.
Another popular method is to simply use a transfer paper. Place the paper on the leather with pencil side up, place an image of choice on top and use a blunt thin object to trace the design.
How do you transfer a photo from paper to leather?
There are a few ways to do this, but the most effective one is by using a matte medium. You can find this at most craft stores. Simply apply some of the matte medium to your photo. Place the copy face down onto the area with wax paper on top and press it down.
Gently spray the photo with some water and then place it face down onto the leather and start peeling the paper backing off slowly.
What are some tips for printing on leather?
- Always test the print on a small, hidden area of the leather to make sure that it will not fade or rub off.
- If printing on a natural leather, such as cowhide, use vegetable-based ink.
- Print with a non-permanent or light color ink if you want to be able to remove the printing later. Permanent inks will likely fade over time and may not be removable.
- Use a foam brush to apply the ink for even coverage and avoid any streaks or missed spots.
- Allow plenty of time for the ink to dry completely before handling or using the item again.
Can you print on real leather?
Yes. You can print on real leather using a traditional inkjet printer. However, the results may not be as beautiful as you would hope, and the printing process may damage the leather over time.
There are a few ways to print on leather: you can use an inkjet printer with special leather inks, you can use a laser printer with special leather toners, or you can use a specialist laser printer that prints images directly onto the surface of the leather.
Inkjet printers are by far the most popular option for home users, and they can be used to print designs, logos, and text on both natural and synthetic leathers. However, the quality of the results will depend on the type of paper you use and the quality of your printer.
If you’re not happy with the results, you can always try printing again on a different type of paper or using a different printing technique.
How do you put a logo on leather?
One of the ways is laser etching. You can also use a branding iron or an embossing tool. There are a variety of ways to do it, but the most common is with heat. You can use a laser etching machine to create a logo on leather.
It’s precise and accurate, and it can be used on any type of leather. The downside of this machine is that it can be expensive to set up and buy the materials. It is also not very portable, so you will need to have a designated space for it.
Another way to put a logo on leather is with a branding iron. This is a heated metal tool that you press into the leather. It leaves an indentation in the shape of your logo. The downside of this method is that it can be difficult to get a consistent result, and it’s not very precise.
How do you put text on leather?
There are a few ways to put text on leather. You can use an erasable pen such as a silver leather marking pen, or you can use a permanent marker and then seal the text with a clear sealant.
If you’re using a permanent marker, it’s best to start by outlining the text with a pencil first. This way, you will have a guide for where to apply the marker.
How do you emboss a logo on leather?
The easiest way to do this is to use a heat embossing tool. First, moisten the leather after taping its back. Then, place your desired logo or image face down on the leather and cover it with a thin piece of paper.
Finally, use the embossing tool to apply heat until the paper has melted onto the leather. Remove the paper and let cool. Your logo will now be permanently pressed into the surface of the leather!
How do you permanently write on leather?
You can permanently write on leather using a special type of leather marker or pen. These markers are available at most craft stores, and they come in a variety of colors.
To use a leather marker, first make sure the surface is clean and free of dust or dirt. then shake the marker well and press the tip down on a piece of scrap paper to test it out. If the ink is flowing smoothly, start drawing on your leather project.
Be careful with how much pressure you use when drawing on leather. If you apply too much pressure, the ink will bleed through the surface. Keep in mind that leather markers won’t write on wet surfaces – so make sure your project is completely dry before starting to draw on it.
How can I write on leather at home?
First, you’ll need some items that you might not have on hand. You will need a leather writing implement (I use an awl), leather dye or paint, a container for the dye or paint, a foam brush, and a cloth to apply the dye or paint with.
Once you have gathered your supplies, you will need to prepare the surface of the leather. If there is any polish or finish on the leather, I suggest stripping it off with alcohol or citrus based cleaner. Once the surface is clean and dry, you can begin drawing your design with the writing implement.
Once the design is complete, it’s time to add color. Dip your foam brush into the container of dye or paint and apply it to the leather. Work in small sections and be sure to evenly coat the surface. Apply additional coats as needed until you are satisfied with the color.
Finally, let the leather dry completely before using it. I like to apply a little bit of leather conditioner after the piece is dry to keep it supple and soft.
Can you stamp leather with ink?
Yes, you can stamp leather with ink. You can use a rubber stamp or a metal stamp to do this. First, you’ll need to choose an ink that will work well on leather. You can usually find this type of ink at a craft store or online.
You will then need to select the type of stamp you want to use. Rubber stamps are typically easier to use, but metal stamps provide a more detailed image.
Once you have your stamp and ink, you’ll need to prepare the leather surface. You can do this by brushing it with a light coating of wax or sealant. This will help the ink adhere better and last longer.
Then, simply place your stamp in the desired location and press down firmly. You may need to repeat this process a few times to achieve the desired effect.
Useful Video: How to emboss on leather (easy way)
Conclusion
So there you have it! Four ways to paint on leather. We’ve shown you how to use a UV printer, transfer paper, Citra Solv and wax paper. Each method has its own benefits and drawbacks, so it’s up to you to decide which one will work best for your project. Now that you know how to paint on leather, get creative and have some fun!
References:
- https://www.rolanddg.eu/en/applications/printing-on-leather
- https://www.amtekcompany.com/how-to-print-on-leather/
- https://www.art-is-fun.com/transfer-paper
- https://thicketworks.com/image-transfers-on-leather/
- https://www.unexpectedelegance.com/wax-paper-transfer-tutorial/
- http://paperdragonbooks.blogspot.com/2019/07/two-methods-for-photo-transfer-on.html