Leather tooling is a craft that has been around for centuries. It involves carving or embossing designs into leather to give it an attractive look and texture. Tooling leather can be done by hand with basic tools, or with a machine such as an embosser or printer. In this article, we will discuss the basics of leather tooling and provide tips on how to get started.
What is Leather Tooling
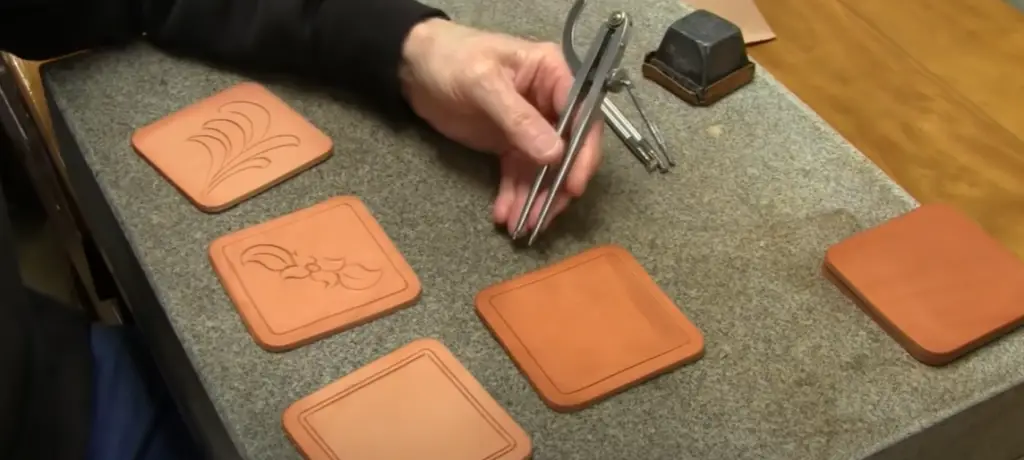
Leather tooling is the art of carving or embossing design patterns into leather to give it an attractive appearance and texture. This practice allows for creativity in creating intricate designs that can be used for decorative purposes. The tools used for leather tooling range from basic hand tools such as knives, punches, and mallets to more advanced machinery such as embossers and printers. The design of the tooling can be anything from a simple border pattern to an intricate and detailed engraving of an animal or flower.[2]
Uses for Leather Tooling
Leather tooling has many uses. It can be used to create beautiful decorations on leather products such as wallets, handbags, belts, saddles, boots and other items. The designs can also be used to enhance the look of clothing or furniture. Leather tooling is also commonly used by professional artisans to create custom pieces for customers.[2]
Types or Variations of Leather Tooling
There are several different techniques used for leather tooling. The most common of these is the traditional ‘wet’ method, which involves wetting the leather before carving or embossing the design into it. This gives a greater level of detail and depth to the design. Another popular technique is the ‘dry’ method which uses heated tools to imprint designs into the leather. This form of tooling tends to give a more uniform and consistent look to the design.[2]
Importance and Uses of Leather Tooling
Leather tooling is an important craft that has been used for centuries. It not only adds beauty and detail to leather items, but can also increase the durability of the item by helping it hold its shape better. Leather tooling can be used to customize any item made out of leather, giving it a unique look that will set it apart from other similar products. Whether you’re looking to add a personal touch to your leather goods or just want to make them more attractive, leather tooling is the perfect way to do it.[2]
Tools Needed for Leather Tooling
The tools needed for leather tooling vary depending on the technique used. Basic hand tools such as knives, punches, and mallets work well for traditional wet method tooling. For dry method tooling, heated tools such as embossers or printers are often used. Additionally, stencils can be used to create more detailed designs without having to draw each line out by hand.[2]
The Most Common Tools Used in Leather Tooling and Their Application
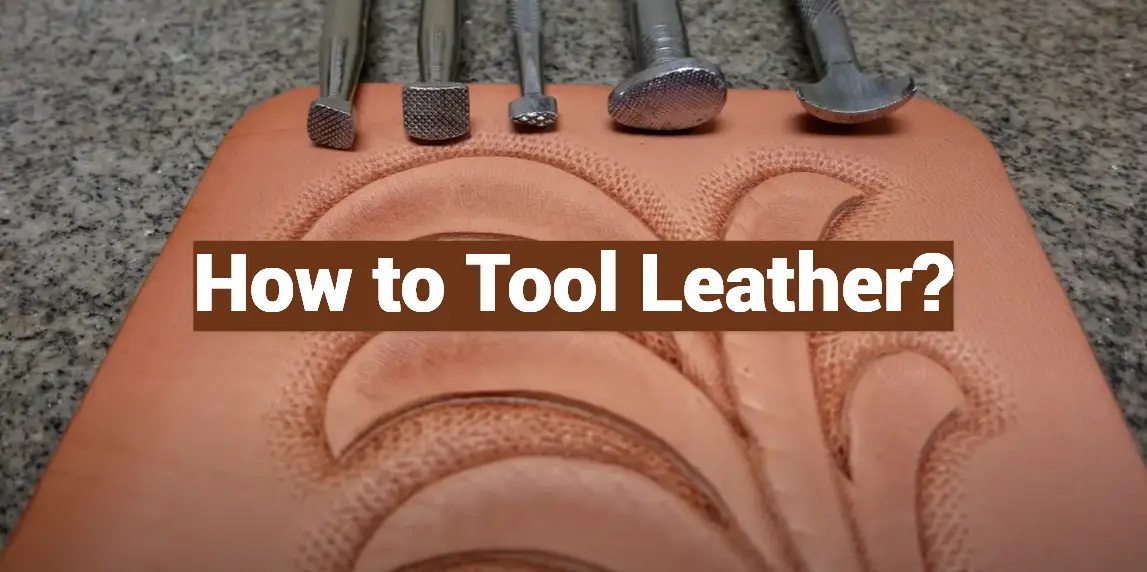
The most commonly used tools in leather tooling are knives, punches, and mallets. Knives allow for precision cuts when carving out designs and details. Punches are used to create dots, circles, or other shapes into the leather. Mallets can be used to emboss patterns onto the leather without risking damage from too much pressure. Embossers and printers are also used for dry method tooling, as they can create more intricate and detailed designs with greater accuracy. Stencils are commonly used to recreate complex patterns without having to draw each line out by hand.[4]
Skill Level of Leather Tooling
Leather tooling is a craft that can be learned with practice. While it may take some time to get the hang of, once you understand the basics and have the right tools, leather tooling can be an enjoyable hobby. It’s important to remember that patience is key when learning any new skill, so don’t be discouraged if your first few attempts don’t turn out exactly as you hoped. With enough practice, your leather tooling skills will improve and you’ll be able to create beautiful items in no time.[4]
How To Prepare Tooling Leather For Working?
Before beginning to tool leather, it is important to prepare the leather correctly. First, clean the leather with a dry cloth or brush to remove any dirt or debris. If necessary, condition the leather with a leather conditioner or wax to help soften and hydrate it. Once the leather is prepared, you can begin to carve or emboss your design into it.[4]
How to Tool Leather?
Step 1: Transfer Your Design to the Leather
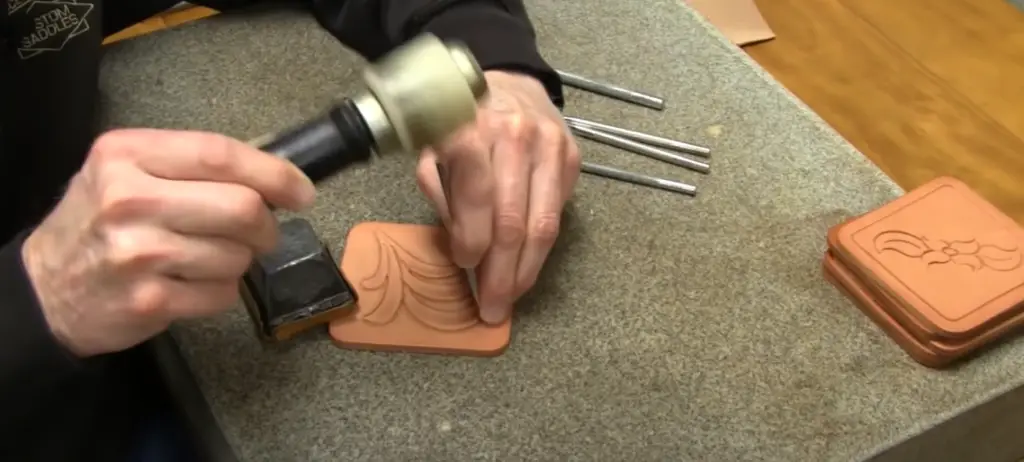
When tooling leather, the first step is to transfer the design onto the leather. This can be done by tracing or drawing the design directly on the leather, stenciling it, or using a pattern template. The method you choose will depend on how intricate and detailed your design is.[1]
Step 2: Cut the Lines of the Design
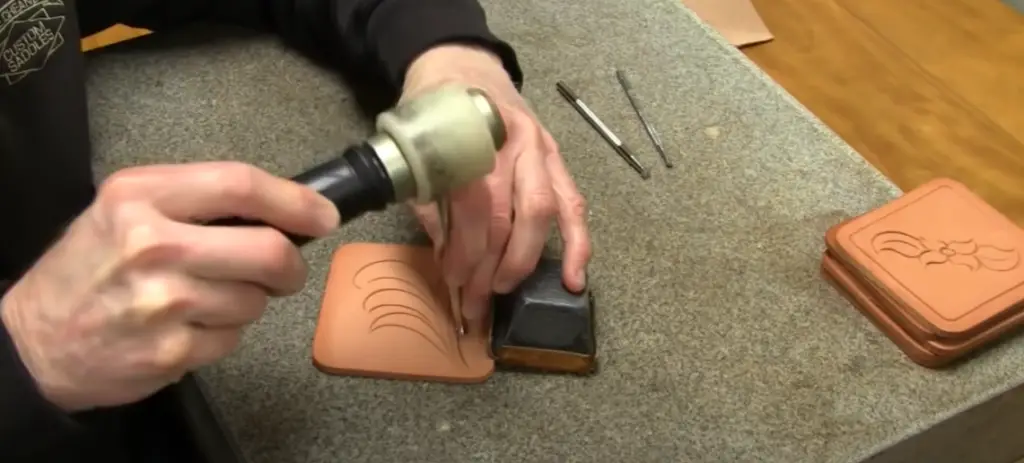
Once your design is on the leather, it’s time to cut. Begin by using a knife or punch to slowly and carefully carve out the lines of your design. It’s best to start with the larger shapes first and then work your way up to more intricate details. Take your time as you go and remember to use light pressure when necessary.[1]
Step 3: Bevel the Edges
Once all of the lines have been cut, you can bevel the edges. Beveling helps to soften the look and feel of the leather and adds a slight texture to it. You can use a bench knife or sandpaper to create a slight angle on each side of the line. This will give your design a more finished look.[1]
Step 4: Add Little Cutesy Stuff
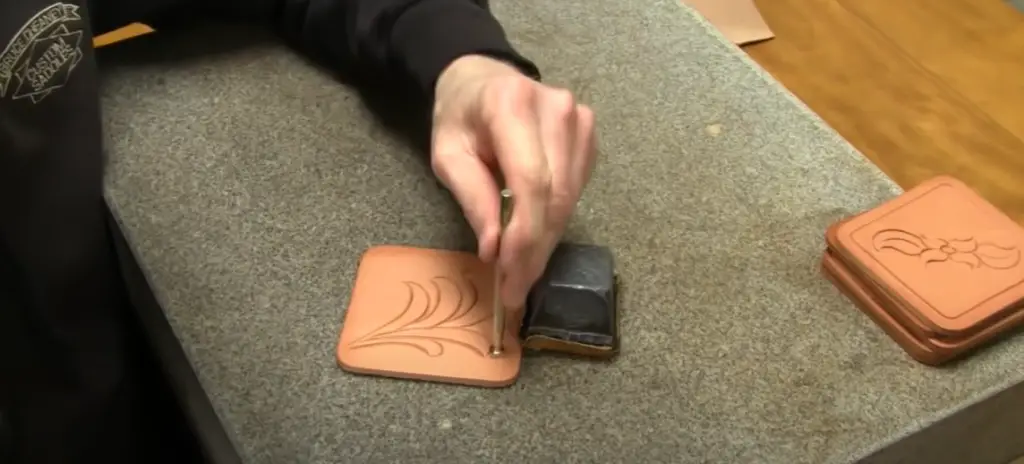
Once you’ve finished the main design, you can add some extra cutesy details to give your leather item a unique look. Using tools such as punches and mallets, you can create tiny holes or embossing to further enhance the design. It’s important to be careful here so as not to accidentally damage the leather.[1]
Step 5: Fill in the Background
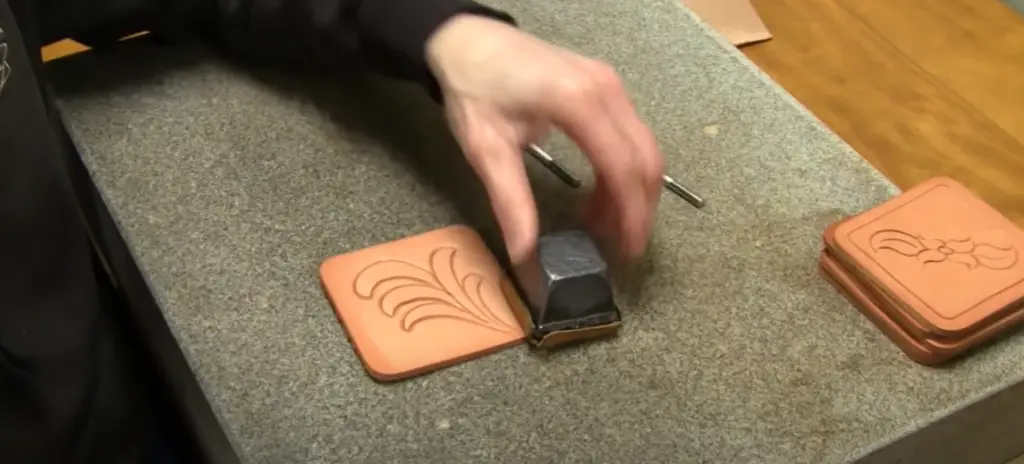
Finally, you can fill in the background of the design. You can use tools such as stampers to add a pattern or texture to the background, or simply leave it blank. If you’re feeling adventurous, you can even carve out a more intricate background pattern. Just remember to take your time and be gentle with your tools so as not to damage the leather.[1]
Step 6: Add Finishing Touches / Edits
Once the design is complete, you can add any finishing touches or edits as needed. You may want to lightly sand the leather to smooth out any edges, or use a leather dye to change the color of your design. Once you’ve finished with all of these steps, your leather item should be ready for use![1]
Step 7: Finish the Leather
To help protect your leather item, it’s important to finish it with a protective coating. This can be done by applying a conditioner or wax, or simply by polishing the leather. Whatever method you choose, make sure that all of the tooled areas are well-covered and protected so that they don’t become damaged over time.[1]
Step 8: Enjoy Your Masterpiece
Now that you’ve finished tooling your leather item, you can show it off and enjoy the fruits of your labor! Leather tooling is a great way to add beauty and detail to any item made out of leather, and the possibilities are endless. With enough practice, anyone can learn how to create beautiful pieces that will last for years to come. So get out there and start tooling![1]
Pros And Cons Of Leather Tooling
Like any other craft, there are pros and cons to leather tooling. One of the biggest advantages is that it allows you to customize items with unique designs and give them a one-of-a-kind look. Additionally, it’s relatively inexpensive since most of the tools can be purchased for a low cost. However, it does take some time to learn the basics, so it’s important to be patient if you want to become proficient in leather tooling. Additionally, it may take some trial and error before you get your desired results, so don’t give up if things don’t turn out right the first time. With enough practice and dedication, anyone can become a master of leather tooling.[3]
Tips for Leather Tooling
To ensure that your leather tooling projects turn out as desired, here are a few tips to keep in mind:
- To begin with, practice on scrap pieces of leather before starting any project. This will help familiarize yourself with the tools and techniques so you can get an idea of how the leather will react.
- Make sure to use the right tools for the job. Different types of leather require different types of tools, so make sure to do your research beforehand.
- Take your time and don’t rush through any part of the process. Leather tooling is a delicate craft and requires patience in order to get the desired results.
- And lastly, have fun! Leather tooling is a great way to express yourself and make beautiful items for yourself or others. Enjoy the process and the end result will be worth it.[3]
How to Get Better at Leather Tooling
If you’re looking to get better at leather tooling, there are several things that you can do. First, practice as much as possible so that you become comfortable with the tools and techniques. Additionally, watch videos or take classes online to learn more about the craft. There are also tons of resources online where you can find tutorials and tips on how to improve your leather tooling skills. Finally, don’t be afraid to try new techniques – you never know what might work until you give it a go![3]
Examples of Leather Tooling
The possibilities of leather tooling are endless! Here are just a few examples of the amazing things that you can do with leather:
- Create unique wallets or purses with intricate designs.
- Emboss names and dates onto journals or books for personalized gifts.
- Make intricate belts to add a bit of flair to your look.
- Create custom keychains with your own design.
- Or create beautiful pieces of art simply out of leather!
No matter what you choose to do, there’s no limit when it comes to leather tooling and the possibilities are endless! So get out there and start creating beautiful masterpieces for yourself or others![3]
Differences Between Leather Tooling and Embossing
Definition
Leather tooling is a craft that involves cutting and carving into leather to create unique designs. Embossing, on the other hand, is a process in which an image or design is pressed onto a piece of material so that it stands out from the surface.[2]
Tools Used
The tools used for leather tooling are usually knives, mallets, punches and stamps. Embossing requires a specific tool called an embosser that is made up of two metal plates with the desired image carved into one plate. When pressed together, the image is transferred onto the material.[2]
Level of Detail
Leather tooling can create intricate and detailed designs, while embossing typically creates a more subtle, raised effect.[2]
Texture
When leather tooling is done correctly, it can create a smooth and detailed finish. Embossing, however, typically results in a raised texture that is more uniform than leather tooling.[2]
Skill Level
Leather tooling requires a certain level of skill and practice in order to get good results. Embossing, on the other hand, is much easier and requires less skill to execute.[2]
Equipment Needed
Leather tooling requires a lot of specialized tools and equipment, which can be expensive. Embossing requires only an embosser tool, which is usually made from metal plates and costs much less than leather-tooling supplies.[2]
FAQ
Do you wet leather to tool it?
Yes, it is recommended to wet the leather before tooling as it will make the leather softer and easier to work with. However, you should be careful not to soak the leather too much, as this can cause warping or shrinkage.
Is tooling leather difficult?
Leather tooling can be difficult to master, but with enough practice and dedication anyone can become proficient in the craft. It’s important to start small and take your time so that you can get a feel for the process before tackling more complex projects.
Can I use any leather?
No, different types of leather require different tools and techniques. For example, vegetable tanned leather is best for tooling as it is softer and more malleable. It’s important to do your research before starting any project so that you use the right type of leather for the job.
How to tool leather at home?
Tooling leather at home is relatively easy as there are many tutorials and resources available online. However, it is important to have the right tools before getting started. It’s also a good idea to practice on scrap pieces of leather before beginning any project so that you can familiarize yourself with the tools and techniques.
What kind of leather can be tooled?
Vegetable tanned leather is the most popular type of leather for tooling as it is softer and more malleable than other types. However, other types of leather can be tooled as well with the right tools and techniques. It’s important to do your research beforehand so you use the right type of leather for your project.
Do you need a special tool to cut leather?
Yes, you will need a special tool to cut leather. A swivel knife is one of the most common tools used for cutting leather. Specialized stamps and punches are also commonly used for tooling leather and can be purchased online or at your local craft store.
Can you carve any leather?
Yes, any type of leather can be carved with the right tools and techniques. However, some types of leather are easier to carve than others. Vegetable tanned leather is often considered the best for tooling as it is softer and more malleable. It’s important to do your research before starting any project so that you use the right type of leather for the job.
What is the best surface for tooling leather?
The best surface for tooling leather is a smooth, flat surface that will allow you to easily move the leather around as you work. A large, solid block of wood makes an excellent surface for this purpose and can be purchased from most craft stores or online. It’s also important to make sure your tools are sharp so that they don’t slip as you carve and tool your leather.
Useful Video: Leather tooling basics tutorial for beginners with Craftools and other select leathercraft tools
Conclusion
Leather tooling is a craft that has been around for centuries and is still popular today. It allows you to create unique designs with leather, whether it be wallets, purses, belts, journals or any other project. There are many tools and techniques involved in leather tooling but once you get the hang of it, you’ll be creating beautiful pieces in no time! Be sure to practice on scrap pieces of leather first and do your research so that you use the right type of leather for the job. With enough practice and dedication, you’ll be able to create truly one-of-a-kind masterpieces with leather tooling!
References:
- https://www.libertyleathergoods.com/leather-tooling/
- https://www.deskera.com/blog/leather-tooling-and-embossing-techniques/
- https://www.toolssweep.com/how-to-leather-tooling/
- https://www.instructables.com/Tooling-a-Simple-Leather-Purse/




Leave a Reply