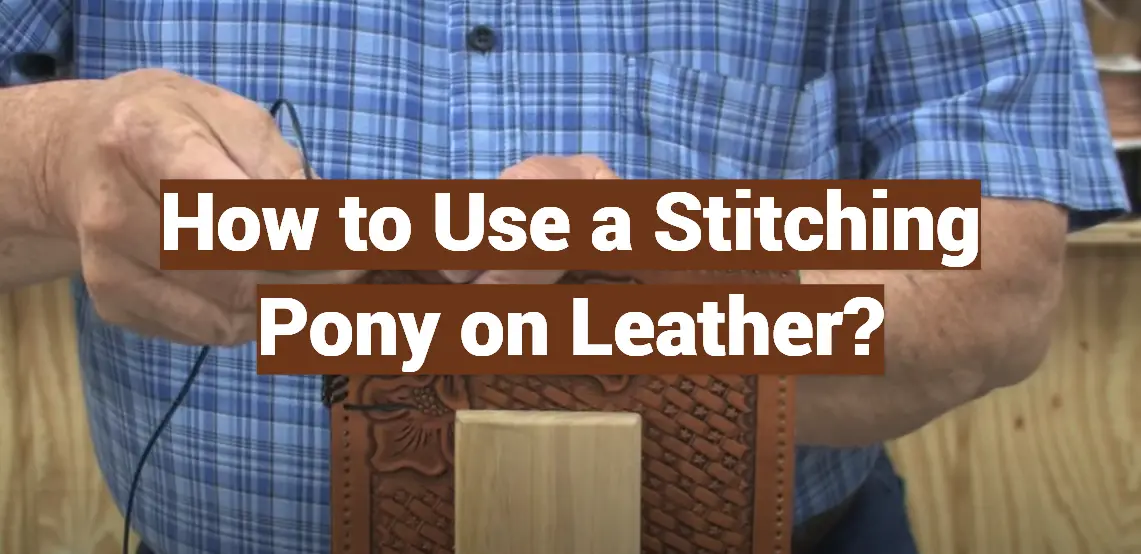
A stitching pony, a versatile and indispensable tool in the arsenal of leatherwork enthusiasts, is highly recommended for upholsterers, saddle makers, and bootmakers alike. This invaluable tool securely holds the pieces of leather in place as you meticulously stitch them together, ensuring consistently even and neat stitches. By providing a stable foundation, the stitching pony allows you to fully concentrate on the intricate details of your craft, elevating the quality and precision of your work to new heights. With its ability to enhance your stitching experience, the stitching pony is a must-have tool for any leatherwork aficionado.
Ensure Your Stitching Pony Is In Good Condition
Before you start using your stitching pony, take a few moments to thoroughly inspect the device for any signs of wear and tear. Carefully examine all components, including the clamps, screws, and bolts, ensuring they are in good condition and securely fastened. Pay close attention to the tension settings and make sure they are adjusted properly for the type of material you will be working with. If you come across any worn or broken parts, it is crucial to replace them before proceeding with your stitching task. Additionally, check the alignment of the stitching pony to ensure it is level and stable, providing a solid foundation for your work. By conducting this comprehensive inspection and maintenance routine, you can ensure that your stitching pony remains sturdy and reliable throughout your work session, allowing you to focus on creating high-quality stitches with ease and confidence.[2]
Assemble Your Stitching Pony
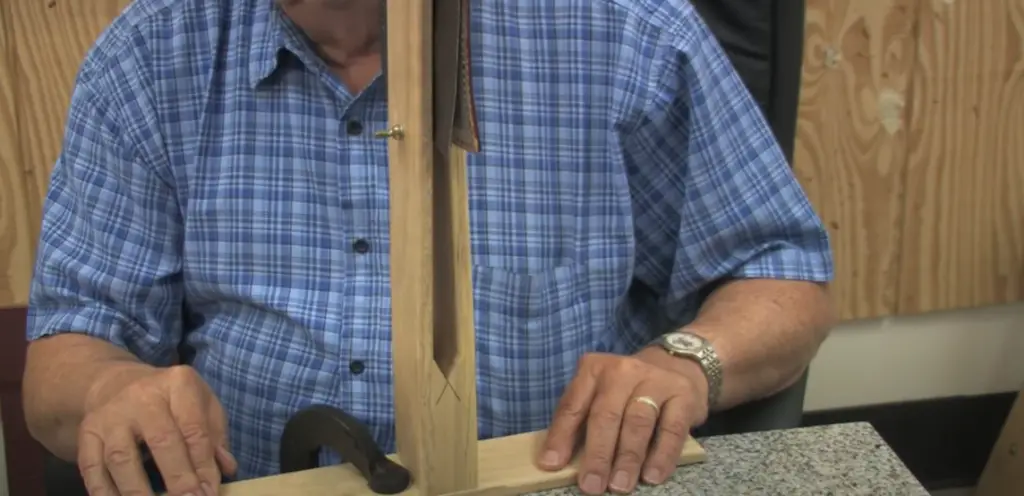
Once your stitching pony is in ideal working condition, the next step is to assemble it with precision and care. Begin by thoroughly inspecting each part to ensure its proper functionality. Check for any imperfections or defects, and make any necessary adjustments to ensure a smooth assembly process.
Next, gather all the components and carefully fasten them together. Pay close attention to the alignment of the clamps on either side of the device, ensuring a snug and secure fit. Take your time as you insert the screws and bolts into their designated holes, feeling the satisfaction of each piece coming together.
Finally, step back and admire your fully assembled stitching pony, ready to assist you in creating exquisitely crafted leather items. With its robust construction and unmatched accuracy, this tool will be your trusted companion in bringing your leatherwork visions to life.[2]
Secure Your Stitching Pony in Place
Now that your stitching pony is ready for action, you must secure it in place in order to avoid any unnecessary movement. To do this, find a flat and sturdy surface such as a table or bench top. Make sure the surface is clean and free from any debris that could interfere with the stability of the stitching pony.
Next, position the stitching pony firmly on the chosen surface and ensure it is level and stable. Take a moment to double-check that all the components of the stitching pony are securely fastened and tightened. This will ensure that it remains in place throughout the duration of your project.
If necessary, you can further enhance the stability of the stitching pony by using clamps or weights. Carefully position the clamps or weights at strategic points to provide additional support and prevent any potential movement. This will give you added peace of mind, allowing you to focus on your work without worrying about the stitching pony shifting or sliding.
By taking these extra precautions to secure your stitching pony, you can work with confidence, knowing that it is securely in place and unlikely to move. This will help you achieve more precise and consistent stitching results, making your projects even more successful.[1]
Place the Leather Piece Between Both Clamps
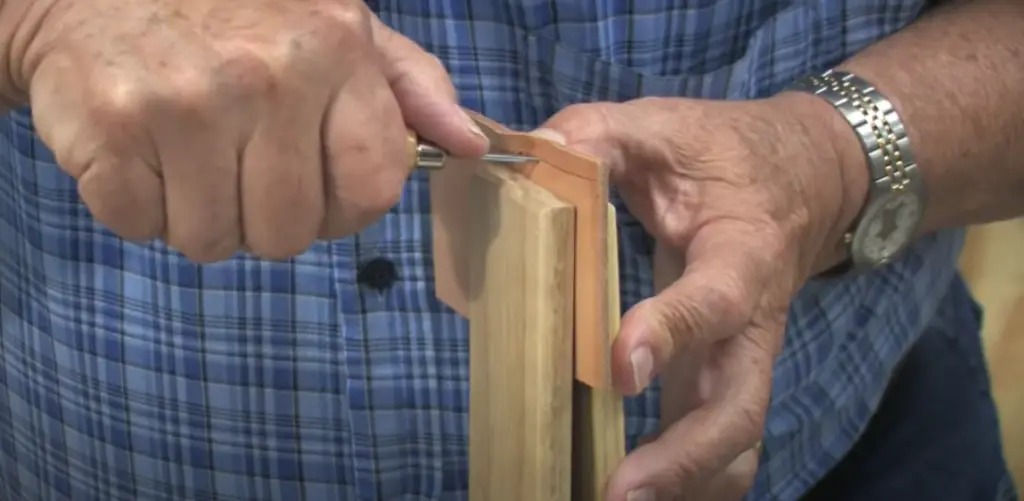
With your stitching pony securely held in place, you can begin to prepare the leather piece for stitching. Carefully position the leather between both clamps of the stitching pony, ensuring that it is neatly aligned with no gaps or overlaps. The clamps must fit snugly around the leather, providing a secure grip without damaging the material. It is important to take your time adjusting the clamps in order to get the perfect fit.
Once the leather piece is firmly held between both clamps, use your hands to check for any potential movement or shifts on either side. If you feel any movements, adjust the clamps until they are once again snugly and securely holding the leather in place. This will give you a stable foundation as you begin to apply delicate and intricate stitches on the leather.
By following these simple steps, you can use your stitching pony to create exceptional leather pieces with superior accuracy and precision. So don’t hesitate – gather up your materials and start stitching away! With the help of a reliable stitching pony, you will be amazed at how easy it is to take your leatherwork project to the next level.[1]
Start Stitching Your Leather Piece
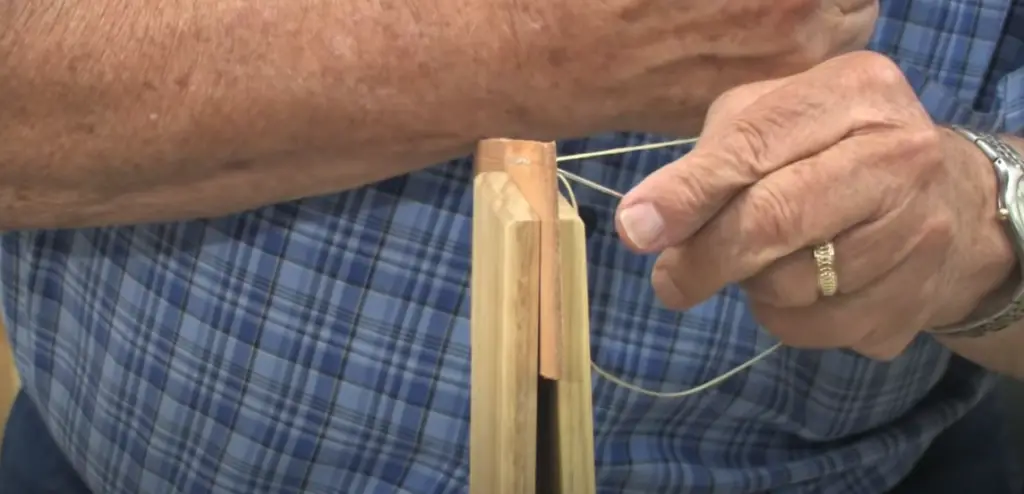
Now that the leather piece is securely held in place, you can begin stitching with confidence. Take your time to select the type of thread and needle that will best suit your project. If needed, adjust the tension settings on the stitching pony until they are at an ideal level. This will give you maximum control over your stitches, allowing you to customize them according to your needs and preferences.
With all the preparations complete, you can now start stitching your leather piece. Take a deep breath and enjoy the satisfaction of gradually bringing your project to life with each stitch. As you watch your creation come together, take pride in knowing that you are one step closer to finishing an exceptional leather item![3]
Remove Your Leather Piece From the Stitching Pony
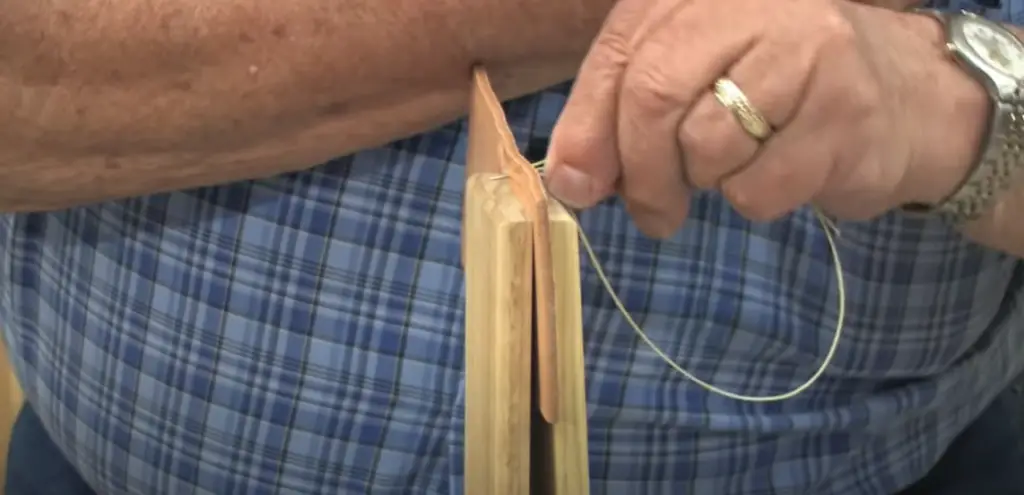
Once you have completed your stitching project, it is time to remove the leather piece from the stitching pony. This crucial step requires caution and care to ensure that none of your hard work gets damaged.
Carefully loosen both clamps on the stitching pony, making sure they are completely free from the leather piece. Take your time and do it gently. Then, delicately pull the leather away from the clamps, ensuring that all the meticulously crafted stitches remain intact.
If you notice any remaining threads on either side of the leather, don’t worry. Simply take a pair of sharp scissors and trim them away, giving your leather piece a clean and professional finish. This attention to detail will make your workmanship shine.
By following these detailed steps, you can successfully remove your leather piece from the stitching pony with ease and confidence. Take a moment to admire the result of your hard work and dedication – a truly exquisite and finely crafted leather piece, created with the invaluable assistance of your trusty stitching pony.[3]
Keep Your Stitching Pony in Optimal Condition
Now that you have completed your leather project, it is important to take care of your stitching pony. After all, a well-maintained stitching pony will continue to provide reliable and accurate assistance on future projects.
To keep your stitching pony in top condition, begin by wiping away any dirt or debris with a damp cloth. Use a soft-bristled brush to get into hard to reach places or areas with dust build-up. To ensure that the stitching pony is properly lubricated, apply oil at regular intervals according to the manufacturer’s instructions.
Finally, check all components of the stitching pony for wear and tear. If needed, replace any worn parts with genuine replacements from your local leatherworking store. With the help of these simple maintenance tips, your stitching pony will be in great condition and ready to use for your next project.
No matter how challenging or intricate the task, you can always rely on a properly cared-for stitching pony to provide reliable assistance. Keep it in tip-top shape and you’ll be able to enjoy its incredible.[4]
FAQ
How do you make a leather pony stitch?
To make a leather pony stitch, you need to secure the leather piece between both clamps of the stitching pony. Then use your preferred type of thread and needle to begin creating stitches on the leather. Take your time and adjust the tension settings accordingly until you achieve the desired results. When finished, remove the leather piece from the stitching pony by carefully loosening both clamps and pulling away the leather from the clamps.
What is the best type of thread for stitching pony?
The best type of thread for stitching pony will depend on the type of leather material you are working with. For instance, linen thread is recommended when stitching thick leather pieces due to its durability and strength. Conversely, cotton thread is ideal for thin or delicate pieces of leather as it can easily move through the material without damaging it. Consider your project’s needs and select the appropriate type of thread accordingly.
Why use a stitching pony?
A stitching pony is a reliable and efficient tool that allows you to work on intricate leather pieces with superior accuracy and precision. With its adjustable clamps, the stitching pony provides a stable foundation for your leather project so that you can focus on the task at hand without worrying about shifting or moving around of the material. It also helps minimize fatigue as it alleviates some of the strain when applying pressure on the leather piece. Ultimately, a stitching pony is an incredibly useful tool for any serious leatherworker.
What is a leather stitching pony?
A leather stitching pony is a specialized tool designed to assist with sewing projects. It consists of two adjustable clamps that hold the material securely in place while stitches are being applied. The stitching pony helps ensure even tension on both sides of the leather piece, resulting in perfectly symmetrical and precise stitches every time. It is an essential item for any serious leatherworker who wants to achieve professional-level results.
What kind of needle should I use with a stitching pony?
The type of needle you should use for your leather project will depend on the material and thickness of the leather piece. Generally speaking, thick needles are best suited for thick or heavy-duty leather pieces while thin needles are ideal for thin or delicate leather pieces. Additionally, curved needles are better suited for curved and intricate stitching patterns. Consider the needs of your project and select the appropriate needle accordingly.
Do I need a stitching pony?
A stitching pony is an invaluable tool for any serious leatherworker. Its adjustable clamps provide a stable and secure foundation for working on intricate leather pieces with superior accuracy and precision. Additionally, the stitching pony helps reduce fatigue as it alleviates some of the strain when applying pressure on the material. Ultimately, if you are looking to achieve professional-level results in your leatherworking projects, investing in a stitching pony is a worthwhile choice.
What is an alternative to a stitching pony?
If a stitching pony is not available or within your budget, there are other alternatives that can be used. For instance, you can use a cork board and push pins to secure the leather piece in place while applying stitches. Alternatively, you could also use a wooden frame with clamps or even just two heavy objects of equal weight to hold the material in place. Keep in mind that these alternatives may not provide the same level of accuracy and precision as a proper stitching pony, so use them with caution.
How long do stitching ponies last?
With proper care and maintenance, stitching ponies can last for years. As long as you clean it regularly and replace worn parts with genuine replacements from your local leatherworking store, your stitching pony should remain in top condition and provide reliable assistance for many years to come.
Is hand stitching better?
Hand stitching can be beneficial for certain leatherworking projects as it provides greater control and accuracy compared to machine stitching. However, hand stitching is often more time-consuming and tiring than using a machine, so it might not be the best option for large or intricate pieces. Ultimately, it will depend on the needs of your project – consider your available tools and resources before making a decision.
Useful Video: How To Use The Stitching Pony For Lacing Leather
Conclusion
Using a stitching pony is essential for any serious leatherworker looking to achieve professional-level results. Not only does it provide great accuracy and precision, but it also alleviates stress on your hands and wrists by providing a stable foundation for the material. Additionally, with proper care and maintenance, you can ensure that your stitching pony will last for many years to come. So if you’re ready to take your leatherworking projects to the next level, investing in a stitching pony is an excellent choice.
References:
- https://www.leatherskill.com/how-to-use-a-stitching-pony/
- https://www.leathercraftmasterclass.com/post/saddlers-clams-or-stitching-pony-a-leathercraft-breakdown
- https://www.libertyleathergoods.com/recommended-tools/best-leather-stitching-pony/
- https://www.instructables.com/Simple-and-Cheap-Stitching-Pony/




Leave a Reply