Do you want to make a book look extra special while still keeping it in good condition? Or maybe you have a project that needs something different than what you can find in stores?
If so, learning how to leather bind a book might be perfect for you! Leather binding books have been around for centuries and it can make any book look new and special.
In this blog post, we will explain what goes into making a leather bound book. We will also provide resources for people who want to learn how to make one.
So even if you feel overwhelmed, don’t worry!
With enough practice, anyone can learn the basics of traditional leather binding technique.
How to Leather Bind a Book?
Tear Off the Old Cover
The first step in leather binding a book is to remove the original cover. This may sound daunting, but it’s actually quite simple.
Clean Up the Spine
Once the old cover is removed, the spine needs to be cleaned up. This can be done with sandpaper or a rotary tool. Make sure to get all of the residue off, as this will make it easier for gluing later on.
Pick Out Some Cool Papers
The next step is to choose some nice papers for the cover. There are many types of papers available, so make sure to pick out something that fits your project.
Fold Papers in Half and Glue
Now that you have selected some papers for the cover, it is time to fold them in half and glue them together.
Make sure that you apply glue evenly to both sides of the paper so that your book will have a more professional appearance.
Glue on the Papers
Once the papers have been folded and glued together, it is time to glue them onto the spine of your book. Use a strong adhesive for this step as you want it to last a long time.
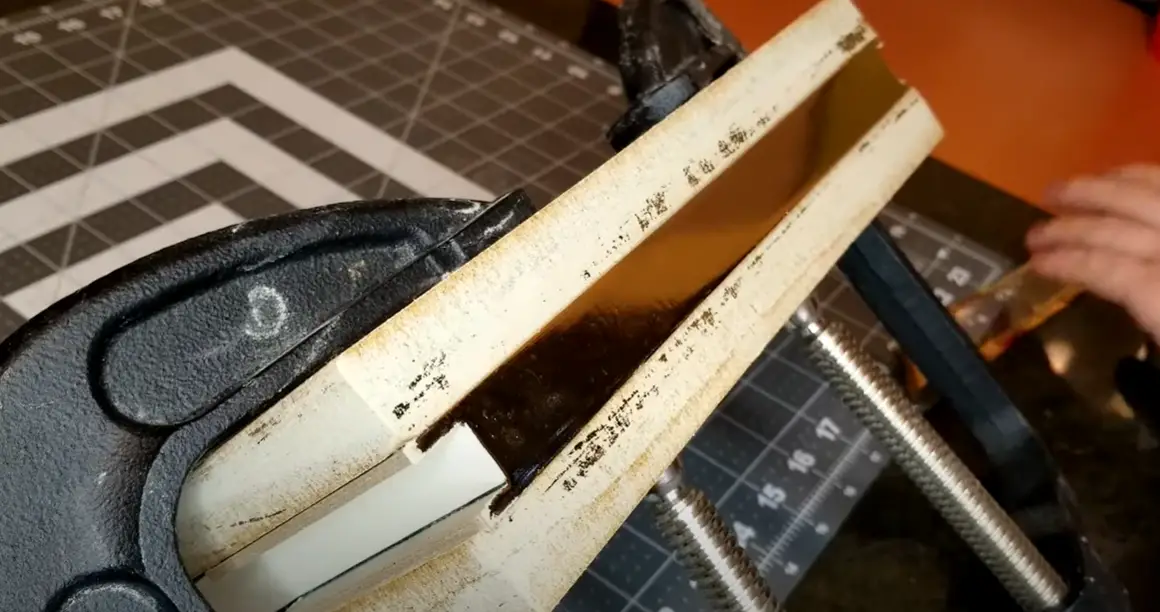
Beef Up the Spine
Now that the papers have been glued on, it is time to beef up the spine. This can be done by using a bookbinding strip or some other material such as leather or linen tape.
Add “Headbands” to the Spine
The next step is to add some decorative “headbands” to the spine. This can be done with embroidery floss or a contrasting colour of leather.
Make sure that these are securely attached and you might even want to do some stitching around them for extra security. [1]
Get Some Cardboard
It is time to get some cardboard. This will be used to reinforce the spine and make it more durable.
Use two pieces of thick cardboard that are slightly larger than the size of your book.
Cut Two Pieces of Cardboard to Size
Now that you have the cardboard, it is time to cut two pieces of it to size. Make sure that they fit snugly around your book’s spine and then glue them on.
Glue on Some Cool Designs
Now it is time to get creative and add some cool designs to the cover of your book. You can use anything from leather stamps, to decorative paper or fabric.
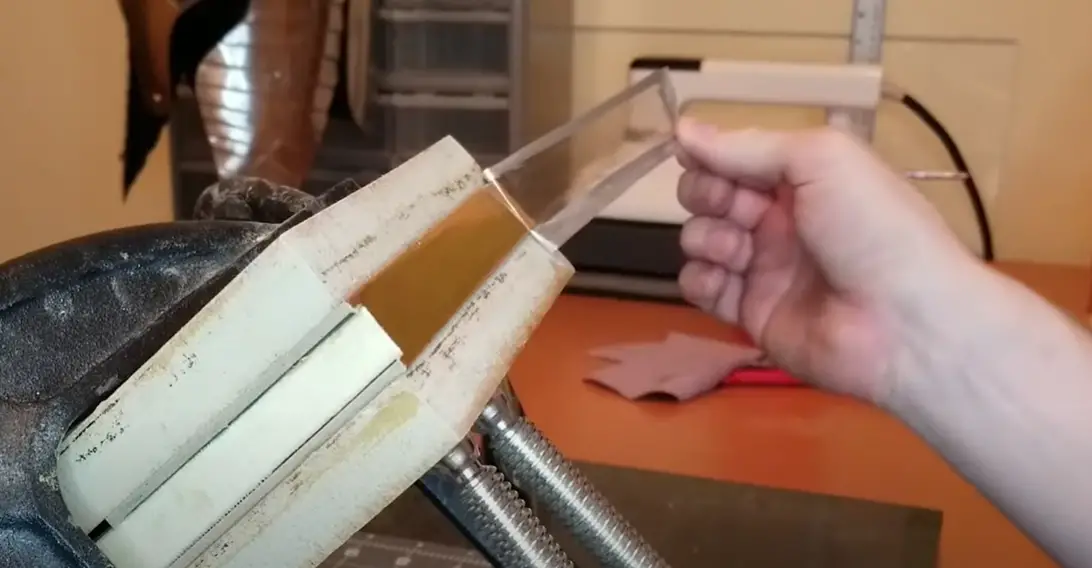
Make a Spine Protector
This can be done by cutting two pieces of leather or fabric, and then gluing them together. Once the glue has dried, attach it to the spine of your book with some strong adhesive.
Use Masking Tape to Line Things Up
Now that everything is glued on and ready to go, it’s time to line things up with some masking tape.
This will help make sure that your book looks neat and professional when you are finished.
Pick Out Some Leather
Now you are ready to pick out some leather for the cover. There are many different types of leather available, so make sure to choose one that fits your project.
Glue the Leather to the Covers
Once you have chosen the leather, it is time to glue it onto the covers. This can be done with a strong adhesive and make sure that you spread it evenly so that there are no gaps or bubbles in the leather.
Trim the Leather
Once the leather is on, it is time to trim it. Use a sharp knife or scissors for this step and make sure that you don’t cut too close to the edge of your book.
Fold and Glue Two Sides of the Leather
Now that you have trimmed the leather, it is time to fold and glue two sides of the leather together.
This will create a protective cover for your book and make it look even more professional.
Make Sure Corners Are Creased Well
This can be done by using a bone folder or some other tool that will help you get those crisp, clean lines.
Fold and Glue the Remaining Two Sides
Once the corners are creased, it is time to fold and glue the remaining two sides of the leather together. Make sure that everything looks neat and clean before you go on to the next step.
Check the Fit on the Book
Now that you have the leather all ready to go, it is time to check the fit on your book. Make sure that everything looks good and there are no gaps between the leather and the spine of your book.
Glue on the Covers
Once you have checked the fit, it is time to glue on the covers. Make sure that you use a strong adhesive for this step as you want your book to last a long time.
Put Everything Under Weights to Dry
You need to put everything under some weights to dry. This will help make sure that everything is securely attached and that your book looks neat and professional when it is finished.
Add Protective Coating
FAQ
How do you bind a leather book at home?
You can bind a leather book at home by cutting two pieces of cardboard to size, gluing on some cool designs, making a spine protector, using masking tape to line things up, picking out some leather, gluing it onto the covers, trimming the leather, folding and glueing two sides together, creasing the corners well, folding and glueing the remaining two sides, checking the fit on the book, glueing on the covers, putting everything under weights to dry, and adding a protective coating if desired.
What is the best adhesive for leather binding?
The best adhesive for leather binding depends on your specific project. Some common options include contact cement, hide glue, epoxy glue, and water-based adhesive.
How long does leather binding take?
Leather binding can take anywhere from a few hours to several days depending on the complexity of your project. It is best to allow yourself plenty of time so that you can make sure everything looks perfect when you are finished.
What tools are needed for leather bookbinding?
Tools needed for leather bookbinding include a cutting knife, scissors, bone folder, ruler, adhesive, masking tape and weights. Additionally, you may need a protective coating depending on your project.
How do you bind a leather book with string?
You will need more than just a leather book and string to bind the book together. You will also need thread, needles, and wax. First, you will need to stitch the spine of the book together. Then tie off the loose ends with wax for an extra secure binding.
How do you make sure that corners are creased well?
Making sure that corners are creased well can be done by using a bone folder or some other tool that will help you get those crisp, clean lines.
It is also important to take your time and make sure everything looks neat and professional before moving on to the next step.
What are the benefits of leather bookbinding?
Leather bookbinding offers a range of benefits. It is a durable and classic material that will protect your book for years to come.
Leather binding also looks professional and can be used to create unique and beautiful designs.
How do I bind a hardcover book at home?
Hardcover book binding can be done at home with some basic supplies. First, you will need to cut two pieces of cardboard to size and glue on any desired designs. Next, you will make a spine protector and use masking tape to line everything up.
Then pick out some leather, glue it onto the covers, trim the edges, fold, and glue the corners together. Lastly, put everything under weights to dry before adding a protective coating if desired.
What are some advanced techniques for leather bookbinding?
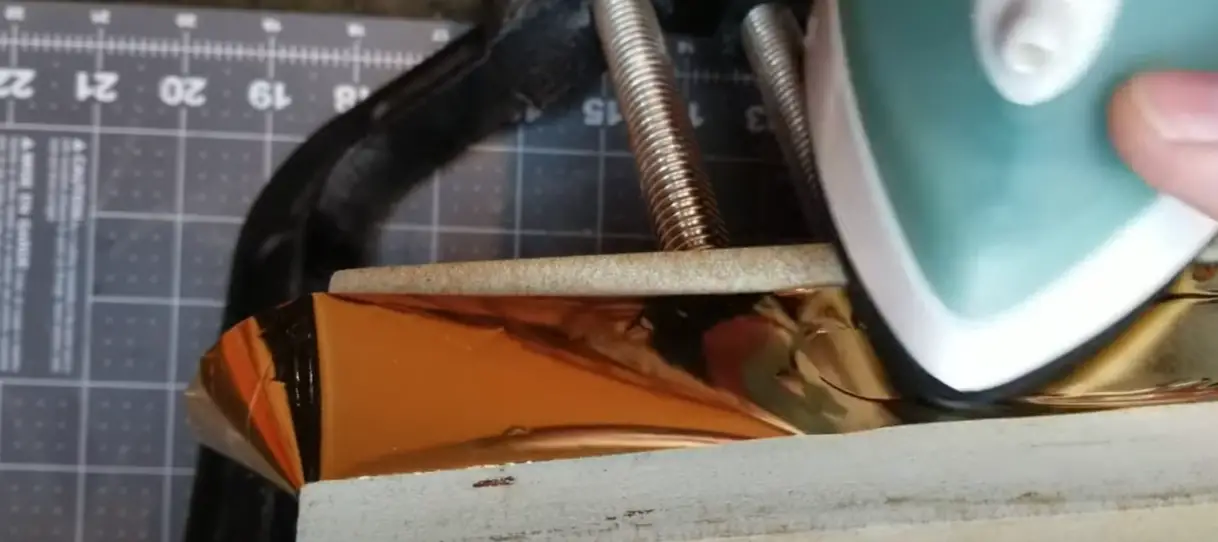
There are some advanced techniques for leather bookbinding that you can use to make your book more unique. Marbling involves adding different colors to create patterns on the leather. Foiling uses a metallic stamp to imprint designs.
Embossing uses pressure and heat to add depth or texture. And inlaying involves cutting out shapes from the leather and then adding additional pieces of leather.
How much does it cost to bind a leather book?
The cost of binding a leather book varies depending on the size and complexity of your project. Generally speaking, it can range from a few dollars for a basic binding job to hundreds or even thousands of dollars for more intricate bindings.
It is important to research different methods and materials so you can get an idea of what will best suit your needs as well as your budget.
How long do leather-bound books last?
Leather books can last for a long time if you take care of them. You should avoid extreme temperatures and humidity, which can damage the book over time.
You should also treat your leather book with a protective coating to guard against dirt, water, and UV light. With regular maintenance and care, your leather-bound book can last for many years.
Why is bookbinding important?
Bookbinding is important because it helps to protect and preserve books. It also adds aesthetic appeal, which can make a book more attractive and valuable.
With careful selection of materials and craftsmanship, bookbinding can help create beautiful works of art that will last for many years.
Overall, bookbinding is a great way to show your creativity and make a book that is as unique as you are.
What safety measures should I take when bookbinding?
It is important to be safe when bookbinding. Wear gloves when using sharp tools or a hot glue gun. Work in an area with good ventilation when using leather glues and dyes.
Be aware of your surroundings and anything that could catch on fire when working with some bookbinding supplies. Taking these safety measures will help ensure that you can finish your project safely and successfully.
Does leather bookbinding require any special skills?
Leather bookbinding does require some skill and practice. You will need to be comfortable with cutting, measuring, stitching, gluing and finishing leather books. Practice on scrap pieces of leather first before attempting a full-size project.
Do I need special equipment to bind a book?
You will need some extra materials to bind a leather book that you might not have at home. This includes tools, like an awl, beveler, stitching groover and hammer. You will also need adhesives, like hide glue and contact cement.
Lastly, you will want to make sure that you have a flat surface where you can put everything together, like a table or desk in your home.
What is the best way to finish a leather-bound book?
To finish a leather-bound book, seal it with an acrylic sealer. This will help protect the leather from dirt and moisture. Apply your sealer with a brush or a spray gun, depending on the size of your project. Allow the sealer to dry completely before handling it further.
Finally, you can add any decorative elements like gilding, marbling, tooling or stamps for an even more unique look. With the right materials and practice, leather bookbinding can be a rewarding and enjoyable experience.
Does bookbinding require a lot of time?
Bookbinding can be very time consuming, depending on the size and complexity of your project. With practice, you can learn to work faster and become more efficient. For larger projects, it is best to take your time and plan out each step carefully.
This will help ensure that you are producing a professional looking piece of work. If you are ever uncertain about a certain step, make sure to research it or consult with an experienced bookbinder for guidance.
Do I need to be an expert in bookbinding?
No, you do not need to be an expert in bookbinding. With practice and the right materials, anyone can learn how to bind a book. Start small with simple projects and work your way up as you become more comfortable with the process.
As long as you take safety measures and use quality materials, you can create beautiful leather-bound books.
Does bookbinding require any special tools?
You will need some special tools for bookbinding, including an awl, beveler, stitching groover and hammer. You may also need a bone folder, waxed linen thread and scissors.
You will also need access to good quality adhesives like hide glue and contact cement. With these tools you will be able to create beautiful leather-bound books.
Do I need to buy special materials for bookbinding?
For bookbinding, you will need to buy some things that you might not have at home. You will need to get leather and paper that are good quality, and also boards and endpapers. You might also need special glues, dyes and finishes.
If there is anything you don’t know about, look it up or ask someone who knows a lot about bookbinding for help. With the right materials, you can make really nice leather-bound books that will last a long time.
Can I use a bookbinding kit?
Yes, you can use a bookbinding kit to help get you started. Bookbinding kits often come with all the tools and materials you will need to finish your project.
They are also helpful for learning the basics of bookbinding. With practice, you will be able to tackle more complicated projects on your own.
Can I bind a book with any kind of leather?
Yes, you can use any kind of leather to bind a book. However, some types are better than others. Goatskin, calfskin and pigskin are all good choices for bookbinding because they are strong and sturdy.
They also look really nice when dyed or tooled with decorative elements. Make sure to buy only the best quality leather you can find to ensure that your book will last a long time.
How do I make sure my books are durable?
Make sure to use good quality materials, and take extra care when putting everything together. Take your time so you don’t rush any steps, and check your progress often.
Make sure to use adhesives that are acid free, and always seal your leather with an acrylic sealer to protect it from dirt and moisture.
How do I maintain my books?
Leather-bound books should be wiped clean with a damp cloth, and the leather should be conditioned from time to time. If you see any signs of wear or damage, make sure to repair it right away.
Keep your books stored in a cool dry place, away from direct sunlight or extreme temperatures.
Why should I bother learning how to bind a book?
Bookbinding is a great skill to have. You can make beautiful leather-bound books that will last for a long time. Bookbinding is also a form of creative expression. You can make personalized books for yourself or others.
When you make something with your own hands, it feels good and bookbinding can be an enjoyable hobby.
Is bookbinding expensive?
The cost of bookbinding depends on how much money you want to spend. You can find all the tools and materials you need for one book at a reasonable price. If you want to do bigger projects, you can buy more expensive tools.
Bookbinding is a good way to be creative and also make something that will last for a long time.
Are there any other tips for bookbinding?
When you’re ready to start binding a book, make sure to practise on scrap materials first. Make sure to use quality materials and take your time while working.
If you have any questions, look up information online or ask someone who knows more about bookbinding.
Which type of bookbinding is best for me?
The best type of bookbinding for you depends on how much experience you have and what kind of project you want to make. If you are new to this, it might be best to start with easy projects like pamphlet stitching or traditional leather binding.
If you want to try something more difficult, then you can experiment with different types of bookbinding like coptic or japanese stab binding. No matter what type of bookbinding you choose, make sure to practise and take your time so that your project turns out great!
How often should I practise bookbinding?
It is a good idea to practise bookbinding often so that you can hone your skills and become more efficient. Try to set aside some time each week or month to work on your projects.
You could also join a local bookbinding group or take classes online if you need help with any of the techniques. With perseverance and practice, you can become a skilled bookbinder!
How long will it take me to learn bookbinding?
The amount of time it takes to learn bookbinding will be different for each person. Some people might be able to learn quickly, while others might need more time. If you keep practising and following along with tutorials, you will eventually get better at it. Remember that learning any skill requires patience, so take your time and enjoy the process.
Should I bind my own book?
If you want to make a special book that will last for many years, then it might be worth learning how to bind your own. Leather-bound books can be beautiful and unique gifts, so if you have the time and patience, why not give it a try?
Even if you don’t end up making the perfect book, it can still be a fun and rewarding experience.
What should I watch out for when binding a book?
When binding books, make sure to work in a well-ventilated space and avoid exposing your materials to direct sunlight or extreme temperatures.
You should also wear gloves when handling the leather and make sure that you use quality tools and materials.
Useful Video: DIY Leather Book Binding Tutorial Part
Conclusion
Thanks for reading! Now that you know the basics of leather binding a book, will you give it a try? If you do, be sure to share your results with us in the comments below.
And if you have any questions or need clarification on any of the steps, just ask and we’ll do our best to help.
References
- https://www.instructables.com/Leather-binding-a-Paperback-A-New-and-Improved-Gui/