Would you like to make your own jewelry at home? You can easily make lovely leather earrings with a Cricut machine, even if you have never done it before! It is a fun way to be creative and make something that is only yours.
Whether you’re completely new to DIY jewelry-making or just looking for an easy project, this tutorial will guide you through each step of transforming simple leather pieces into stylish accessories with just the help of your trusty Cricut device. So let’s get started!
How To Make Earrings With A Cricut?
Before you begin, make sure to stock up on a few supplies. You will need leather pieces in the shape and size of your choice, a Cricut cutting machine, adhesive vinyls or paper (optional) and earring hooks.
Materials
Cricut Maker Machine
The Cricut Maker is a tool that allows you to cut leather into detailed pieces. It can also be used with other materials like felt, wood veneer and faux leather.
Cricut Knife Blade
The Cricut knife blade is a perfect choice for cutting leather. It is specifically designed to make precise and intricate cuts without damaging the material.
Strong Grip Mat
A strong grip mat is essential when using a Cricut Maker to cut leather. It will prevent the material from slipping as you are cutting it and ensure that the cuts are precise.
Painter’s Tape
Painter’s tape helps to secure the leather pieces in place while cutting. This will ensure that your cuts are accurate and free of any accidental shifts in position.
Leather or Faux Leather
Choose any type of leather or faux leather you like. You can go for a neutral color or have fun with bright colors and patterns.
Sharp Scissors
Sharp scissors are helpful for trimming off any excess material or creating cuts that the Cricut Maker is not able to make.
Earring Wires
You will need earring wires to finish off the earrings. You can find these in any craft or jewelry store.
Jump Rings
Jump rings are small metal rings that connect the earring wires to the leather pieces.
Vinyl or Paper (optional)
Vinyl and paper are optional, but they add a nice touch of color and detail to the earrings. You can choose any pattern, color or design you like.
Chain
Chain nose pliers make it easier to attach the jump rings and earring wires.
Needle Nose Pliers
Needle nose pliers are helpful for attaching the earring wires to the leather pieces.
Cutters
Cutters help to cut the vinyl or paper into small pieces. [1]
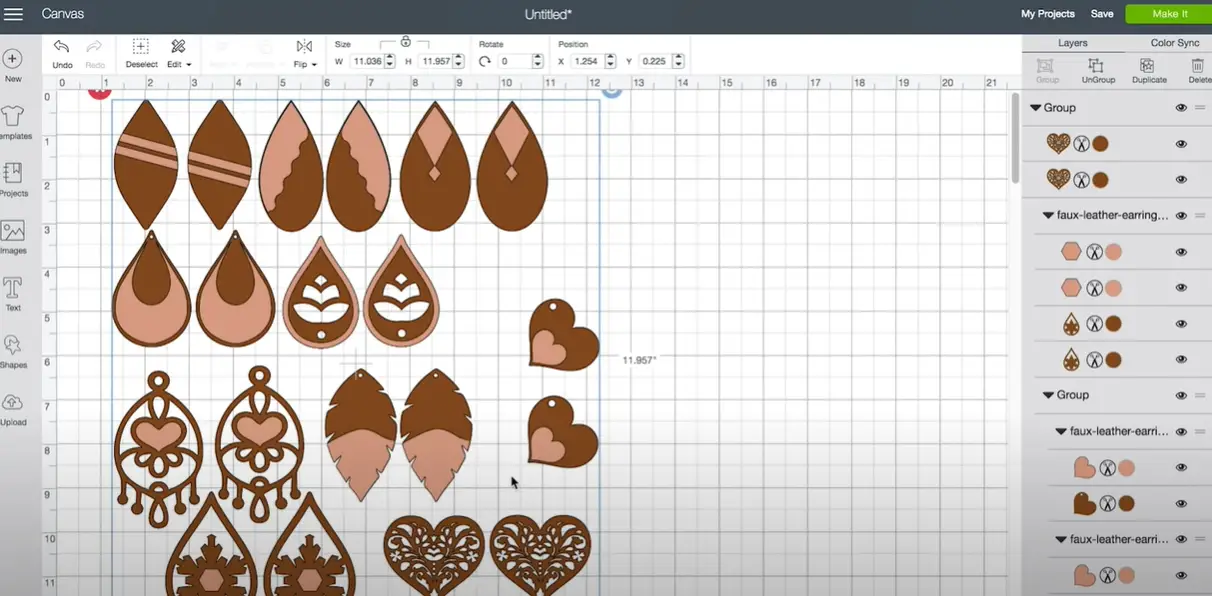
Design Your Earrings
There are two ways to design your earrings using Cricut Design Space. You can either use one of the many pre-designed templates that are available, or you can upload a photo, pattern or drawing to the software and it will turn it into a cuttable design.
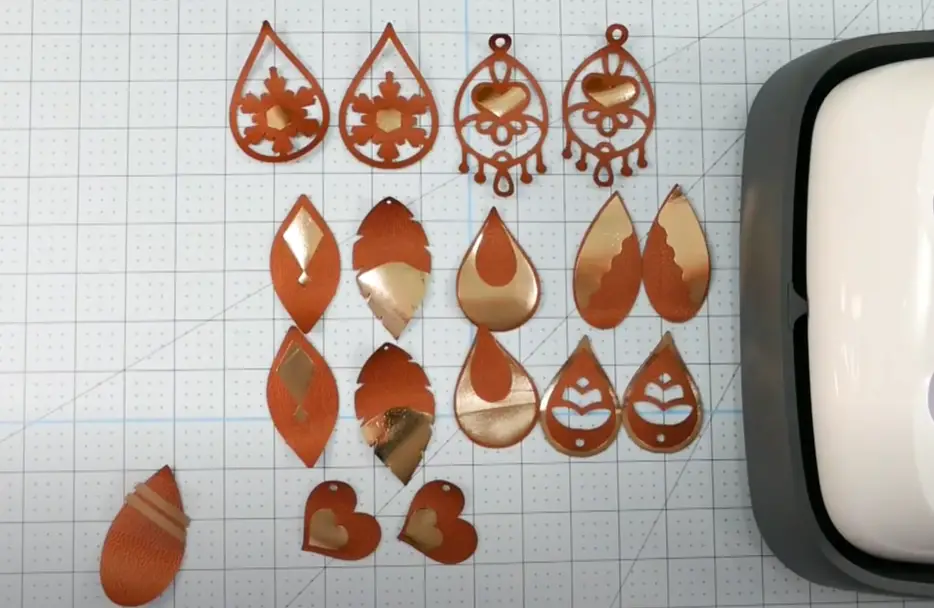
Cut The Leather With A Cricut
Now that you have designed your earrings, it is time to use your Cricut Maker! Put the leather onto the cutting mat and make sure it is secure with a few pieces of painter’s tape.
Then place the mat onto the Cricut Maker and select ‘Leather’ as the material setting. Finally, hit ‘Go’ and watch as your design is cut out of the leather.
Assemble Your Earrings
Once your leather pieces are cut, it is time to assemble the earrings. Start by taking two jump rings and opening them with your chain nose pliers. Then attach one end of an earring wire onto each jump ring and close them again.
Next, use a needle nose plier to open the loop on one side of the earring wire. Then, attach the two leather pieces onto each end of the earring wire and close the loop again. Make sure that both sides are securely attached.
Rectangle Earrings
If you want to make rectangle earrings, the process is similar to above. Instead of using two round pieces of leather, however, you will need four rectangular pieces.
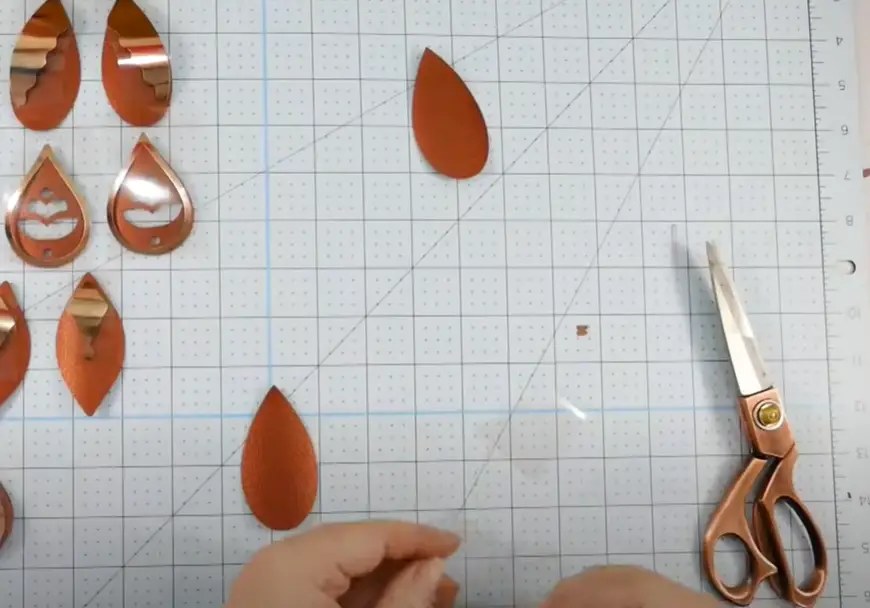
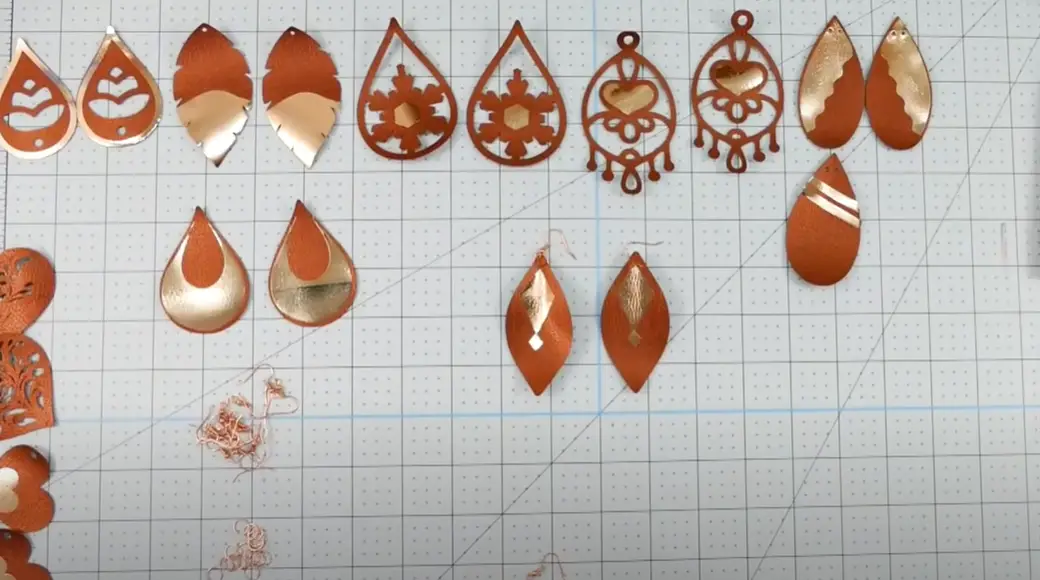
Teardrop Shape Earring
To make teardrop shape earrings, cut out two triangle pieces and one oval piece of leather. Then follow the same steps as above to assemble the earrings.
Inverted Pinched Teardrop Shape Earrings
To make the inverted pinched teardrop shape earring, you need to cut out two triangle pieces and two oval pieces of leather.
Then, put the two triangles together with a jump ring before attaching the ovals onto each side of that same jump ring.
Arch and Semi Circle Earrings
For arch and semi-circle earrings, cut out four pieces of leather in the appropriate shapes. Then attach two of the pieces to each other with a jump ring before attaching the remaining two pieces onto either side.
Solid Arch Earrings
For solid arch earrings, cut out four pieces of leather in the appropriate shapes. Then attach all four pieces together with jump rings and earring wires.
The Top Holes
You may want to add a few extra holes at the top of your leather pieces so that you can attach charms or other decorations. To do this, use a small hole punch and create as many holes as you like.
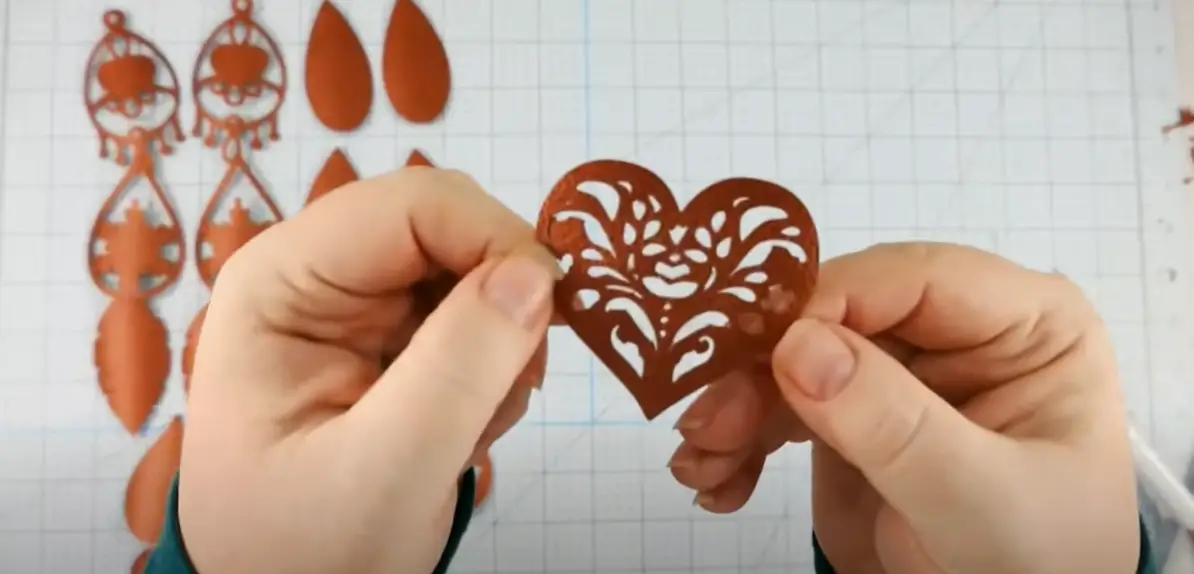
Cutting Out The Earrings and Vinyl
Once you’ve decided how you want your earrings to look, it’s time to cut them out! You can use either a Cricut Maker or a pair of scissors for this part of the process.
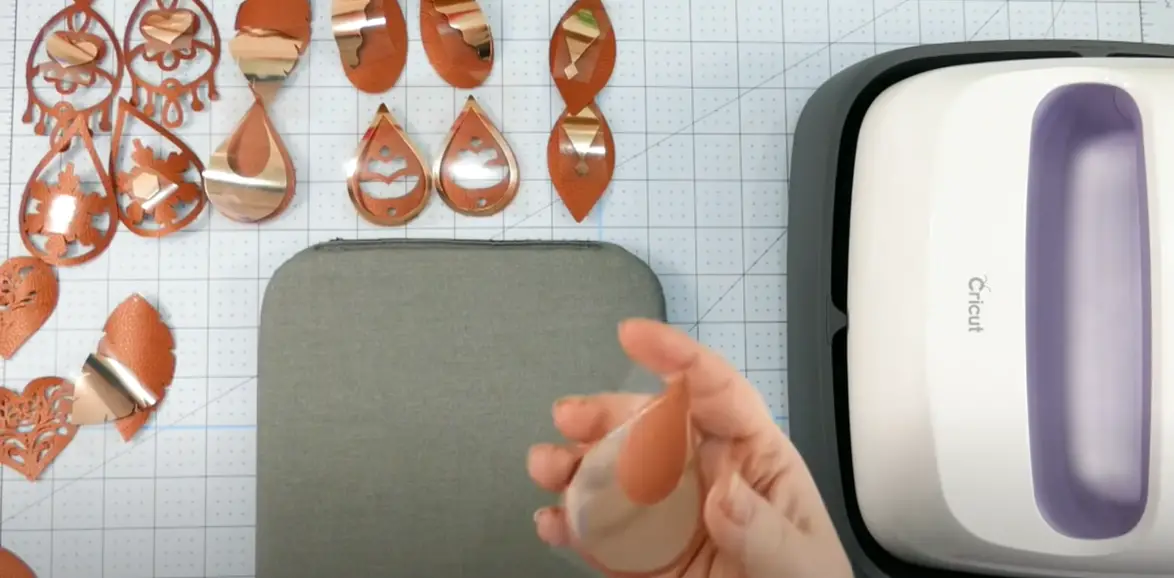
Applying the Iron-On Vinyl
If you want to add some color or pattern to your earrings, you can use iron-on vinyl. This type of vinyl is applied using an iron and it comes in a variety of colors and patterns.
Simply cut out the design you want onto the iron-on vinyl, place it onto the leather piece, cover with a pressing cloth, and then press with an iron.
Troubleshooting the Iron-On Vinyl
If you are having trouble getting the iron-on vinyl to stick to the leather, try increasing the heat of your iron.
You also want to make sure that you are pressing firmly and evenly with your iron. If the vinyl still won’t stick, you may need to use an adhesive spray or glue.
Assembling The Earrings
Once all of your pieces are cut and decorated, it is time to put the earrings together. To do this, you will need two jump rings and a pair of chain nose pliers.
Start by opening the jump rings with the pliers, then attach one end of an earring wire to each jump ring. Finally, close the jump rings again.
Next, use a needle nose plier to open the loop on one end of the earring wire, then attach the other pieces you have cut out to the earring wire. Make sure all pieces are securely attached before closing the loop again.
Tips For Making Leather Earrings With Cricut
Making leather earrings with a Cricut can seem like an intimidating task, but it is actually quite easy! Here are some tips that will help you get started:
- Always use the correct settings for the material you are using on your Cricut.
- Use a pressing cloth when using an iron to apply iron-on vinyl.
- If you have trouble getting the iron-on vinyl to stick, try increasing the heat of your iron or use an adhesive spray or glue.
- Use two different types of pliers when assembling the earrings – one for opening and closing jump rings, and another for opening and closing earring loops.
- When cutting multiple pieces out at once, use a Cricut mat to keep everything organized.
FAQ
Can you use a Cricut to make leather earrings?
Yes! Using a Cricut is an easy and efficient way to make leather earrings. You can easily cut out pieces in any shape or size with a Cricut, and you can also use it to apply iron-on vinyl for added color and pattern.
What type of material should I use for making leather earrings?
Leather is the ideal material for making earrings, as it is lightweight and durable. You can find leather in a variety of colors and patterns at most craft stores.
What type of pliers should I use when assembling my earrings?
A pair of chain nose pliers should be used to open and close jump rings, and a pair of needle nose pliers should be used to open and close earring loops.
What supplies do I need to make leather earrings?
You will need a Cricut machine, scissors, leather material, jump rings, an iron and pressing cloth (if using iron-on vinyl), charms or other decorations (optional), and needle nose pliers.
What do you use to make earrings with Cricut?
A Cricut machine can cut out pieces of leather into any shape that you want. You can also use it to put iron-on vinyl onto the leather, which gives it color or pattern. If you want, you can also add jump rings, charms, or other decorations.
You will need an iron and a pressing cloth (if you are using iron-on vinyl) too. Needle nose pliers might be helpful as well.
Can you put vinyl on leather earrings?
Yes! You can use vinyl to add color and pattern to your leather earrings. To apply the vinyl, cut out the design you want onto the iron-on vinyl. Place the vinyl onto the leather piece.
Cover with a pressing cloth. Press with an iron. If you are having trouble getting the vinyl to stick, try increasing the heat of your iron or using an adhesive spray.
What do you use to cut leather earrings?
A Cricut machine is a great tool for cutting out pieces of leather into any shape that you want. It can also be used to apply iron-on vinyl, which gives the earrings color or pattern. You will need scissors too for some clean up work.
What other supplies do I need to make leather earrings?
You will need some other supplies like jump rings and charms (optional). You will also need an iron and pressing cloth if you are using iron-on vinyl, as well two pairs of pliers – one for opening and closing jump rings, and another for opening and closing earring loops.
How do you attach the earring hooks?
The earring hooks should be attached last, after all other pieces have been assembled.
To do this, open the loop of the earring hook and slide it onto the jump ring that is already connected to the leather piece. Make sure all pieces are securely attached before closing the loop again.
How do you keep pieces organized when making leather earrings?
When cutting multiple pieces out at once, use a Cricut mat to keep everything organized and easy to find.
This will make it easier to assemble the earring pieces later on. You can also use an adhesive spray or glue if needed.
How long does it take to make leather earrings with a Cricut?
The amount of time it takes to make leather earrings with a Cricut will depend on the complexity of your design. Simple earring designs can be cut out in just minutes, while more intricate designs can take longer.
How often should I clean my Cricut?
You should clean your Cricut after every use. This will help keep it in top condition, and ensure that your leather earrings come out looking their best.
Does making earrings with a Cricut require any special skills?
No, making leather earrings with a Cricut does not require any special skills. It does, however, involve using sharp tools like scissors and pliers, so it is important to use caution when handling them.
Do I need any special software to make leather earrings with a Cricut?
No, you will not need any special software to make leather earrings with a Cricut. All you need is the Cricut machine, and your desired design. You can find designs online or create your own in the Design Space app.
Does the Cricut software come with any templates for leather earrings?
The Design Space app does include a few templates for leather earring designs. You can customize these templates to create your own unique designs, or use them as-is.
Can I make the same design multiple times with my Cricut machine?
Yes, you can make the same design multiple times with your Cricut machine. The Design Space app allows you to duplicate a project and adjust it as needed. This is a great way to create matching pairs of earrings.
Can I make multiple designs at once with my Cricut?
Yes, you can make multiple designs at once with your Cricut. The Design Space app lets you design several projects simultaneously and then cut them all out in one go. This is a great time-saver if you are making larger batches of earrings!
Do I need to seal my leather earrings?
Yes, it is recommended that you apply a sealant to your leather earrings. This will help protect the ink and vinyl from fading or cracking over time.
There are several products specifically designed for this purpose, such as Mod Podge Leather Sealer or Liquid Fuse Sealing Bond Spray.
Which type of sealant is best for leather earrings?
The best type of sealant for leather earrings will depend on the type of material you are using. A matte or satin finish product is usually best. You can also look for waterproof sealants for extra protection against water damage. If you are using a faux leather material, a non-toxic sealant is recommended.
Are there any tips for making sure my earrings last?
Yes! To ensure your earrings last as long as possible, make sure to use high-quality materials and craft tools. Additionally, avoid using excessive force when assembling the pieces, as this can cause the earrings to become damaged.
When should I use a Cricut machine for leather earring projects?
A Cricut machine is ideal for any project involving intricate designs and detailed logos or patterns. It can also be used to create multiple copies of the same design quickly and easily.
How often should I replace my Cricut blades?
It is a good idea to replace your Cricut blades after every time you use them. This will help them stay sharp and accurate. It will also help your leather earrings look their best.
You should also clean the blades every now and then with a soft cloth to get rid of any extra stuff on them from cutting leather or other materials.
How long does it take to make leather earrings with a Cricut?
It takes a different amount of time to make leather earrings using a Cricut machine depending on how complicated the design is. In general, it will take 1 to 3 hours to make a pair of earrings.
This includes putting the design onto the machine, having the machine cut it out, putting the earrings together, and sealing them.
What is the best way to store leather earrings?
It is best to store leather earrings in an airtight container or bag. This will help prevent dust and dirt from building up on them. You should also avoid storing them in direct sunlight, as this can cause the colors of the leather and ink to fade over time.
How should I price my leather earrings?
The price of your leather earrings will depend on the complexity of the design and the materials used.
If you are looking to sell them, it is best to do some research into what similar items are selling for in order to set a competitive price. You can also consider offering discounts or promotions in order to gain more customers.
Can I use a Cricut machine to make other crafts?
Yes! A Cricut machine is great for creating all kinds of crafts and projects. You can use it to make cards, journals, t-shirts, mugs, and more. All you need is the right materials and tools for the project you are making.
Is it worth investing in a Cricut machine?
If you plan to make a lot of crafts, it is worth it to buy a Cricut machine. It will save you time and money compared to doing it by hand. Plus, the final product will look better!
Why is it important to use quality materials when making leather earrings?
It is important to use good quality materials when making leather earrings. If you use bad materials, the earrings will fall apart or fade quickly. Good materials will make your earrings look nicer and last longer.
Which tools are necessary for making leather earrings with a Cricut?
To make leather earrings with a Cricut, you will need the machine itself, a pair of scissors, some weights to hold down the material, an adhesive glue or sealant, and some eyelets for attaching the earring hooks.
You may also need a few specialized tools depending on the complexity of your design.
Useful Video: DIY Faux Leather Earrings Made on a Cricut!
Conclusion
Now that you know how to make leather earrings with a Cricut machine, it’s time to start creating your own unique designs. If you need any help getting started or have any questions along the way, be sure to reach out to us.
We would love to see what you create and offer any assistance needed. So get creative and start making some beautiful leather earrings today!
References
- https://www.lifeisaparty.ca/how-to-make-earrings-with-a-cricut/