Making your own tear drop earrings out of soft, supple leather is a wonderful way to infuse your jewelry collection with a touch of unique and rustic flair. Imagine the satisfaction of wearing statement pieces that are not only eye-catching but also crafted by your own hands.
With just a few simple materials and tools, such as genuine leather, earring hooks, jump rings, and basic jewelry-making pliers, you can embark on a creative journey to fashion your very own one-of-a-kind tear drop earrings. The versatility of leather allows you to experiment with different colors, textures, and finishes, ensuring that each pair you create is truly distinctive.
So, gather your materials, find a cozy crafting spot, and let your imagination run wild. Get ready to embark on a delightful journey of self-expression as you bring beautiful leather tear drop earrings to life. Let’s dive into the enchanting world of leather crafting and create something extraordinary together!
Things You’ll Need
Materials
To create your own earrings, you will need the following materials:
- Leather of your choice, in a color and texture that speaks to your style and creativity.
- Jump rings, small metal rings that will connect the leather to the earring hooks.
- Earring hooks, which will serve as the foundation for your beautiful creations.
- Craft glue, to securely attach the leather and jump rings together.
- Needle and thread (optional), for those who prefer to sew the leather pieces together for added durability and uniqueness.[4]
With these materials at hand, you’re ready to embark on a fun and rewarding DIY earring project!
Tools
- To complete this project, you will need the following items:
- A pair of scissors or a rotary cutter, whichever you prefer for cutting fabric with precision.
- A ruler to ensure accurate measurements and straight lines in your work.
- An embroidery needle, which is specifically designed for stitching and adding intricate details to your fabric creations.[4]
Having these tools on hand will make your crafting experience more enjoyable and help you achieve professional-looking results. Happy creating!
Leather Earring Template
To get started, begin by accessing our website and locating the section where you can download our complimentary leather earring template. After downloading, take the time to print out the template on a standard sheet of paper. Once you have the printed template in your hands, carefully cut it out using a pair of sharp scissors. Now, take your chosen piece of leather and place the template on the back side, making sure it is aligned properly. With a pencil or fabric marker, trace the pattern onto the leather, ensuring every detail is accurately transferred. Finally, grab a pair of scissors or a rotary cutter and carefully follow the marked lines, cutting out the leather pieces for your beautiful earrings.[4]
How to make Leather Earrings
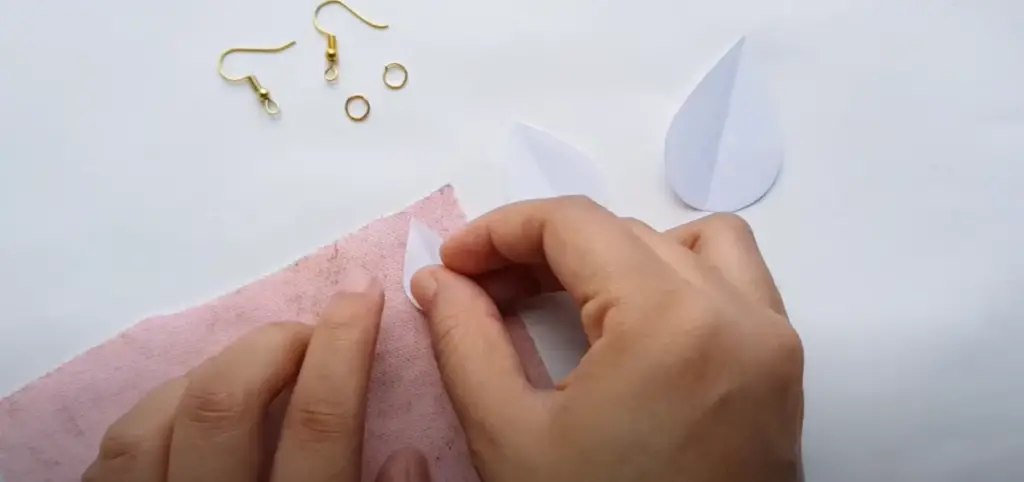
Step 1: Tracing the Template Patterns
To begin this creative process, take a moment to gently place your beautifully printed template onto the luxurious surface of the soft, supple leather. With careful precision, grab a pen or marker, ensuring it is the perfect instrument to capture every intricate pattern and delicate detail. As you trace the lines, immerse yourself in the artistry, allowing the graceful strokes to bring the design to life. Once the patterns have been meticulously traced, gracefully wield either a pair of sharp, finely crafted scissors or a precise rotary cutter. With each skillful cut, the leather yields to your expert touch, giving birth to a masterpiece that showcases your craftsmanship and creativity.[1]
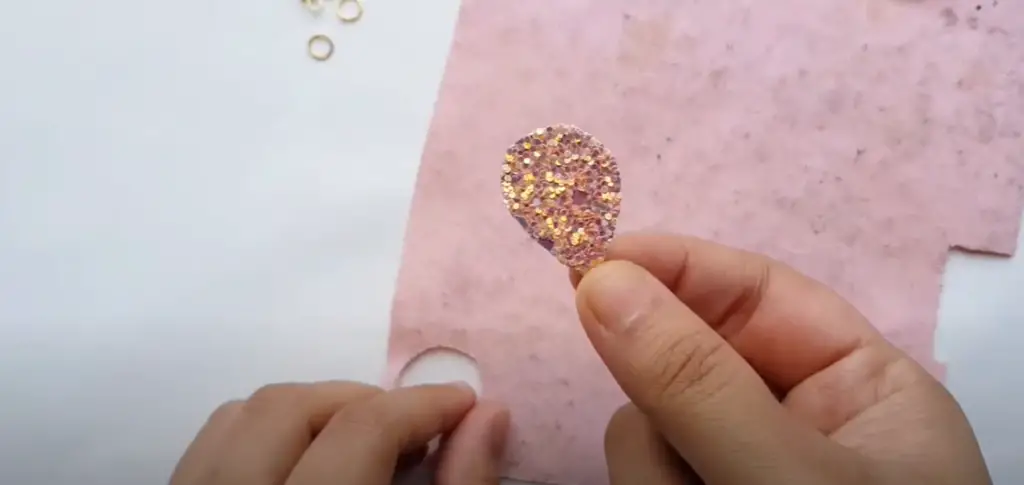
Step 2: Cutting the Patterns
Gently and delicately pick up the beautifully crafted leather piece, taking care not to disturb its intricate pattern, and place it onto a flat, stable surface. Position it with precision, ensuring that every corner and edge align perfectly.
Now, armed with either a pair of sharp scissors or a precise rotary cutter, attentively trace the meticulously marked lines on the back side of your exquisite leather piece. Let your hands move with grace and precision, as if dancing along the contours of the design. Each stroke of the tool reveals the true essence of your artistry.
As you cut along each pattern, your skilled finesse brings forth a symphony of shapes, gracefully emerging from the depths of your creativity. Take a moment to pause and appreciate the intricate details, the harmonious curves and angles that breathe life into your masterpiece.
With every snip of the scissors, you are not merely cutting, but rather, you are weaving a story. A story of passion, craftsmanship, and the unyielding pursuit of excellence. Each piece that falls away is a testament to your dedication, bringing your dream design closer to reality.
Embrace this process, savor each moment, and let your imagination soar. For in the realm of leather crafting, your hands are the storytellers, and the piece before you is the canvas waiting to be transformed into a work of art.[1]
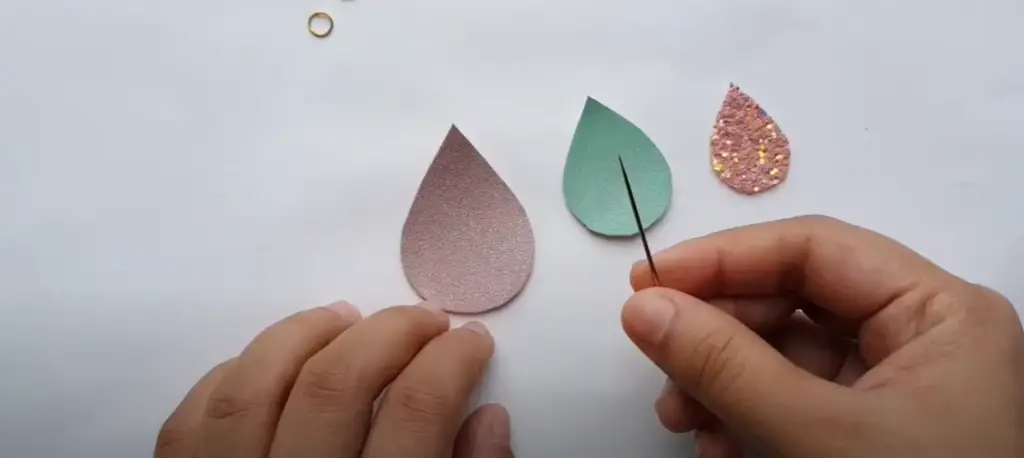
Step 3: Making Holes on the Patterns
Now that the leather pieces have been skillfully cut, it is time to move on to the next step – creating holes. Using a needle and thread or an awl, meticulously make two precisely measured holes along the top edge of each leather piece. Take your time to ensure that the holes are equidistant from each other, allowing for a perfectly balanced placement of your jump rings and earring hook. This attention to detail will not only enhance the aesthetic appeal of your creation but also ensure the durability and longevity of your finished product. So, let’s get started and bring your vision to life![1]
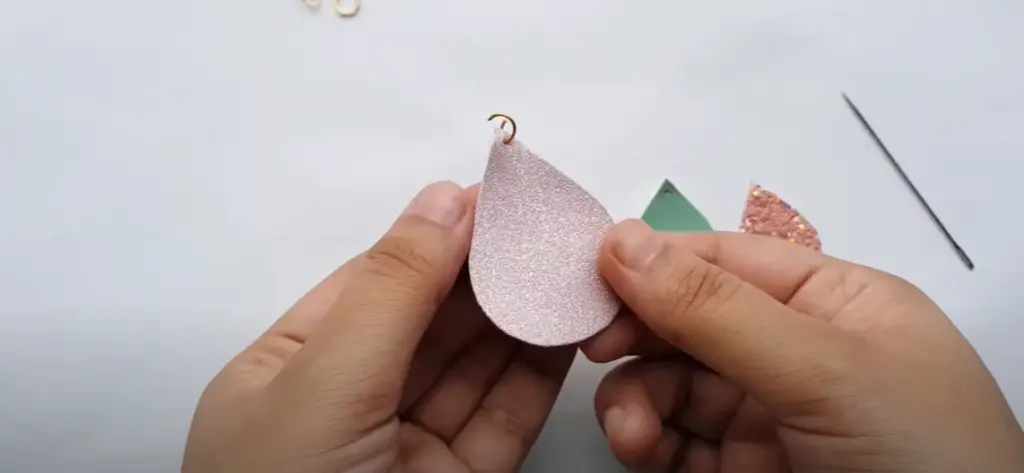
Step 4: Attaching Jump Ring
Once the holes have been created, it is time to attach the jump rings. To begin, carefully select one of your metal rings, ensuring its size matches the thickness of the leather. Gently slide it through one of the holes you’ve just created, making sure it sits snugly against the surface. With precision, take hold of a pair of pliers and carefully twist and close the ring, ensuring a secure and seamless connection. Take a moment to admire the craftsmanship as the closed jump ring now resides in its proper place, delicately adorning the top edge of the leather piece. Repeat this meticulous process with the remaining jump ring, carefully aligning it with the other hole to create a symmetrical and visually pleasing design. The attention to detail in this process ensures a polished and professional finish to your leatherwork masterpiece.[3]
Step 5: Attaching All Patterns Together
Next, take the two supple leather pieces and delicately position them together, aligning them precisely. This step requires patience and attention to detail to ensure a flawless final result. Once the pieces are perfectly aligned, gently slide a jump ring through both holes, creating a secure connection. Using the trusty pliers, firmly close the jump ring, locking the two pieces of leather together. This meticulous process seamlessly fuses the leather into a single, cohesive shape – your exquisite tear drop earrings! With all the components skillfully combined, these stunning earrings are now ready to add a touch of elegance to your wardrobe, effortlessly enhancing any outfit and reflecting your unique style.[3]
Step 6: Attaching the Earring Hooks
Finally, it is time to attach the earring hooks. For this step, take one of your finished leather pieces and select a beautiful pair of earring hooks. Gently slide the hook through the jump ring, making sure it fits securely in its place. Using the pliers, carefully twist and close the hook to ensure a strong connection and a flawless finish. Repeat this same process with the remaining earring hooks, creating a perfectly balanced design.
With that final step complete, the intricate process has come to an end and your stunning leather tear drop earrings are now ready to be shown off. Let the beauty and elegance of your creation shine through, displaying the true artistry of your craft. Whether it’s a fashionable night out or an everyday look, these exquisite earrings will add that perfect touch of style and sparkle to any outfit.[2]
Step 7: Crafting the Other Pair
With the first pair of earrings complete, it is time to embark on the next phase of the crafting process. Repeat the same meticulous steps from Step 1 through Step 6 to carefully and attentively create the second pair of earrings. Each intricate detail is delicately executed, ensuring that both earrings are perfectly balanced and exude a mesmerizing beauty. As you immerse yourself in this labor of love, the patience and skill invested in this creative endeavor will soon be rewarded. The end result will be two exquisite tear drop earrings, radiating an aura of elegance and grace, ready to be adorned as wearable works of art.[2]
Tips for Beginners
Creating leather tear drop earrings is truly an art form that requires dedication and practice to master. Just like any skill, it takes time to develop the necessary techniques and expertise. To help you embark on this creative journey, here are some invaluable tips that will ensure your success in this craft:
- Start with simple shapes and designs: Begin by working on straightforward patterns before venturing into more intricate and complex designs. This gradual progression will allow you to become familiar with the various tools and techniques involved in leather crafting. Take your time to understand the fundamentals and build a strong foundation.
- Embrace patience and precision: Avoid rushing through the process. Remember, precision is key when it comes to creating stunning leather tear drop earrings. Take each step deliberately and carefully, paying attention to every detail. By giving yourself the time and space to work meticulously, you’ll achieve outstanding results that showcase your craftsmanship.
- Measure and mark with care: Before making any holes, make sure to measure and mark them accurately. This will serve as your guide to creating symmetrical and well-balanced designs. Take a moment to double-check your measurements, ensuring that your earrings will turn out beautifully and harmoniously.
- Utilize pliers for added durability: To enhance the longevity of your leather tear drop earrings, use pliers to firmly close the jump rings and earring hooks. This extra step ensures that your earrings will withstand daily wear and tear, remaining intact for years to come. By prioritizing durability, you’ll create timeless pieces that can be cherished and enjoyed for generations.[2]
By following these expert tips, you’ll be well-equipped to create exquisite leather tear drop earrings with confidence and ease. Allow your creativity to flourish as you dive into this captivating art form, and let your unique designs reflect your passion and dedication. Happy crafting!
FAQ
How do you make leather drop earrings?
Making leather drop earrings requires a few simple steps. First, choose the desired shape and design for your earrings. Next, cut out two pieces of leather with precision to match the selected pattern. After that, use pliers to attach jump rings to the top edge of each piece. Then, carefully position both pieces together and slide a jump ring through both holes to secure them. Finally, attach your earring hooks with pliers and you’ll have a pair of stunning leather drop earrings!
How do you make simple leather earrings?
Creating simple leather earrings is just as easy as making more intricate designs. First, choose a basic shape for your earrings, such as a circle or a teardrop. Then, cut out two pieces of supple leather in the desired shape and attach jump rings to the top edge using pliers. Next, position both pieces together and slide a jump ring through both holes to secure them. Finally, attach your earring hooks with pliers and you’ll have a pair of beautiful leather earrings!
How do you make the drop and dangle earrings?
Drop and dangle earrings are an elegant addition to any wardrobe. To make them, you’ll need a few basic tools. First, trace out the desired shape of your earrings onto a piece of leather with chalk or another marking tool. Then, cut out two pieces in the design you’ve chosen using scissors or a sharp blade. Once that’s done, use pliers to attach jump rings to the top edge of each piece. After that, carefully position both pieces together and slide a jump ring through both holes to secure them.
What can I use instead of leather for earrings?
If you’re looking for an alternative to leather, there are many other materials that can be used to create beautiful earrings. One popular option is fabric – you can easily cut it into the desired shape and attach it to jump rings in the same way as with leather. Another great option is wood – simply use a laser cutter or other cutting tool to create any intricate design you have in mind. Finally, plastic is an economical and long-lasting option for creating earrings that will stand the test of time.
Useful Video: How to Make Leather Teardrop Earrings | DIY Leather Earrings Step-by-Step Tutorial
Conclusion
Thanks for taking the time to learn how to make leather tear drop earrings! With patience and skill, you will be able to craft enchanting pieces of wearable art that reflect your creativity. Whether you are a beginner or an experienced crafter, these tips and tricks will ensure success in your crafting endeavors. So start creating and show off your beautiful handmade masterpieces with pride! Good luck and happy crafting!
References:
- https://www.leatherskill.com/how-to-make-leather-tear-drop-earrings/
- https://www.thecraftaholicwitch.com/how-to-make-leather-earrings/
- https://makinglemonadeblog.com/diy-leather-diffuser-earrings/
- https://www.savvyathomemom.com/lovely-leather-earrings-diy/